8. Electronics assembly [進行中の翻訳]
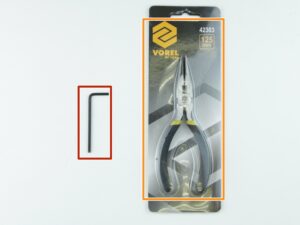
- Getting the necessary tools
- 3D printed parts
- Preparing the Rambo cover base
- Mounting the Rambo cover base on the frame
- Identifying mounting holes
- Finalizing the Rambo cover base
- Identifying mount hole
- Mounting Rambo cover hinge bottom
- Preparing electronics
- Connecting electronics - part 1
- Heatbed and extruder cables guide
- Securing heat bed cables to the Rambo cover base
- Extruder cables guide
- Securing extruder cables to the Rambo cover base
- Connecting electronics - part 2
- Connecting electronics - part 3
- Connecting electronics - part 4
- Verify electronics connection
- Identifying mounting hole
- Preparing Rambo cover upper hing
- Finalizing Rambo cover
- Hooray!
