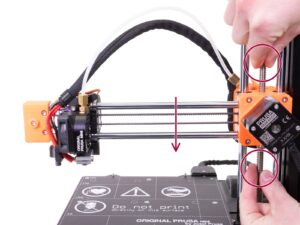
⬢指でリードスクリューを回し、X軸全体を下に動かします。 ホットエンドがヒートベッドに触れたら止めます。 ヒートベッドを曲げないでください!
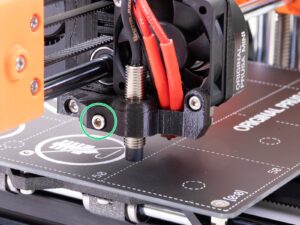
⬢Release slightly the screw on the MINI-minda-holder so you are able to adjust the position of the SuperPINDA sensor.
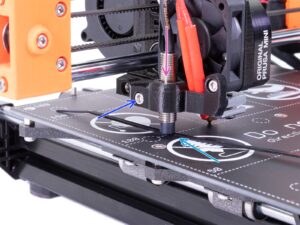
⬢パッケージから結束バンドを取り、SuperPINDA センサーの下に置きます。結束バンドの先端ではなく、中心を使います。
⬢Gently press the SuperPINDA sensor down against the zip tie.
⬢Tighten the screw on the MINI-minda-holder. Do not use excessive force. Otherwise, you can break the printed part!
⬢リードスクリューを手で反対方向に回転させて、Z軸を少なくとも5mm上に移動させます。


