日本語
Login
3Dプリンター
マテリアル
部品 & アクセサリー
法人向け
ソフトウェア
3Dモデル
コミュニティ
ヘルプ
コース一覧
ブログ
会社概要
サポート
Original Prusa XL
Original Prusa XL Five-Head (Semi-Assembled) [進行中の翻訳] (1.08)
5. Tool-changer assembly | この章に必要な道具
1. この章に必要な道具
ステップ 1 / 7 (章 5 / 8)
内容
コメント
⬢
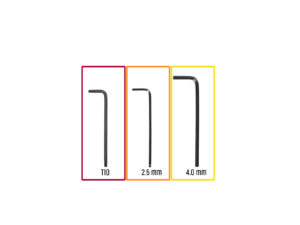
この章で、準備するもの:
⬢
T10 トルクスキー
⬢
2.5 mm 六角レンチ
⬢
4.0 mm 六角レンチ
⬢
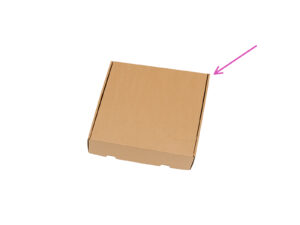
段ボール箱:組み立ての際にヒートベッド保護として使用します。ヒント:プリンタに同梱されているプルサメントボックスを使用できます。
Loading...
次
内容
Original Prusa XL Five-Head (Semi-Assembled) [進行中の翻訳]
1. はじめに
2. ベースとサイドフレームの組み立て
3.CoreXY部と背面の組み立て
4.ヒートベッドとサイドパネルの組み立て
5.ツールチェンジャーのアッセンブリ
この章に必要な道具
Xキャリッジの準備
ツールチェンジャーの取り付け:部品の準備
ツールチェンジャーの準備
ツールチェンジャーのインストール
Xキャリッジのカバー
完了です!
6.エクストルーダーとアクセサリのアッセンブリ
7.最初のプリント
マニュアル変更履歴 5ヘッド(セミアッセンブリ)
コメント
ログイン
してコメントを投稿する
コメントなし