フィラメントガイドアドオン (MK4S/MK4)
ネクストルーダーV6ノズルアダプター(MK4/MK3.9)の取り付け方法
Prusaノズルの交換方法(MK4/MK3.9)
Loveボードの交換方法 (MK4S/MK4/MK3.9S/MK3.9)
銀のPSUから黒いPSUへの交換方法
ホットエンドヒーターの交換方法 (MK4/MK3.9)
ホットエンドサーミスターの交換 (MK4/MK3.9)
ホットエンドファンの交換方法 (MK4/MK3.9)
xBuddyボードの交換方法 (MK4/MK3.9/MK3.5)
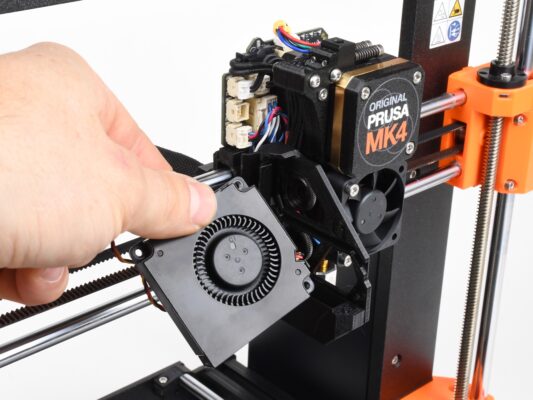
プリントファンの交換方法 (MK4 / MK3.9)
- 組み立てを始める
- はじめに
- この章に必要な道具
- Preparation
- Loveボードカバーの取り外し
- ファンの取り外し
- 部品の準備:プリントファン
- プリントファンケーブルの管理
- プリントファンの取り付け
- ファンの取り付けの完了
- 完了!
ホットエンドアッセンブリの交換方法 (MK4/MK3.9)
How to replace a Heatbed Thermistor (MK4/S, MK3.9/S, MK3.5/S)
How to replace a hotend heatsink (MK4 / MK3.9)
How to replace xLCD (MK4/MK3.9/MK3.5)