Italiano
Login
Stampanti 3D
Materiali
Componenti e accessori
Per le aziende
Software
Modelli 3D
Community
Aiuto
Corsi
Blog
Azienda
Supporto
Prusa CORE One L
Manutenzione della stampante
How to install the Nextruder V6 nozzle adapter (CORE One L) | Iniziare il montaggio
1. Iniziare il montaggio
Passo 1 di 23 (Capitolo 1 di 15)
Contenuti
Commenti
Difficoltà
Facile
Lingue disponibili
Iniziare il montaggio
Contenuti
Manutenzione della stampante
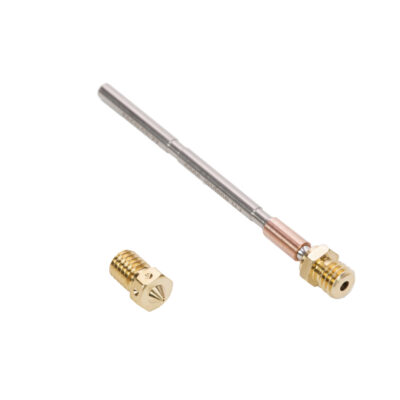
Come installare l'adattatore Ugello Nextruder V6 (CORE One L)
Iniziare il montaggio
Introduzione
Attrezzi necessari per questa guida
Preparazione della stampante (parte 1)
Printer preparation (part 2)
Removing the printer top cover
Proteggere il piano riscaldato
Accessing the hotend cables
Disconnecting the hotend cables
Removing the hotend assembly
Rimuovere l'ugello
Adattatore V6: preparazione dei componenti
Installazione adattatore V6
Reattaching the silicone sock
Inserire l'hotend
Connecting the hotend cables
Guiding the hotend cables
Montaggio della copertura Printhead-cover-left
Attaching the printer top cover
Turning the printer on
Serraggio dell'ugello a caldo
Impostazione dell'ugello
Controllo finale
How to replace the Prusa Nozzle (CORE One L)
Come sostituire un gruppo hotend (CORE One L)
How to replace the hotend fan (CORE One L)
How to replace the side filament sensor (CORE One L)
How to install the advanced filtration (CORE One L)
How to replace a Hotend Heater (CORE One L)
How to replace a Hotend Thermistor (CORE One L)
How to replace Nextruder Filament Sensor (CORE One L)
How to replace the print fan (CORE One L)
How to replace the Accelerometer (CORE One L)
How to replace Hotend Heatsink (CORE One L)
How to reverse the door orientation (CORE One L)
How to replace Loveboard (CORE One L)
How to replace a Hotend Thermistor (CORE One L)
Commenti
Accedi
per inviare un commento
Nessun commento