Español
Login
Impresoras 3D
Materiales
Piezas y accesorios
Para Empresas
Software
Modelos 3D
Comunidad
Ayuda
Cursos
Blog
Empresa
Soporte
Prusa CORE One L
Mantenimiento de la impresora
How to replace the AC box (CORE One L) | Comenzar el montaje
1. Comenzar el montaje
Paso 1 de 20 (Capítulo 21 de 21)
Contenidos
Comentarios
Dificultad
Moderada
Idiomas disponibles
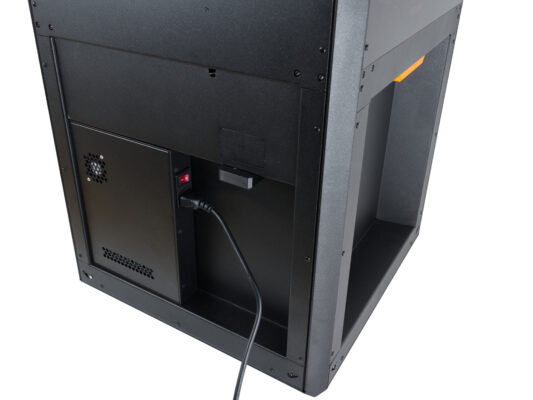
Comenzar el montaje
Contenidos
Mantenimiento de la impresora
How to install the Nextruder V6 nozzle adapter (CORE One L)
How to replace the Prusa Nozzle (CORE One L)
How to replace a hotend assembly (CORE One L)
How to replace the hotend fan (CORE One L)
How to replace the side filament sensor (CORE One L)
How to install the Advanced Filtration (CORE One L)
How to replace the Buddy3D camera cable (CORE One L)
How to replace a Hotend Heater (CORE One L)
How to replace a Hotend Thermistor (CORE One L)
How to replace Nextruder Filament Sensor (CORE One L)
How to replace the print fan (CORE One L)
How to replace the Accelerometer (CORE One L)
How to replace Hotend Heatsink (CORE One L)
How to reverse the door orientation (CORE One L)
How to replace Loveboard (CORE One L)
How to replace a Hotend Thermistor (CORE One L)
How to replace the White LED strip (CORE One L)
Cómo embalar la CORE One L para devolución
Cómo reemplazar los ventiladores de la base calefactable (CORE One L)
Cómo reemplazar la base calefactable (CORE One L)
Cómo sustituir la caja AC (CORE One L)
Comenzar el montaje
Introducción
Herramientas necesarias para esta guía
Preparación de la impresora
Retirando la cubierta lateral
Retirando el módulo Wi-Fi
Retirando las cubiertas de la electrónica
Desconectando los cables de AC
Retirando la caja AC
Retirando los tornillos
Caja AC: preparación de piezas
Preparación de la nueva caja AC
Colocando la nueva caja AC
Asegurando la nueva caja AC
Conectando los cables de la caja AC
Recolocando la tapa lateral
Cubriendo la electrónica
Recolocando el módulo Wi-Fi
Encendiendo la impresora y selftest
¡Bien hecho!
Comentarios
Inicia sesión
para publicar un comentario
Sin comentarios