The Selftest checks for issues in the assembly of the printer, its wiring, and the electronic components. It is the first part of the Calibration Wizard, which is prompted automatically when you turn on the printer for the first time or after a Restablecimiento de fábrica (MK4/S, MK3.9/S, MK3.5, XL). After the initial calibration, the Selftest can be found at LCD Menu -> Control -> Calibrations & Tests.
Selftest procedure checks
- Fan Test
- XY Axis Check
- Z Alignment Calibration
- Z Axis check
- Heater Test
- First Layer Calibration
Progress and results of each step are displayed on the LCD screen. After the selftest, you can check the results at any time in the printer menu at LCD Menu -> Control -> Calibrations & Tests. If the step fails, it will show a red "x" near the calibration.
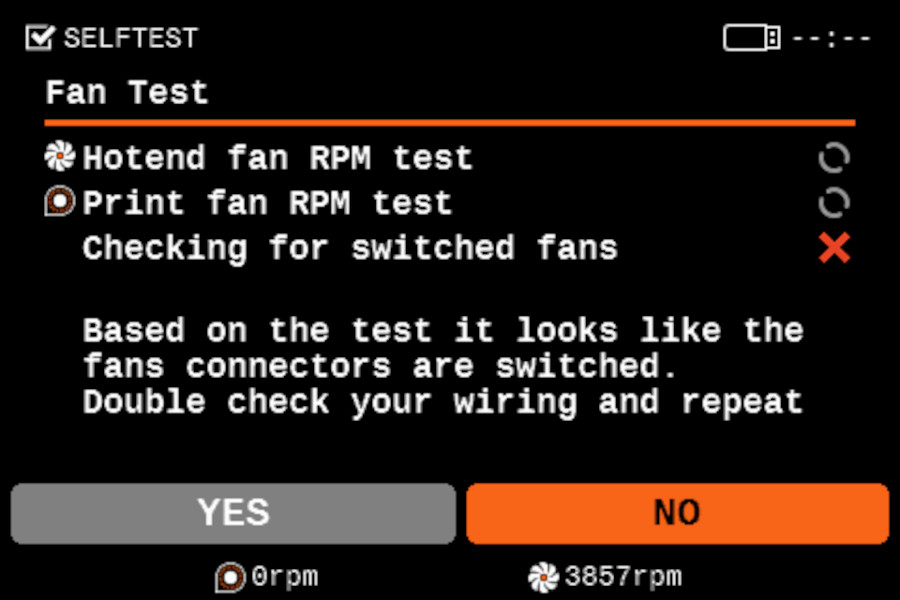
Hotend & Print fan test
The fans selftest checks if they are properly connected, if nothing is blocking their way, and if their connections are not switched. During it, you can see the fans' RPM on the bottom of the screen. If one of the tests fails, you will see a red "x" near the failed part.
During the selftest, the printer will ask if the hotend fan (left) is spinning spinning. If the printer detects the fan's RPM is within range, but the option not spinning is chosen, the printer will understand that the fan connectors are switched.
The Selftest procedure tells you which of the fans doesn't work. Check the one that has the red "x" on it.
- Ensure that both the fans are connected according to the assembly guide and that the print and the hotend fan are not switched.
- Check for any blockage that could prevent either of the fans from spinning.
- Go over the wiring and ensure that none of the zip-ties is overtightened, preventing the fans from spinning.
 |  |
Axes testing
After the fans, the printer will test the axes' length. First, the printer will test the Y and the X axes. Then, the Z-axis will be aligned and tested.
If the test shows a red "x" near any of them, check the items listed in this guide: Comprueba la longitud del eje X/Y/Z (MK3S).
| |
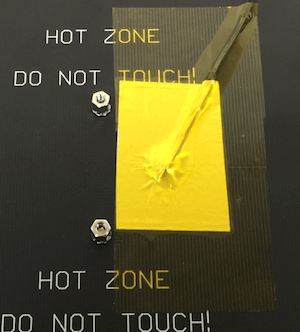
Heatbed & Hotend test
In this step of the selftest, the hotend and heatbed will be heated to their maximum capacity to check if all cables are correctly connected and will not have issues during the print. If the printer is pre-heated, it must go back to room temperature before starting the test. If any of the cables is disconnected, the printer might restart and show an error
- Ensure that thermistors and heater are connected properly according to the assembly guide.
- Check your heated bed cables and confirm they are not damaged by an overtightened zip tie.
- Make sure that your heated bed thermistor is firmly attached underneath the Golden Kapton tape.
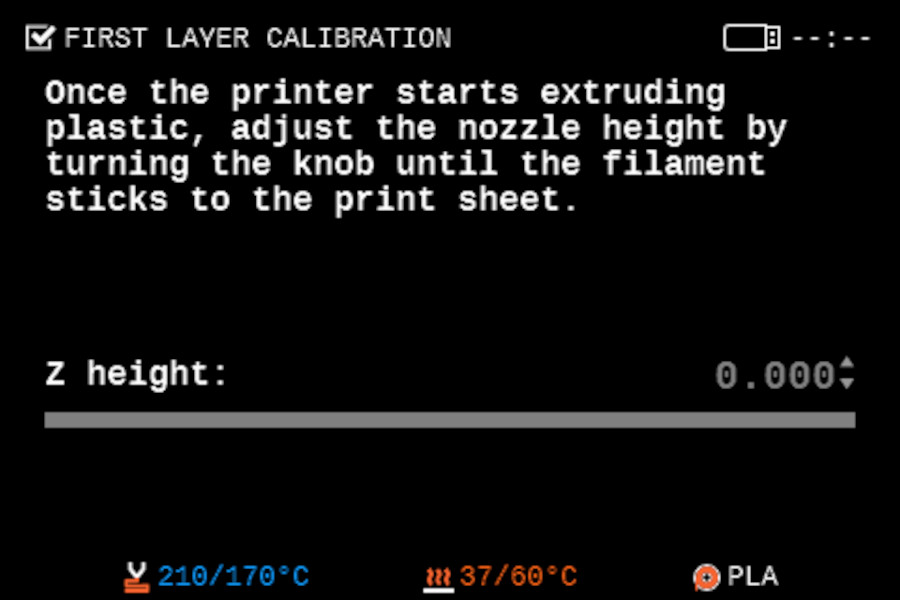
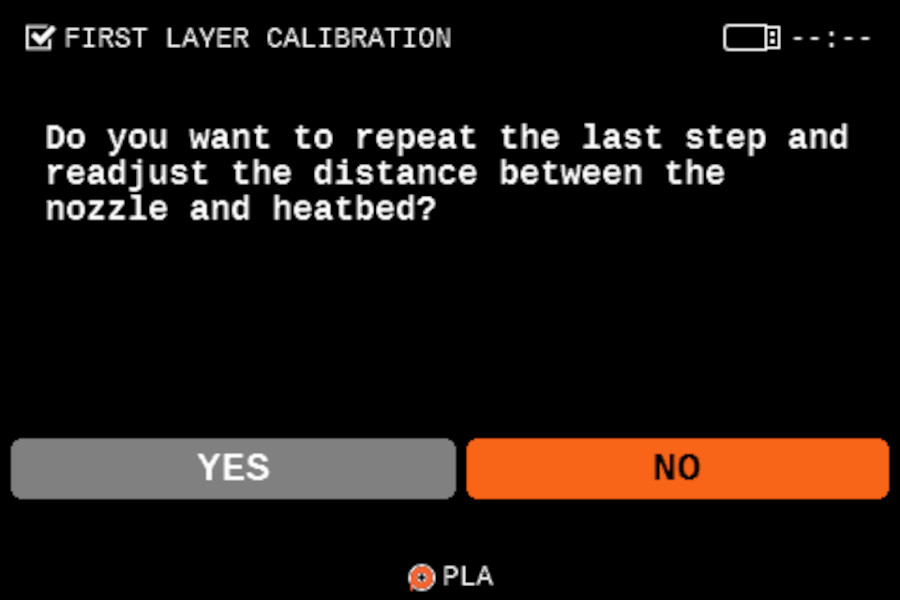
First Layer Calibration
Next, the distance between the tip of the nozzle and the print surface needs to be adjusted. You can load a new filament, keep the already loaded filament, or unload the filament to load a new one. Once the test starts, the default value is zero. Turn the knob counterclockwise to make the number more negative, which will take the nozzle closer to the steel sheet. Read more about the first layer calibration here: Calibración de la Primera Capa (i3). If the first layer is unsatisfactory after finishing the test print, you can repeat the calibration.
 |  |
After the selftest
If the Wi-fi is not adjusted, the printer will give you the option to Setup the Wi-fi.
The Filament Sensor is not tested during the selftest. Make sure that it is functioning and connected, according to our illustrated article.