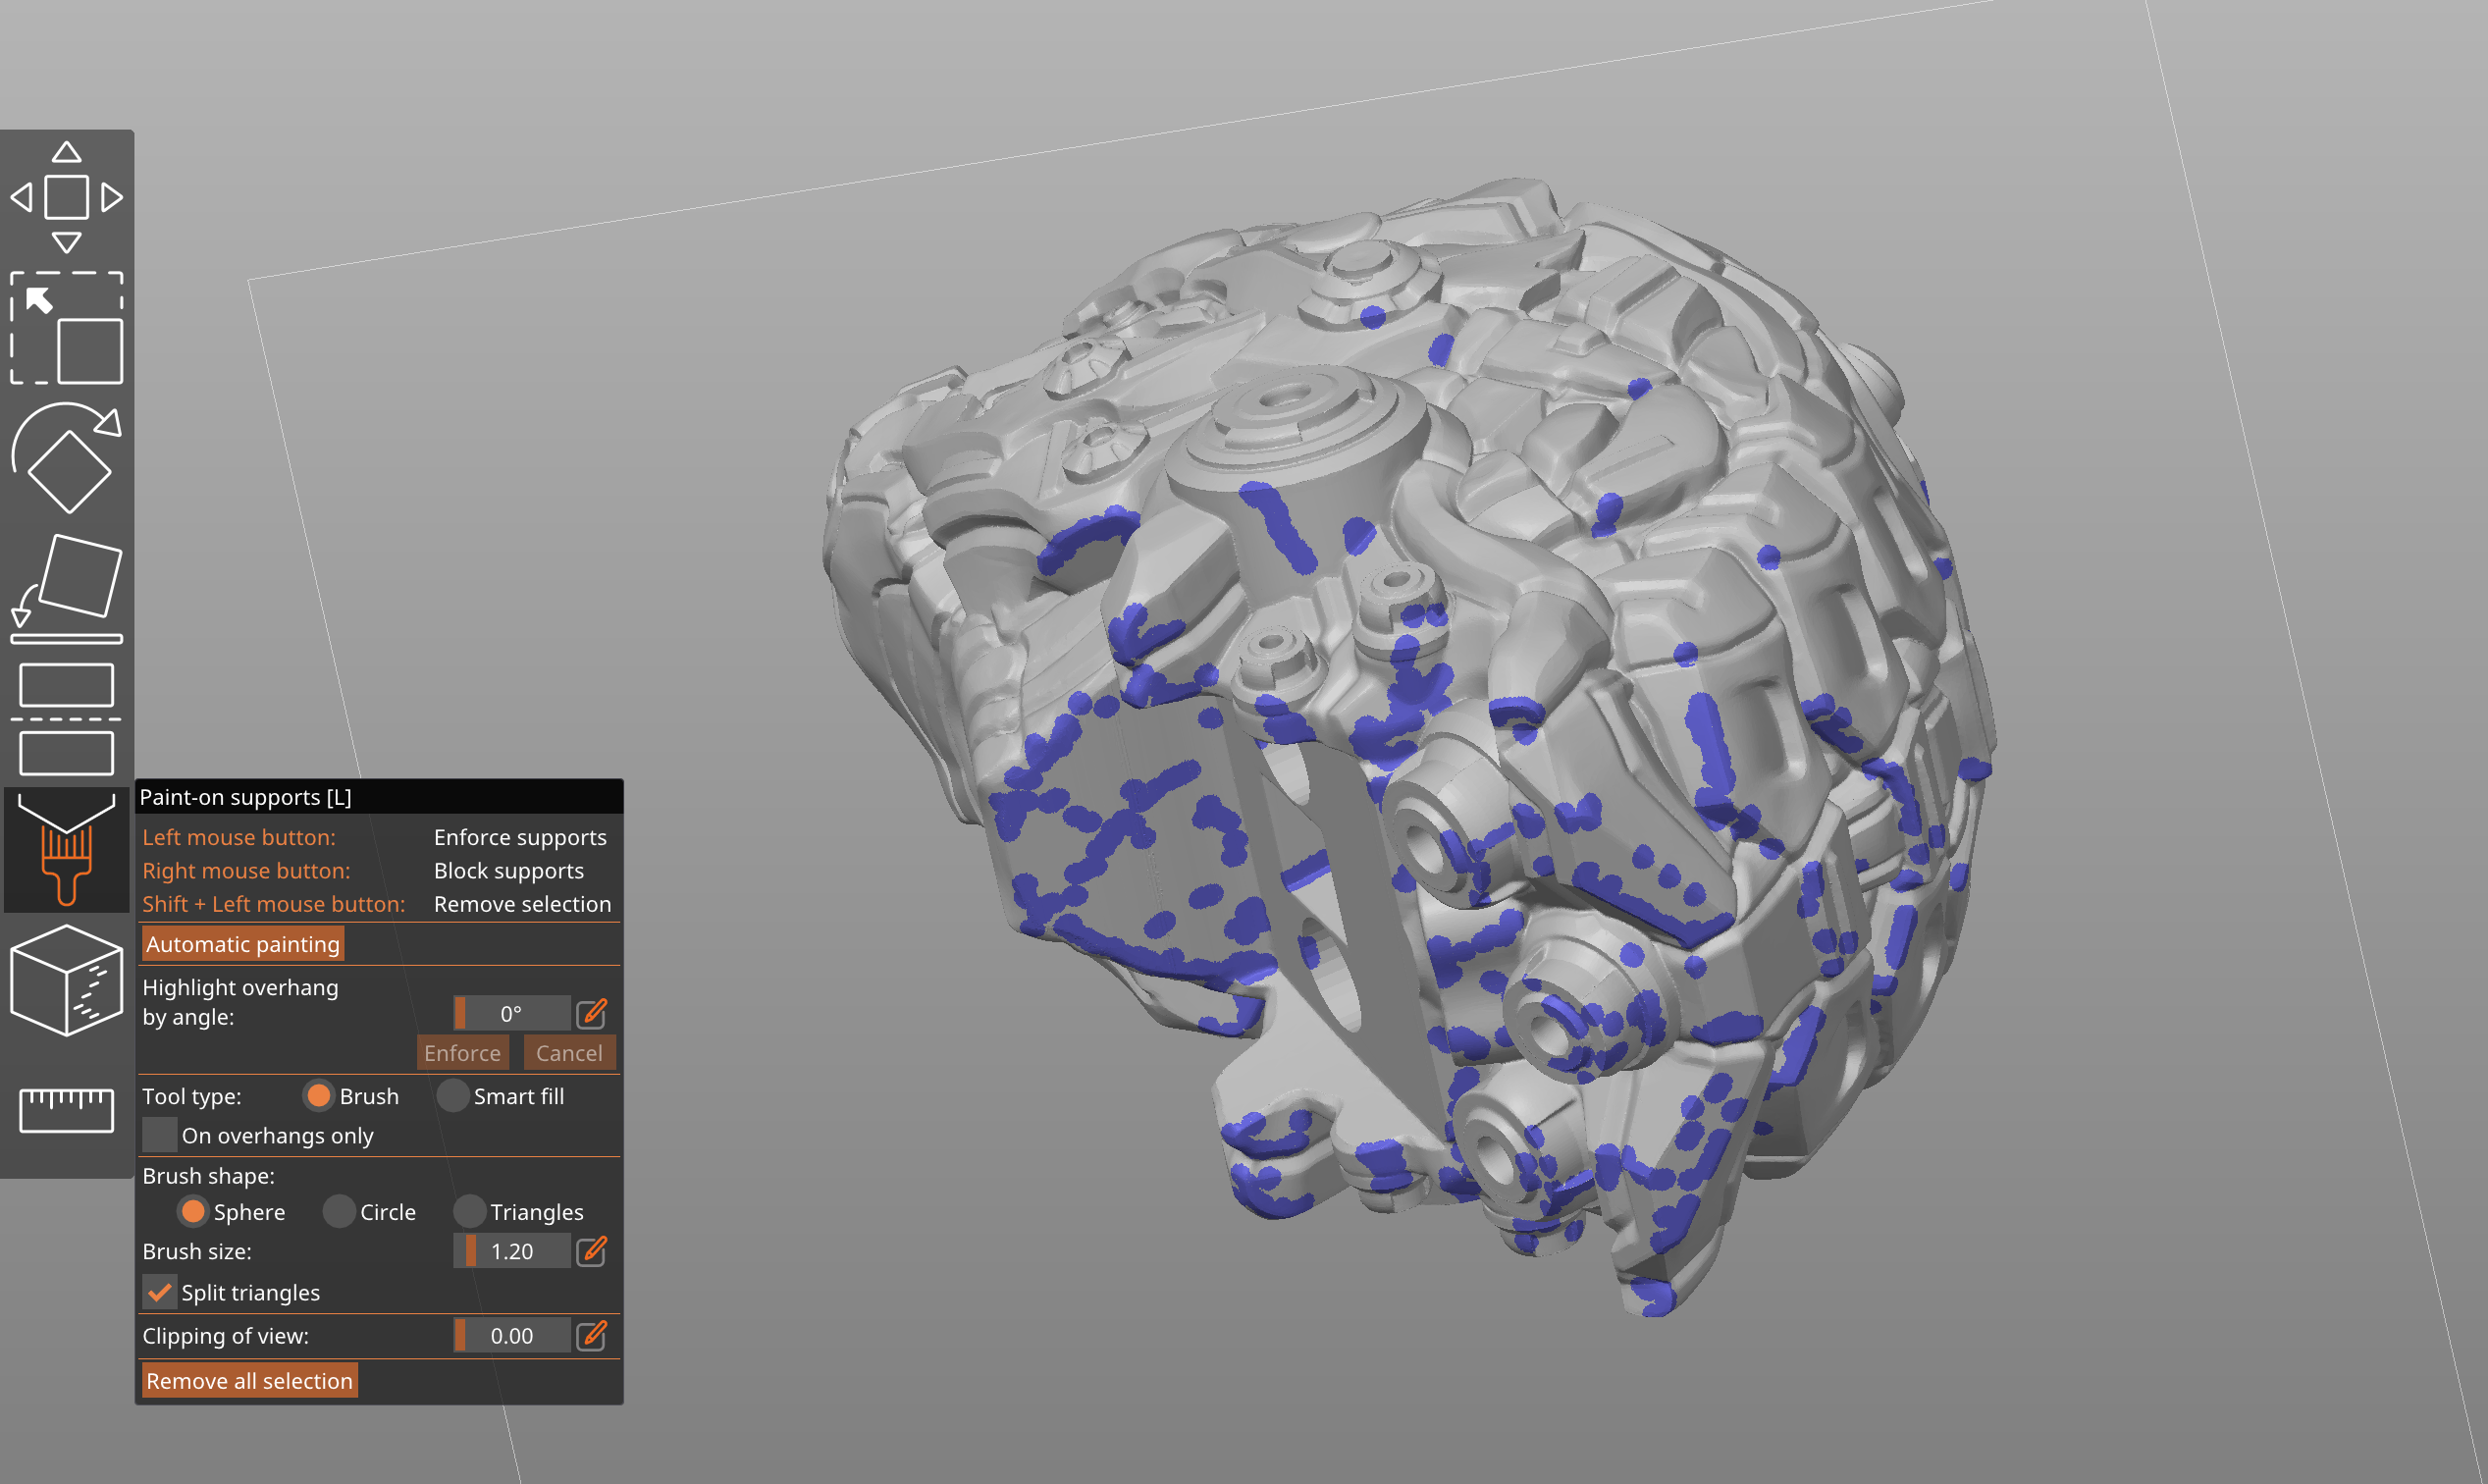
PrusaSlicer provides a tool, which lets you paint directly on the object and select areas, where supports should be enforced or blocked.
The tool is available from the left toolbar and is only shown in Advanced and Expert modes. After selecting an object and clicking the toolbar icon, all other objects are hidden so they do not obscure the view, the selected object is rendered in light gray to ensure contrast.
Left-mouse button - Enforce supports
Right-mouse button - Block supports
Shift + Left-mouse button - Erase selection
Alt + Mousewheel- Change brush size
Support generation mode
Do not forget to enable supports if you want to actually generate them. By default, support generation is set to None in the right panel.
Enforcing supports
If you're painting support enforcers, it makes the most sense to change supports to For support enforcers only.
Of course, you can also set supports to Everywhere or From build plate only and use support enforcers to mark additional areas that need to be supported. This second use-case is useful if you set the Overhang threshold very low, so only very steep overhangs will get auto-generated supports.
Blocking supports
If you're using support blockers, you should change supports to Everywhere or From build plate only. These modes also turn on Auto-generated supports in Print settings - Support material. Supports will now be generated based on the set Overhang threshold except for the area blocked by the painted Support blockers.
Enforcing and blocking supports at the same time
With very complex models, it's possible you might want to use both enforcers and blockers at the same time. In this case, set supports to Everywhere or From build plate only. You can block some automatically generated supports with blockers while at the same time mark areas which did not get automatic supports with enforcers.
IMPORTANT NOTE: Your selection will not be completely obeyed when the painted region is very small. The support generator itself works on a grid internally, so the supported/unsupported areas are not infinitely detailed.
Automatic painting
The support painting tool contains an option for the automatic painting of support enforcers on the model.
The algorithm that powers this tool inspects the print extrusion by extrusion, considering a multitude of factors such as the center of mass, weight of the supported part, bed movement, potential extruder collision, bed adhesion, material, and bridging. The result is a more efficient placement of supports. For instance, bridges are supported only by regularly spaced pillars instead of their entire length.
The tool is also automatically activated during slicing, to give you a warning if a print needs supports. As expert users may find such a warning obtrusive, the warning can be disabled in the preferences.
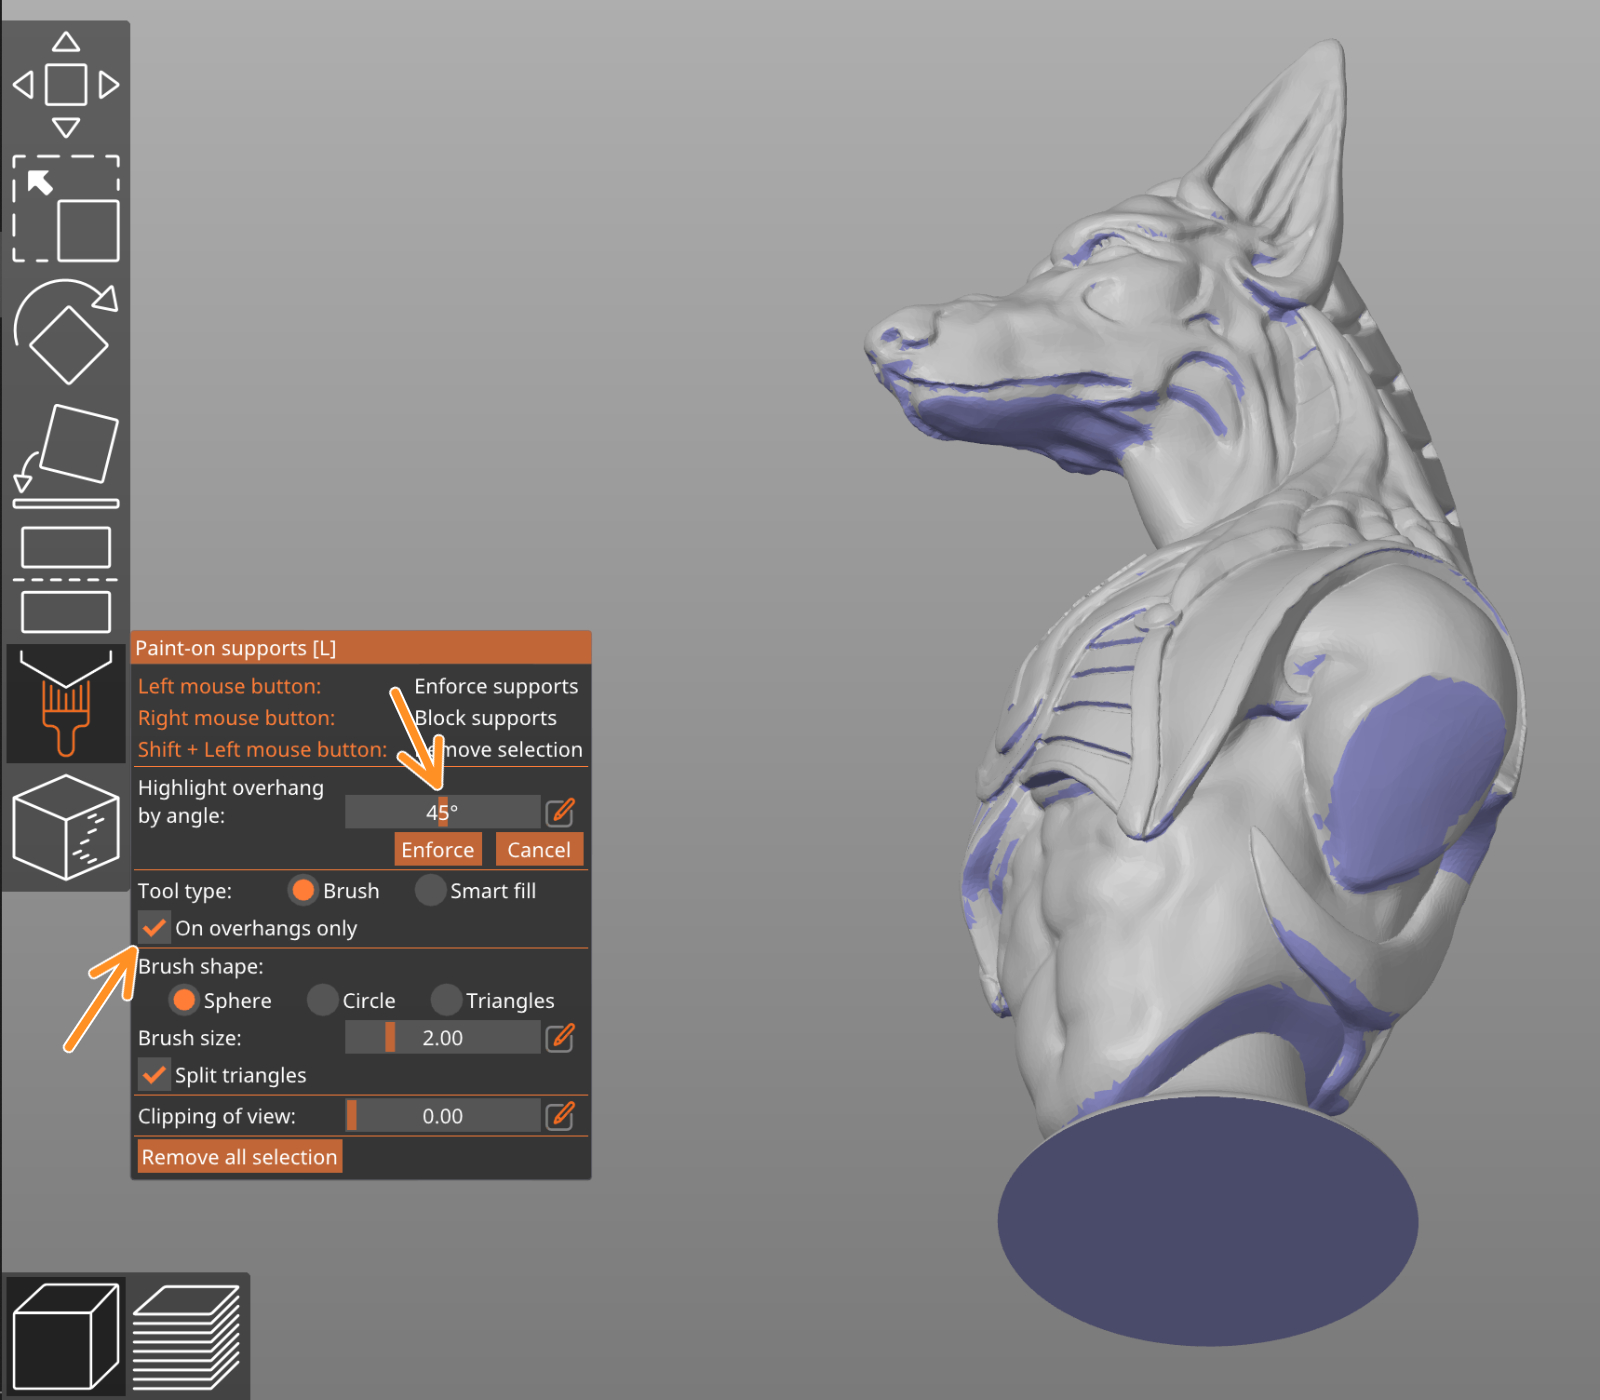
Highlight overhang by angle
The highlight by overhang angle slider allows you to visualize all triangles that are "more horizontal" than a threshold. This can help you decide where you want to paint enforcers. The overhang triangles are visualized in real-time while the threshold is being adjusted.
You can also enable the On overhangs only checkbox, which will limit all brush strokes only to the highlighted triangles.
Tool type
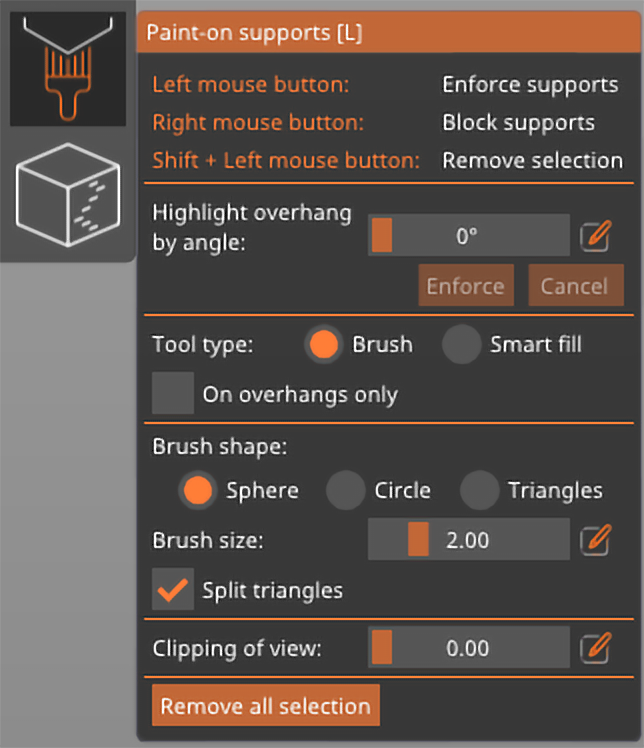
Brush
Paints facets according to the currently selected brush.
Smart fill
Paints neighboring facets whose relative overhang angle is less or equal to the Smart fill angle.
Brush shape
Spherical cursor (default)
Paints everything inside the sphere regardless of whether it is visible or not from the current view. The preferred method for most cases.
Circular cursor
Paints all visible places inside the circle from the current view, possibly leaving unpainted areas, but never painting behind corners.
Triangles
Paints the whole triangle under the mouse cursor.
Clipping plane
You can use the clipping plane tool to hide a part of the object, so that difficult to reach areas can be easily painted. Move the slider from left to right to move the clipping plane.
![]()
The Reset direction button will align the clipping plane tool parallel to the current camera view. E.g. if you want to have the clipping plane moving up-down, look at the model from the top (Top view 1 ) and hit the Reset direction button. The button appears when you move the slider to any non-zero value.
Undo and Redo
While you have the Paint-on supports tool open, a new undo&redo history is created. You can undo each paint stroke you've made (painting enforcers, blockers, erasing).
Once you leave the Paint-on supports tool, all strokes from the last painting session are merged into one step in global undo and redo history.
Saving Paint-on supports to 3MF
When you use File - Save project the generated 3MF file will include all Paint-on supports information. That means you can customize the painted supports in the future once you re-open the file in PrusaSlicer.
This is really useful if you want to share your model. Other people will be able to use your painted supports and modify them freely.
4 comments
It seams like paint-on support is always printed from the default extruder. I can not find where to change extruder for paint-on support - does anyone know how to do that?
depending on your printer profile, generally, its under the Print settings / Multiple Extruders, and then under extruders you can select which you want to use for support