The main purpose of infill is to provide internal support for top layers, which would otherwise have to bridge over empty space. Infill also affects the speed of printing, structural strength, filament consumption, and even the look of the printed object.
Fill density
Most models can be printed with 10-15% infill. If the top of the model closes gradually, it can be printed hollow (0% infill), though we generally do not recommend it. If you need the model to be heavier, want more compression resistance or higher stiffness, you can increase the infill. You'll rarely need infill higher than 30%. Finally, you can print the model with 100% infill and the infill pattern will be forced to rectilinear. Keep in mind that 100% infill can have a negative impact on the look of the printed object.
The strength of a model is mostly defined by the number of perimeters (not infill). If you want to have a stronger print, increase the number of perimeters. That said, infill does help with compression resistance.
Fill pattern
PrusaSlicer offers many infill patterns to choose from - check the dedicated Infill pattern documentation page.
Length of the infill anchor
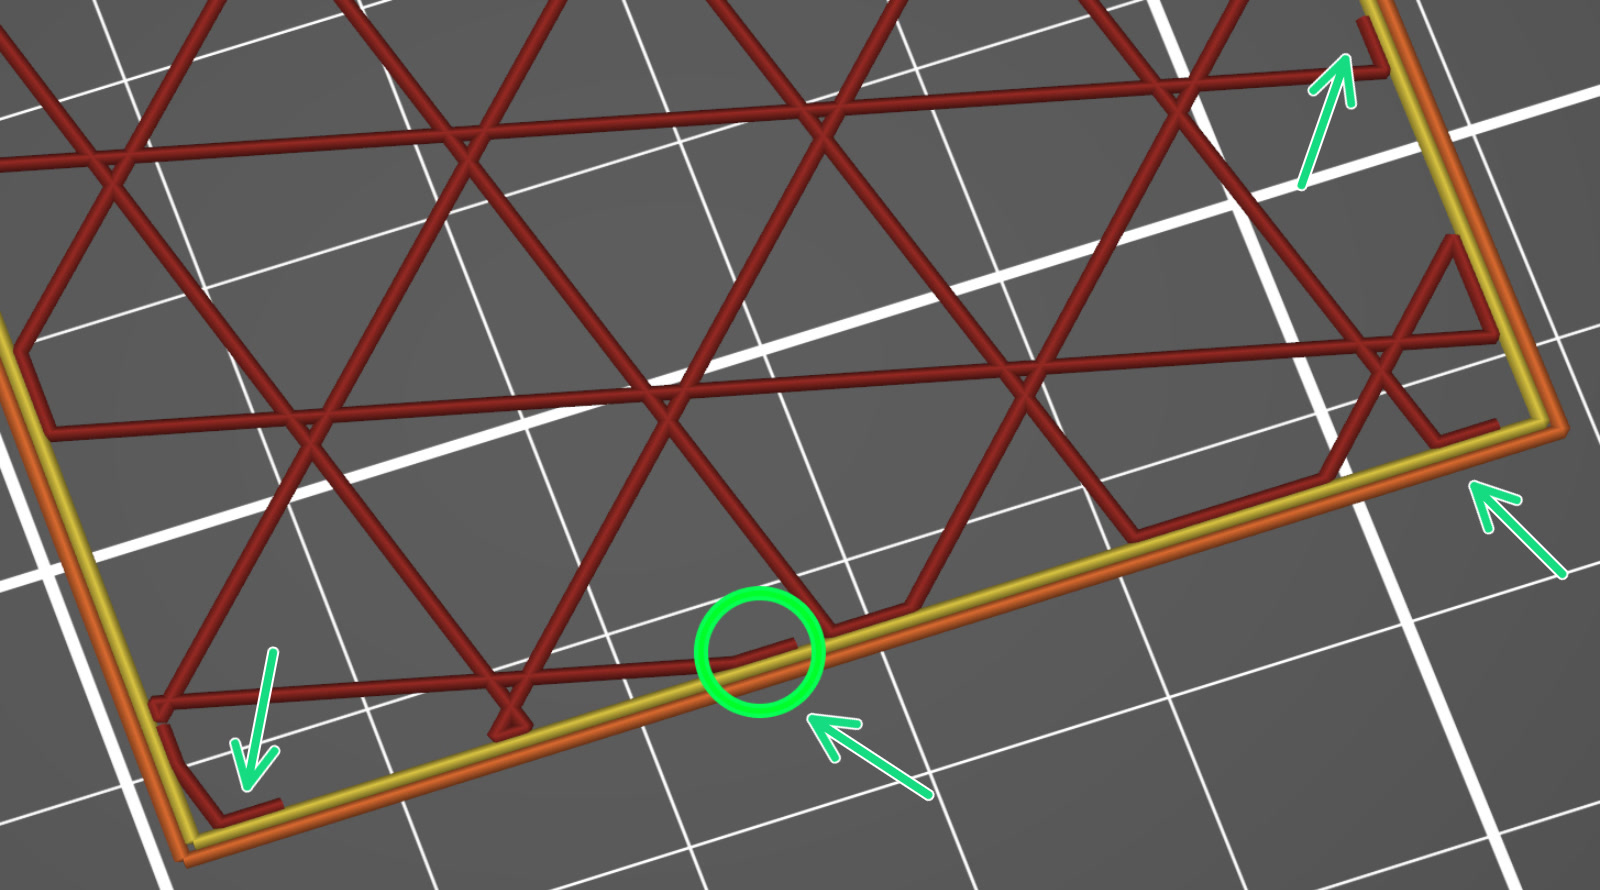
The infill is usually connected to the perimeters with a so-called anchor, which is a short line of another (inner) perimeter that turns into an infill line. This makes the infill sturdier and is required by some materials (namely PETG) to stabilize the extrusion flow at the start of an infill line.
The length of the infill anchor value sets how many millimeters of this anchor will connect the infill and the perimeters. If you set this value to 0, the infill will be printed independently on the perimeters. Set a higher value to print the anchor that will continue as the infill itself.
If expressed as a percentage (15%) it will be calculated over the infill extrusion width.
Maximum length of the infill anchor
This value sets the maximum length of the infill anchor connecting the infill with perimeters.
Set this parameter to 0 to disable anchoring completely.
Top fill pattern
You can pick a custom infill pattern that only affects the top visible layer, not the adjacent solid layers below.
Bottom fill pattern
You can pick a custom infill pattern that only affects the bottom visible layer, not the adjacent solid layers above.
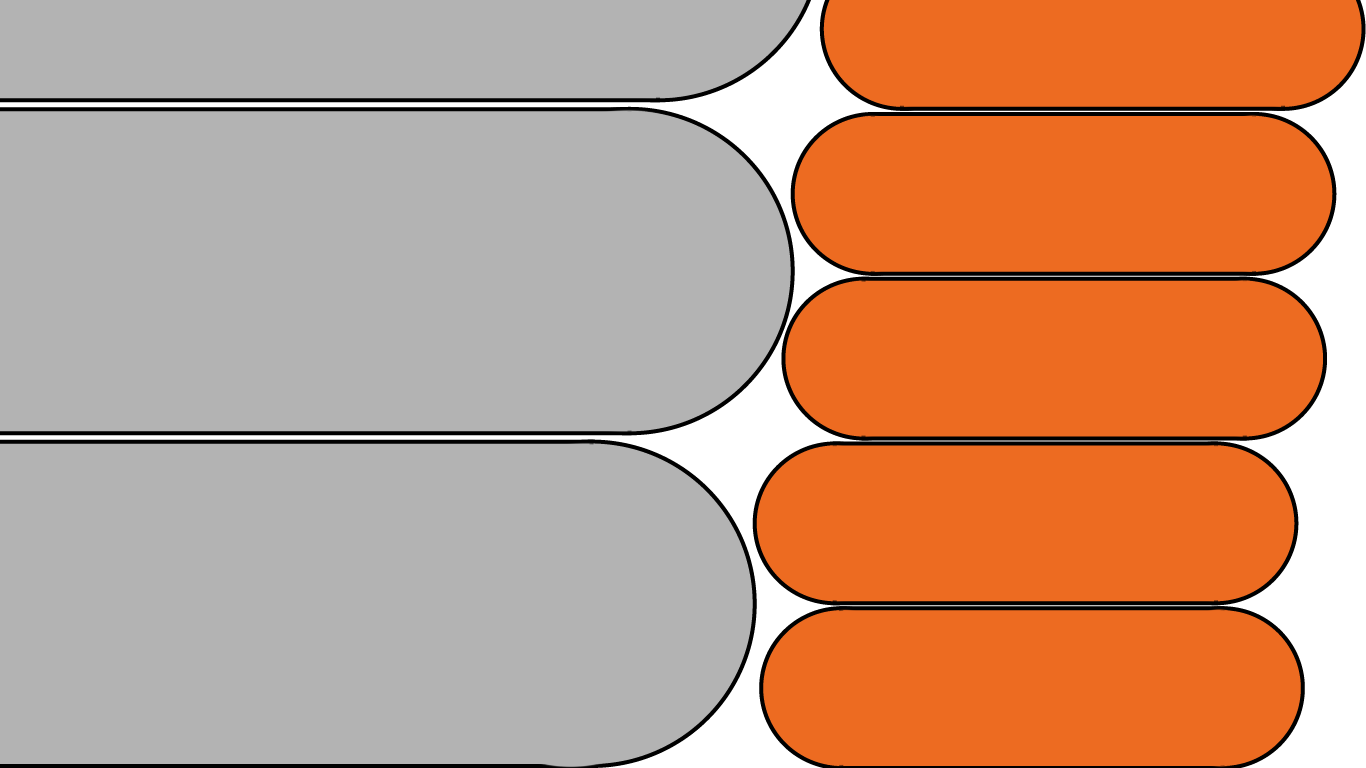
Automatic infill combination
This feature automatically combines the infill of several layers and speeds up your print by extruding thicker infill layers while preserving thin perimeters, thus maintaining accuracy.
Automatic infill combination - Max layer height
Maximum layer height for combining infill when automatic infill combining is enabled. The maximum layer height could be specified either as an absolute value in millimeters or as a percentage of the nozzle diameter. When printing with nozzle diameters that do not have standard settings in PrusaSlicer, it is recommended to use percentage value over absolute value.
Combine infill every X layers
Different layer heights will be used for infill and perimeters to speed up the print without sacrificing the print quality.
Example: Combine infill every 3 layers, layer height 0.1 mm, infill will be printed at 0.3 mm layer height.
Solid Infill every X layers
This feature allows you to force a solid layer after every given number of layers. This can be useful to increase the strength of the printed part, however other options, such as increasing the number of perimeters or infill percentage are preferred. Another application would be to create separate internal cells in order to increase thermal insulation.
Set to 0 to disable.
Fill angle
Default angle for infill orientation. Cross-hatching will be applied to some infill patterns.
Solid infill threshold area
Force solid infill for regions having a smaller area than the specified threshold.
Set to 0 to disable.
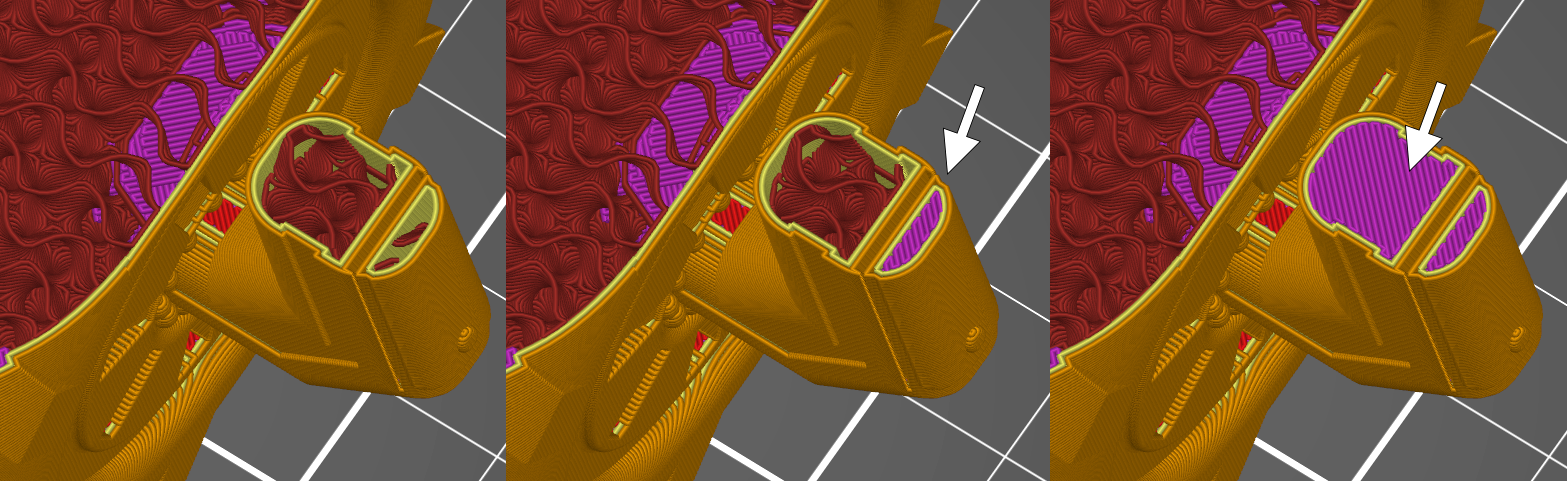 Solid infill threshold 0 (left), 15 (middle), 100 (right)
22 comments
Hi! Thickness of the infill lines can be modified in the Print settings > Advanced > Extrusion width > Infill.