Deutsch
Login
3D-Drucker
Materialien
Teile & Zubehör
Für Unternehmen
Software
3D Modelle
Community
Hilfe
Kurse
Blog
Unternehmen
Support
Prusa CORE One
Drucker-Wartung
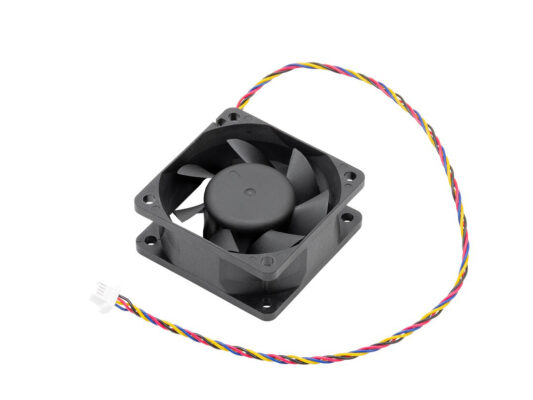
How to replace the Chamber fan (CORE One) | Montage beginnen
1. Montage beginnen
Schritt 1 von 22 (Kapitel 17 von 27)
Inhalt
Kommentare
Schwierigkeit
Mittel
Verfügbare Sprachen
Montage beginnen
Inhalt
Drucker-Wartung
Auswechseln des Heizbetts (CORE One)
Auswechseln des Heizbett-Thermistors (CORE One)
Buddy3D Kamera für CORE One Installation
Auswechseln der Prusa-Düse (CORE One)
Umkehr des Türanschlags (CORE One)
Verpacken des Prusa CORE One für die Rücksendung - Originalverpackungsmaterial
Installation Fortschrittliches Filtersystem (CORE One)
Verpacken des Prusa CORE One für die Rücksendung - Kundenspezifisches Verpackungsmaterial
Auswechseln der xBuddy-Platine (CORE One)
Auswechseln des Hotend-Lüfters (CORE One)
Austausch des Nextruder Filament Sensors (CORE One)
Auswechseln des NTC-Thermistors des Kühlkörpers (CORE One)
Auswechseln der Hotend-Kühlkörpers (CORE One)
Auswechseln der X und Y Motoren (CORE One)
Auswechseln des Druckkühlgebläses (CORE One)
Auswechseln der Stromkabel des Heizbetts (CORE One)
How to replace the Chamber fan (CORE One) [Übersetzung in Arbeit]
Montage beginnen
Introduction
Tools necessary for this chapter
Printer preparation
Removing the printer top cover
Protecting the heatbed
Removing the side cover
Removing the side panel
Removing back cover
Removing xBuddy cover
Disconnecting the cables
Removing the chamber fans
Preparing parts
Placing the chamber fans
Placing the fan grid assembly
Securing the fans
Connecting the cables
Covering the buddy box
Installing the back cover
Installing the side cover
Turning the printer on
Final check
Auswechseln des Hotend-Thermistors (CORE One)
Auswechseln der Hotend-Heizung (CORE One)
Austausch des Riemen-Spanner-Pulley (CORE One)
Austausch des Belt Tensioner Left (CORE One) (Riemenspanner links)
Austausch des Belt Tensioner Right (CORE One) (Riemenspanner rechts)
Auswechseln des Loveboards (CORE One)
Auswechseln der Hotend-Baugruppe (CORE One)
Installation des Nextruder V6 Düsenadapters (CORE One)
Austausch des Türsensors (CORE One)
Austausch des seitlichen Filament-Sensors (CORE One)
Kommentare
Einloggen
um einen Kommentar zu schreiben
Keine Kommentare