Co se stalo?
Tiskárna Original Prusa MINI/+ zobrazuje zprávu: "Nepodařilo se extruder přemístit na výchozí pozici na ose X, ujistěte se, že na ose X není žádná překážka".
Název chyby: Homing error X
Kód chyby: #12304
Chyba je pravděpodobně způsobena špatným pohybem tiskové hlavy podél osy X.
Jak to spravit?
Pohyb osy X
Ujistěte se, že v dráze osy X nejsou žádné překážky. Kolem řemene nebo na hlazené tyči může být například přilepený kousek filamentu z předchozího tisku.
Napnutí řemene osy X
Zkontrolujte napnutí řemene osy X a seřiďte jej podle našeho zaměřeného článku o seřízení řemene.
Sestava X-endu
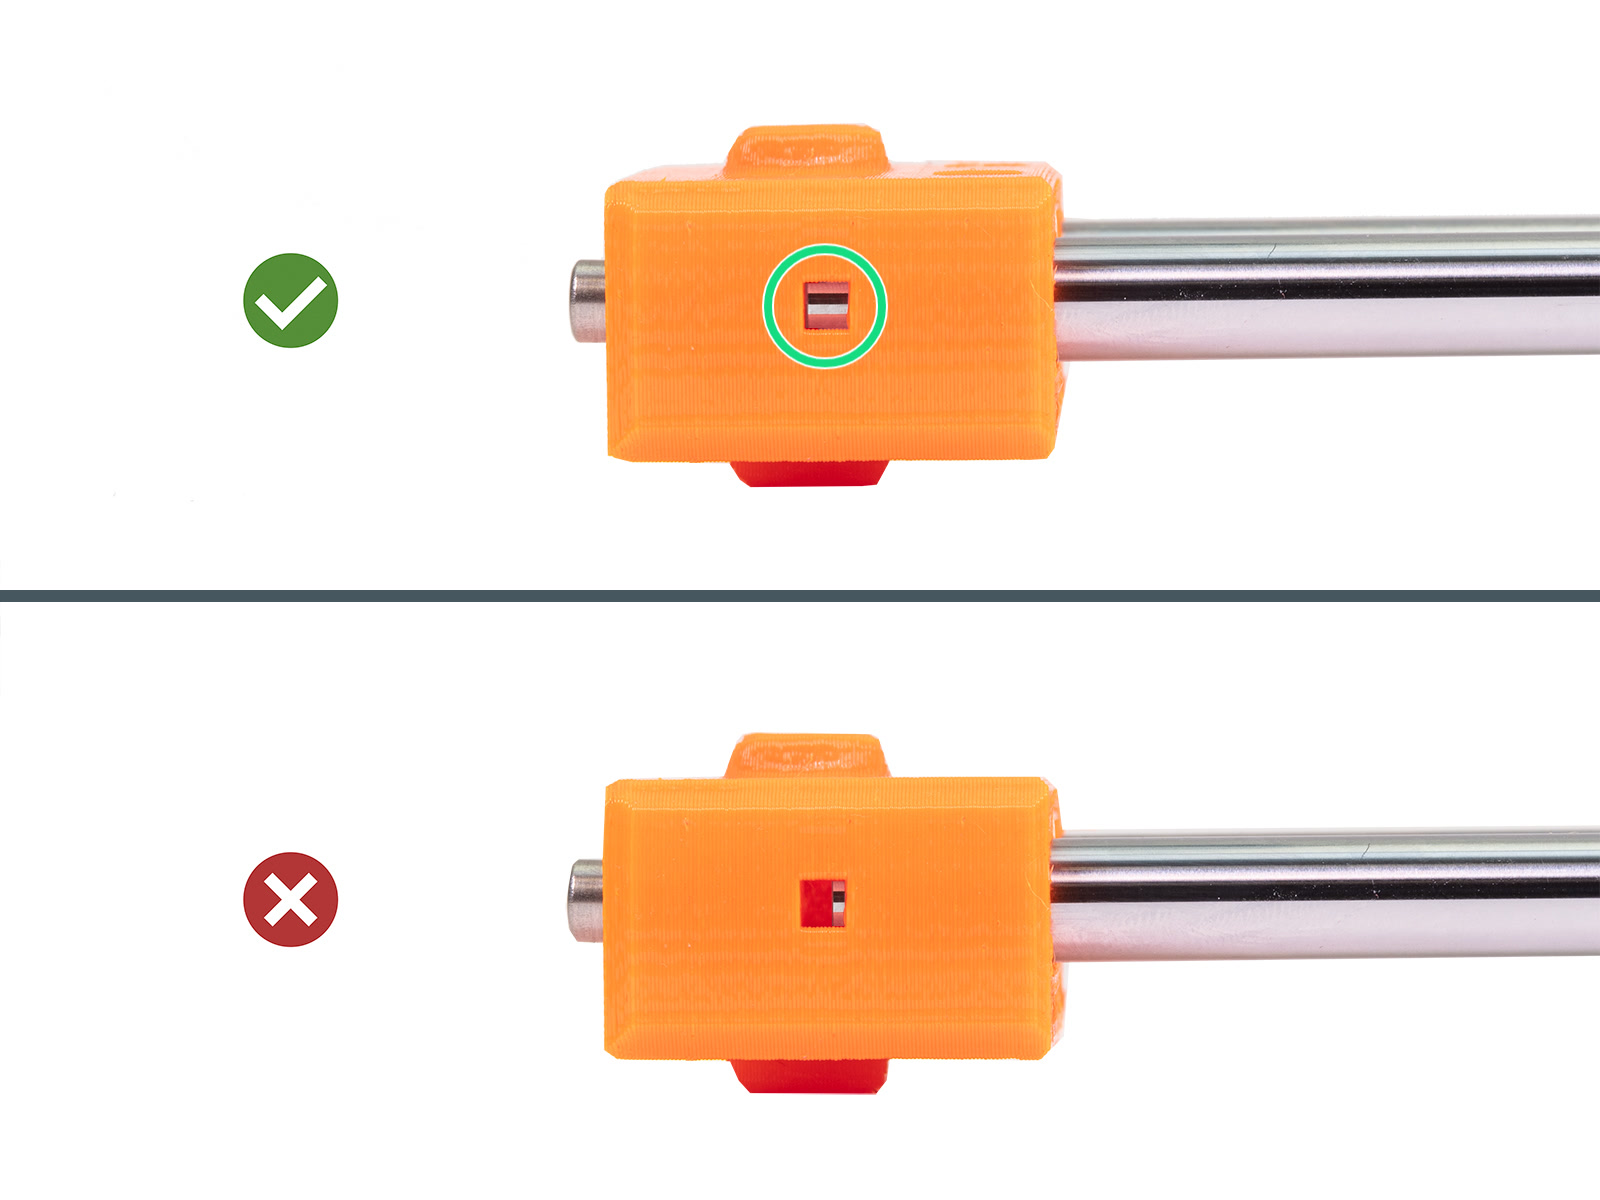
Zkontrolujte, zda je díl X-end zcela nasazen na hlazené tyče. Podívejte se ze strany na díl X-end do inspekčního otvoru a ujistěte se, že je hlazená tyč zasunuta až do plastového dílu.Tuto kontrolu zopakujte i pro druhou hlazenou tyč osy X.
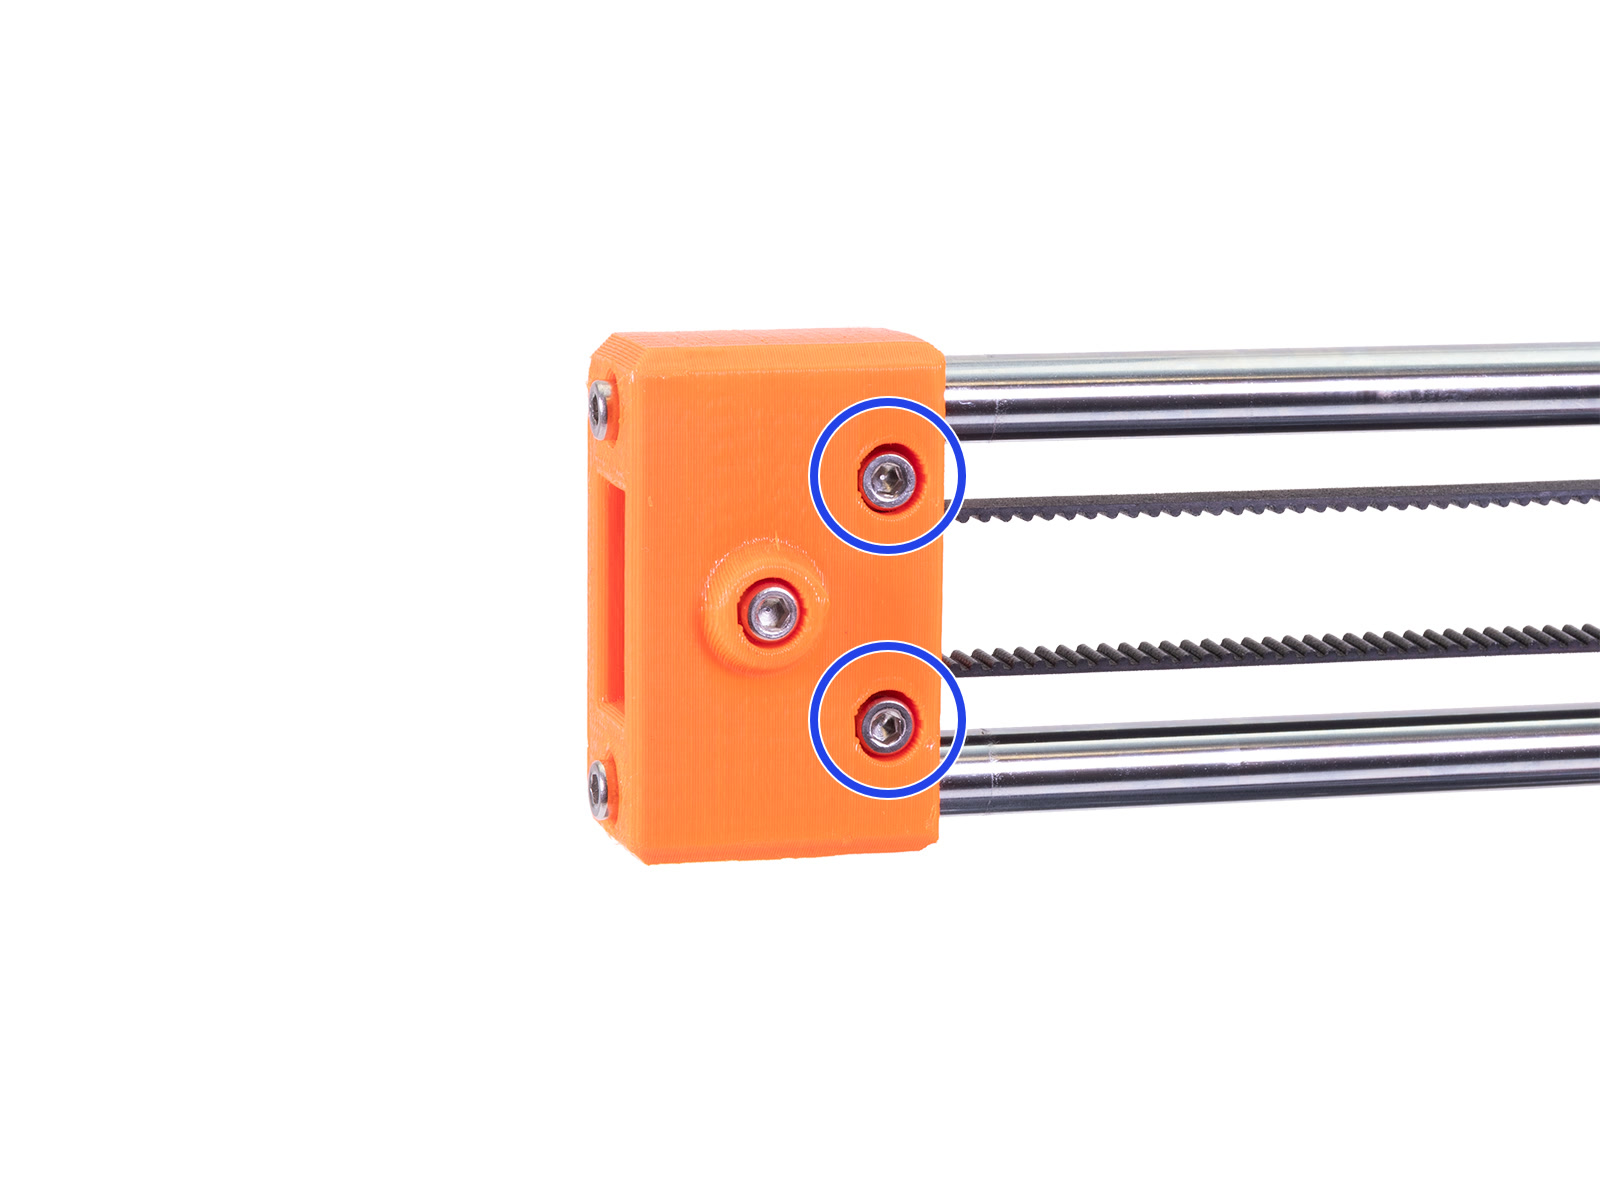
Ujistěte se, že dva šroubky, které zajišťují díl X-end nejsou volné. Pokud nejsou v jedné rovině nebo pod s dílem X-end, brání plnému rozsahu pohybu osy X, což může způsobit chybu.
Řemenička motoru osy X
Řemenička motoru osy X je připevněna k hřídeli motoru osy X. Hřídel motoru má jednu plochou stranu. Řemenička má dva stavěcí šrouby, ujistěte se, že jeden ze dvou stavěcích šroubů je zarovnán s plochou částí hřídele motoru. Ujistěte se, že i druhý stavěcí šroub je dotažen, ne však příliš, a že mezi řemeničkou a motorem je malá mezera.
Izolovaný motor osy X s připojenou řemeničkou.
Pro přístup k řemeničce motoru osy X postupujte podle následujících kroků:
- Povolte horní šroub M3x25. Inspekční dvířka se mohou uvolnit, dočasně jej vyjměte.
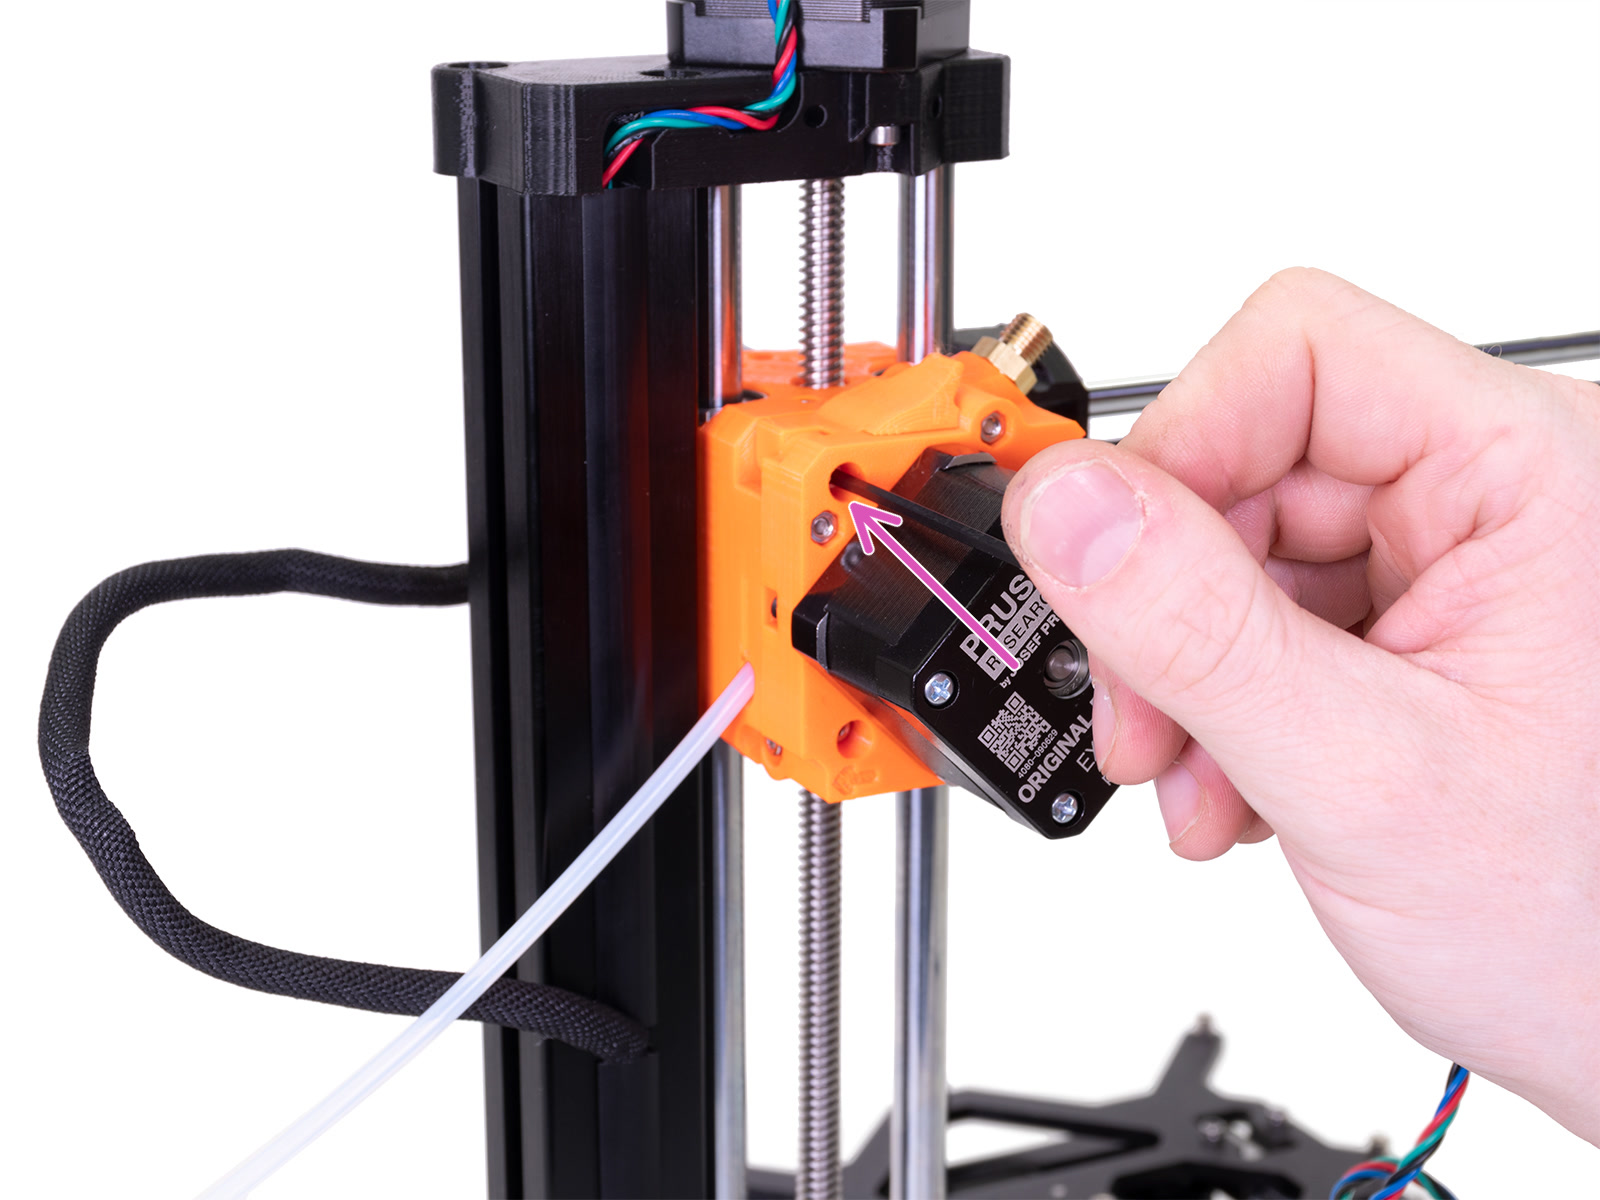
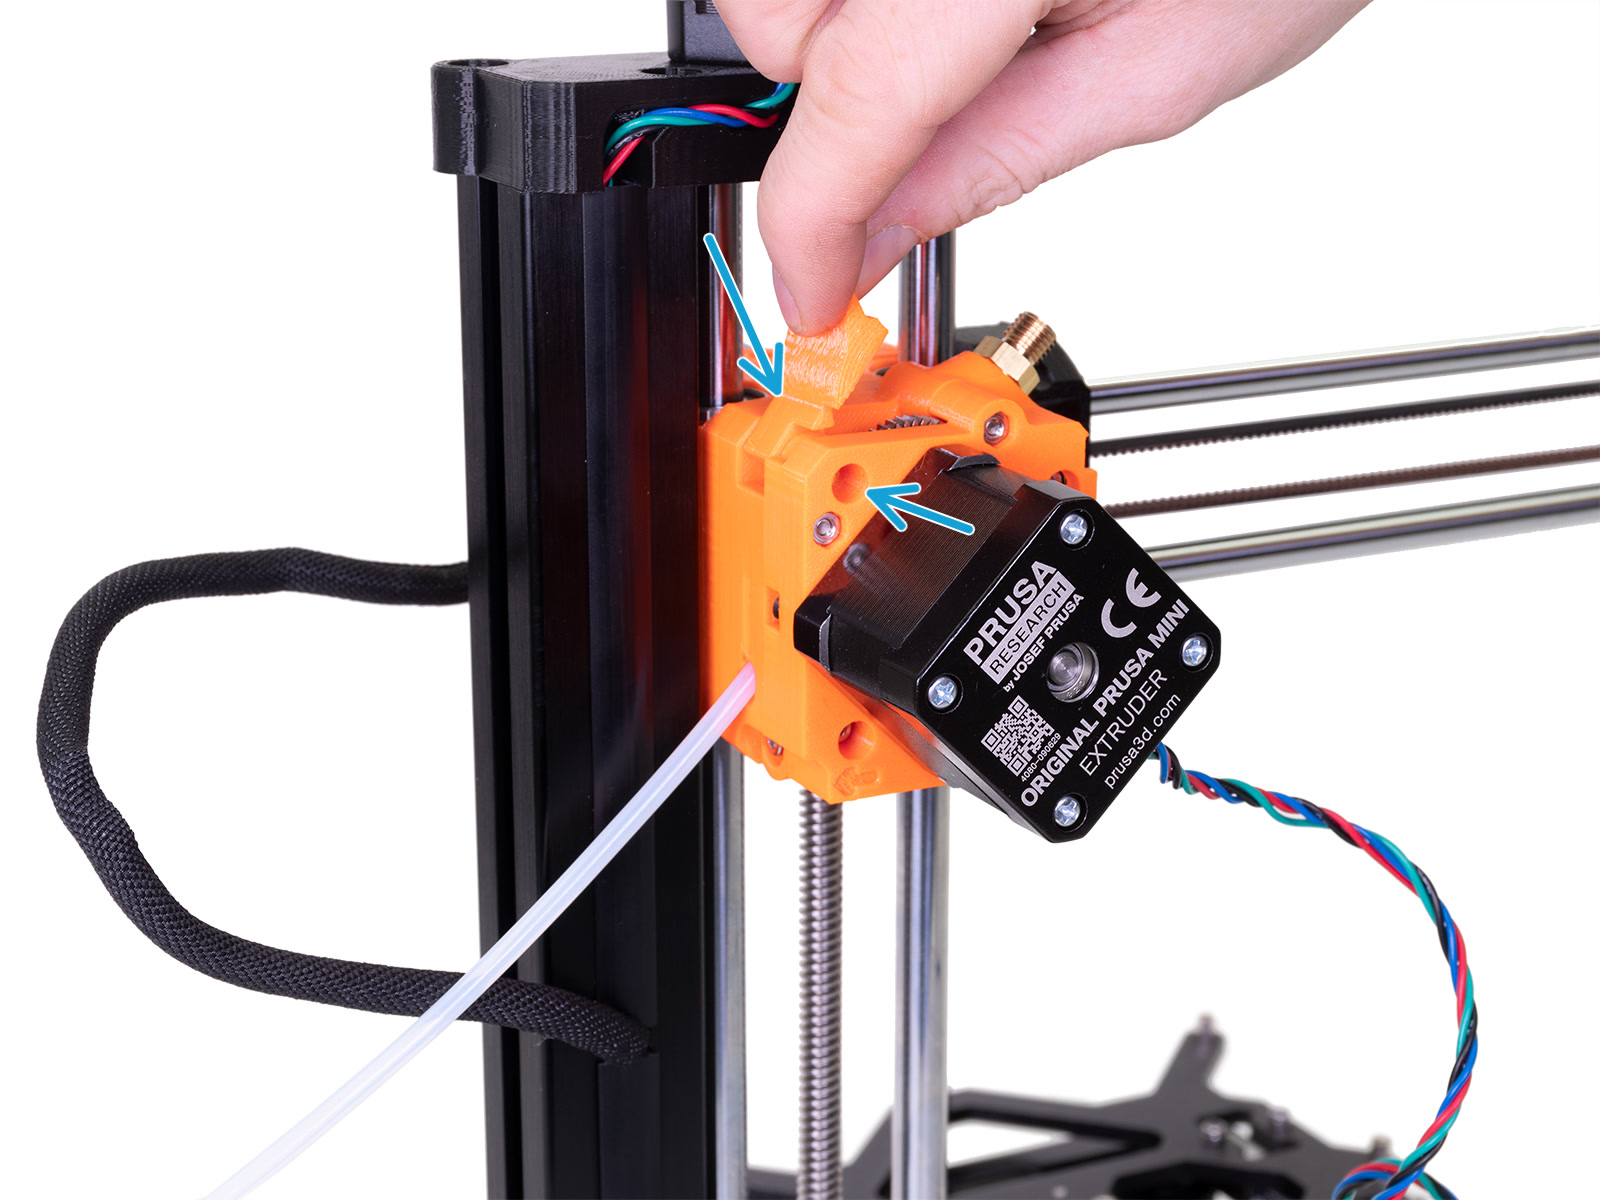
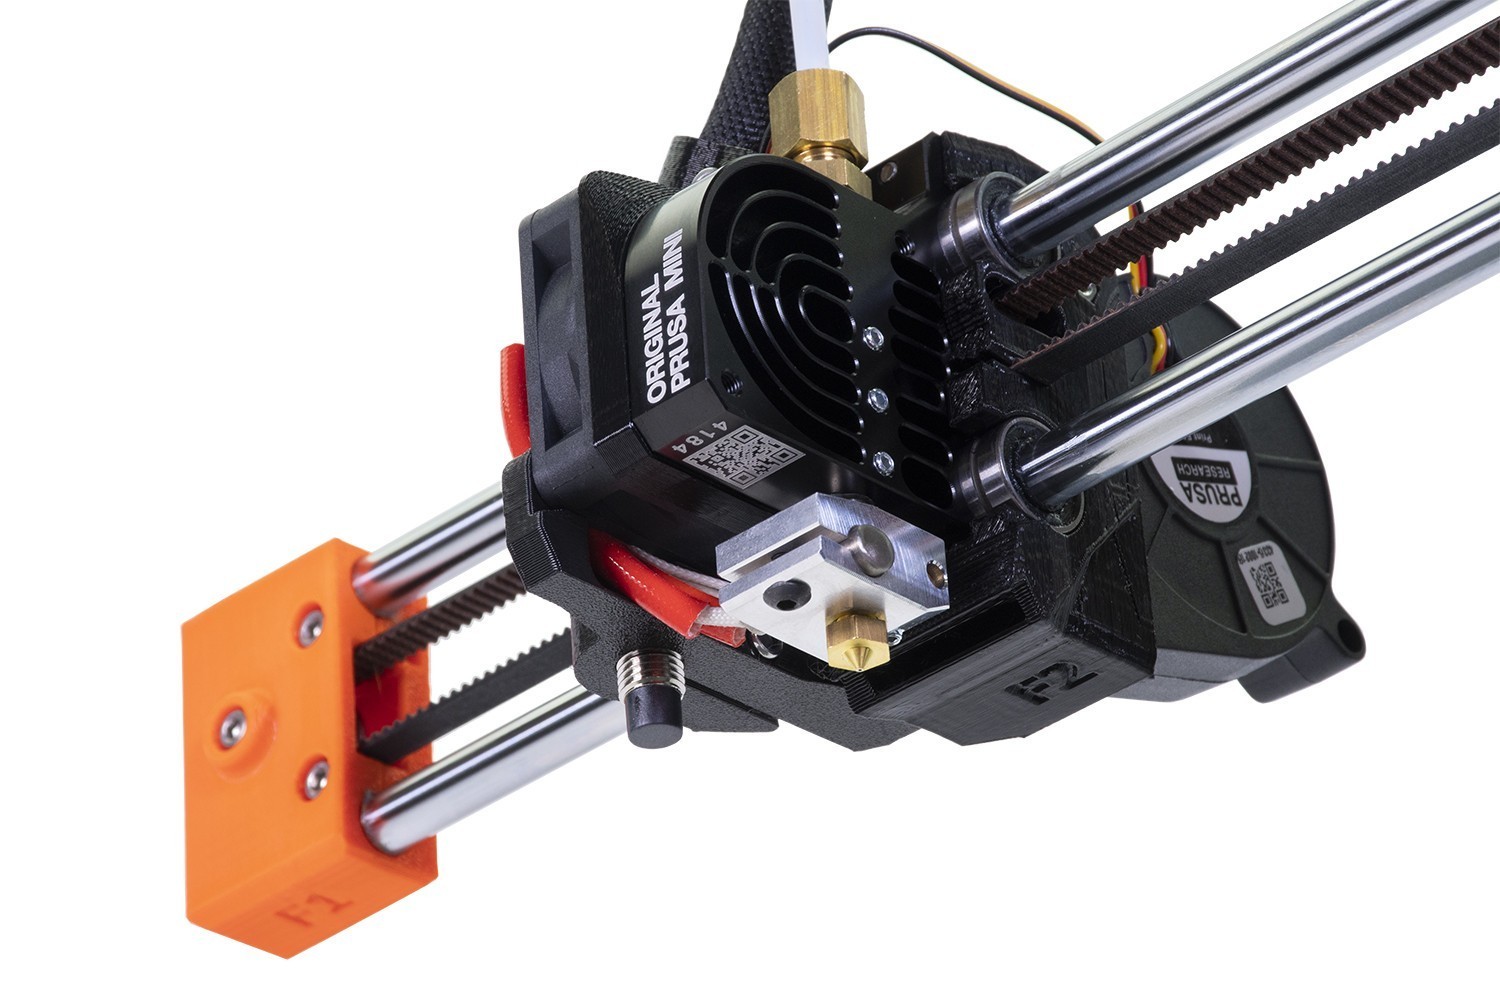
- Díly držte volnou rukou! Povolte spodní šroub M3x25 a vyjměte blok extruderu.
 |  |
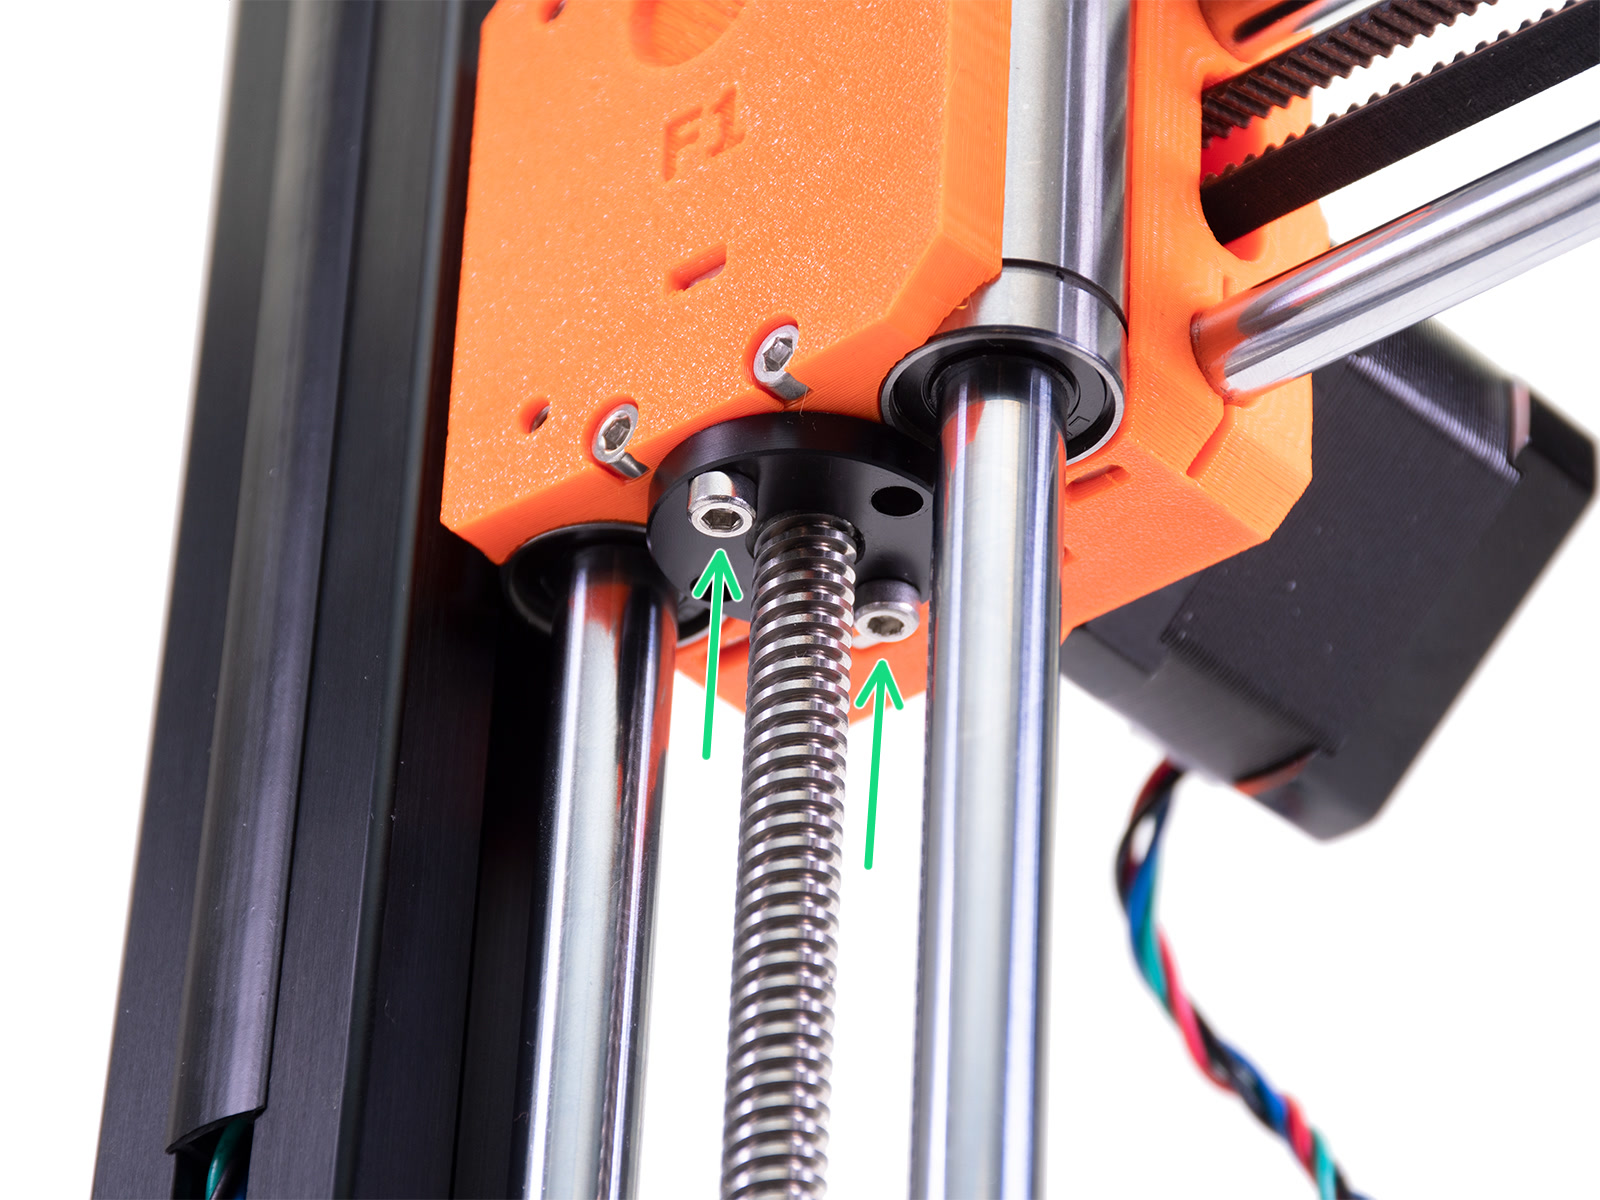
- Povolte šrouby M3x20 držící trapézovou matku.
- Díly držte volnou rukou! Povolte šrouby M3x30 držící blok osy X.


- Přesuňte tiskovou hlavu a podívejte se do inspekčního otvoru řemeničky osy X.. Zastavte, jakmile uvidíte změnu v inspekčním otvoru, když je jeden ze dvou stavěcích šroubů řemeničky zarovnán s otvorem.
- Porovnejte pozici stavěcího šroubu s plochou částí na hřídeli motoru.
- V případě uvolněného nebo špatně seřízeného stavěcího šroubu utáhněte jeden stavěcí šroub proti ploché části hřídele motoru a zajistěte, aby byl přiměřeně utažený i druhý stavěcí šroub. K tomuto kroku použijte 2,0mm inbusový klíč.
- Znovu sestavte tiskárnu provedením výše uvedených kroků v opačném pořadí.