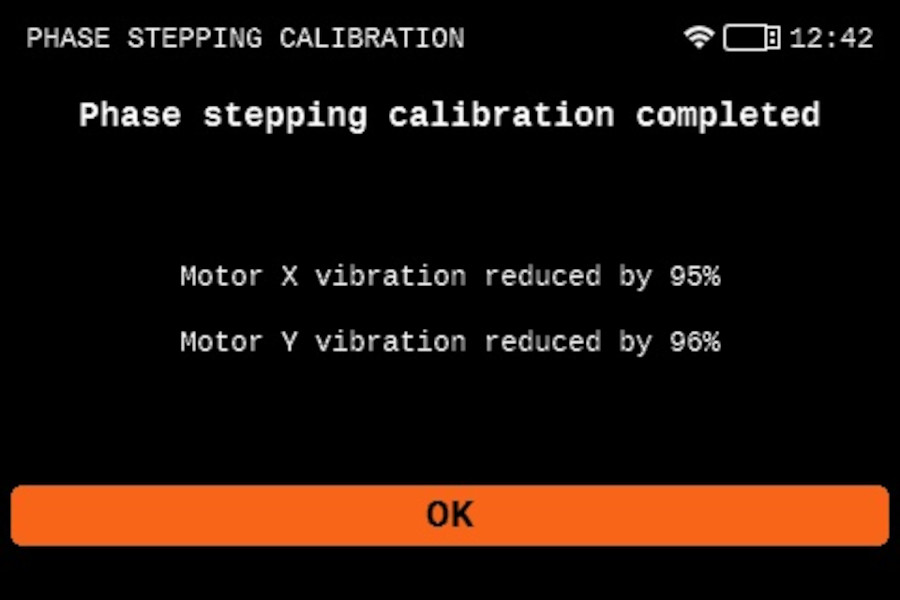
The Phase Stepping feature customizes the drive signal for each motor, customizing the drive signal for each motor. This addresses discrepancies like visible fine artifacts (VFAs) and noise caused by the natural variance in stepper motor manufacturing.
Phase Stepping Calibration
The phase stepping calibration is part of the starting wizard. To access the feature without the selftest, go to LCD Menu -> Control -> Calibrations & Tests -> Phase Stepping Calibration.
The printer will move the print head (in the case of the Multi-Tool it will select the first print head) to the middle of the bed and move the tool diagonally for the X and Y axes at different speeds. During that time, data from the accelerometer located on the Dwarf board will be collected. The goal is to measure the characteristics of the motors and store these settings.

Calibration failed
If the Phase stepping calibration is interrupted and a "Calibration failed" message shows on the screen, check the printer's belt tension.
If the issue persists even after the tension is correct, deviating towards higher or lower values might be necessary. Be sure to make the same adjustment on both sides.
Phase Stepping and crash detection
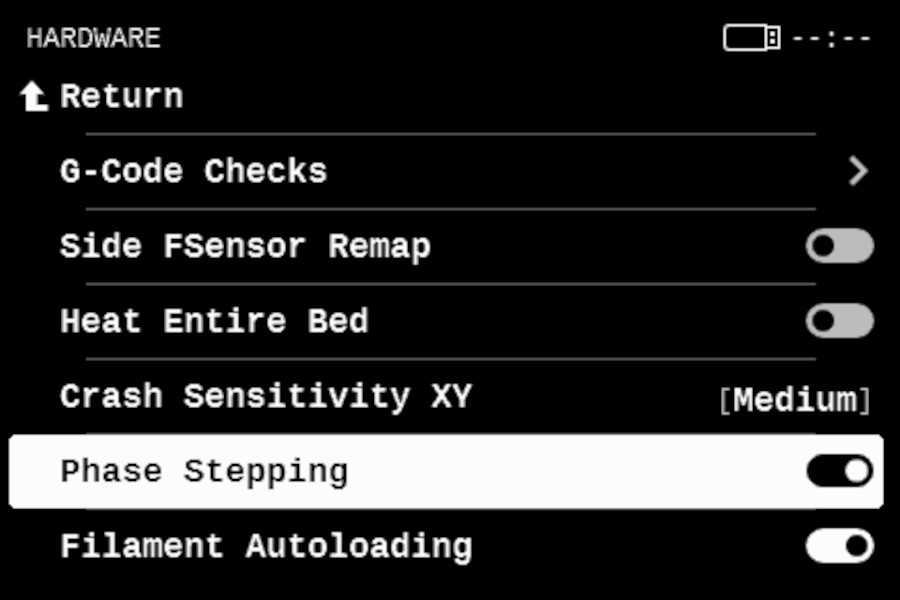
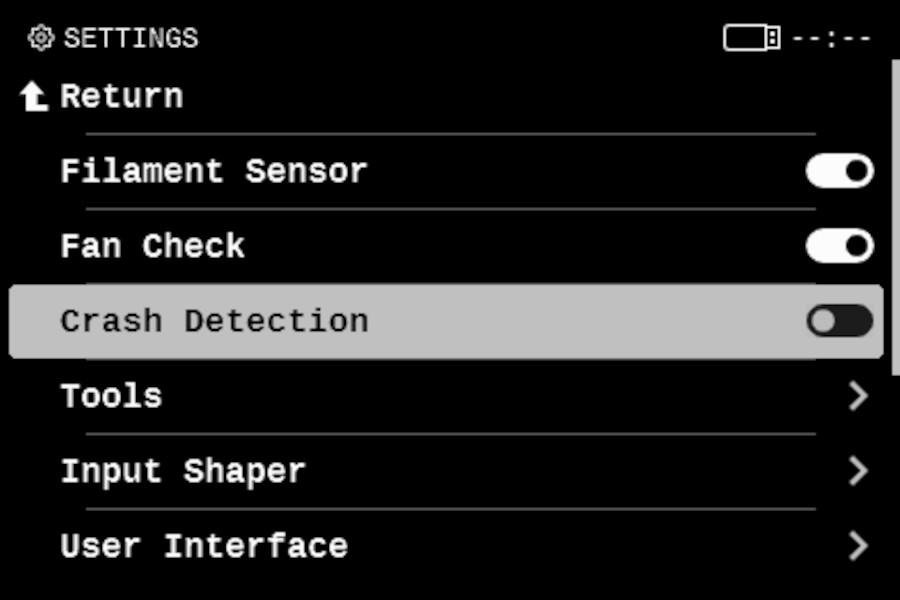
Once the Phase stepping is enabled, either by the menu or through the selftest, the crash detection is automatically disabled. At the moment, it is not possible to use both features at the same time. To disable Phase stepping and enable Crash detection, go into the printer menu to Settings -> Hardware -> Phase stepping, and set it to disabled. Then, go to the Settings menu to Crash Detection to activate it.
 |  |
4 comments
Hello, which FW version do you have?