What happened?
The printer is showing the error "Hotend thermal runaway: Check the print head thermistor wiring for potential damage".
Error name: Hotend thermal runaway
Error code: #31204 (CORE One) #35204 (CORE One L) #26204 (MK4S) #13204 (MK4) #27204 (MK3.9S) #21204 (MK3.9)
The error will show if the temperature on the nozzle drops by 12 ºC for an extended period of time. This temperature drop would usually not be an issue, but if the heat is not recovered after 60 seconds the error will happen. In this case, the printer will stop the heating and display the message on the screen.
How to fix it?
This error can be caused by any damage to the hotend heater or the hotend thermistor.
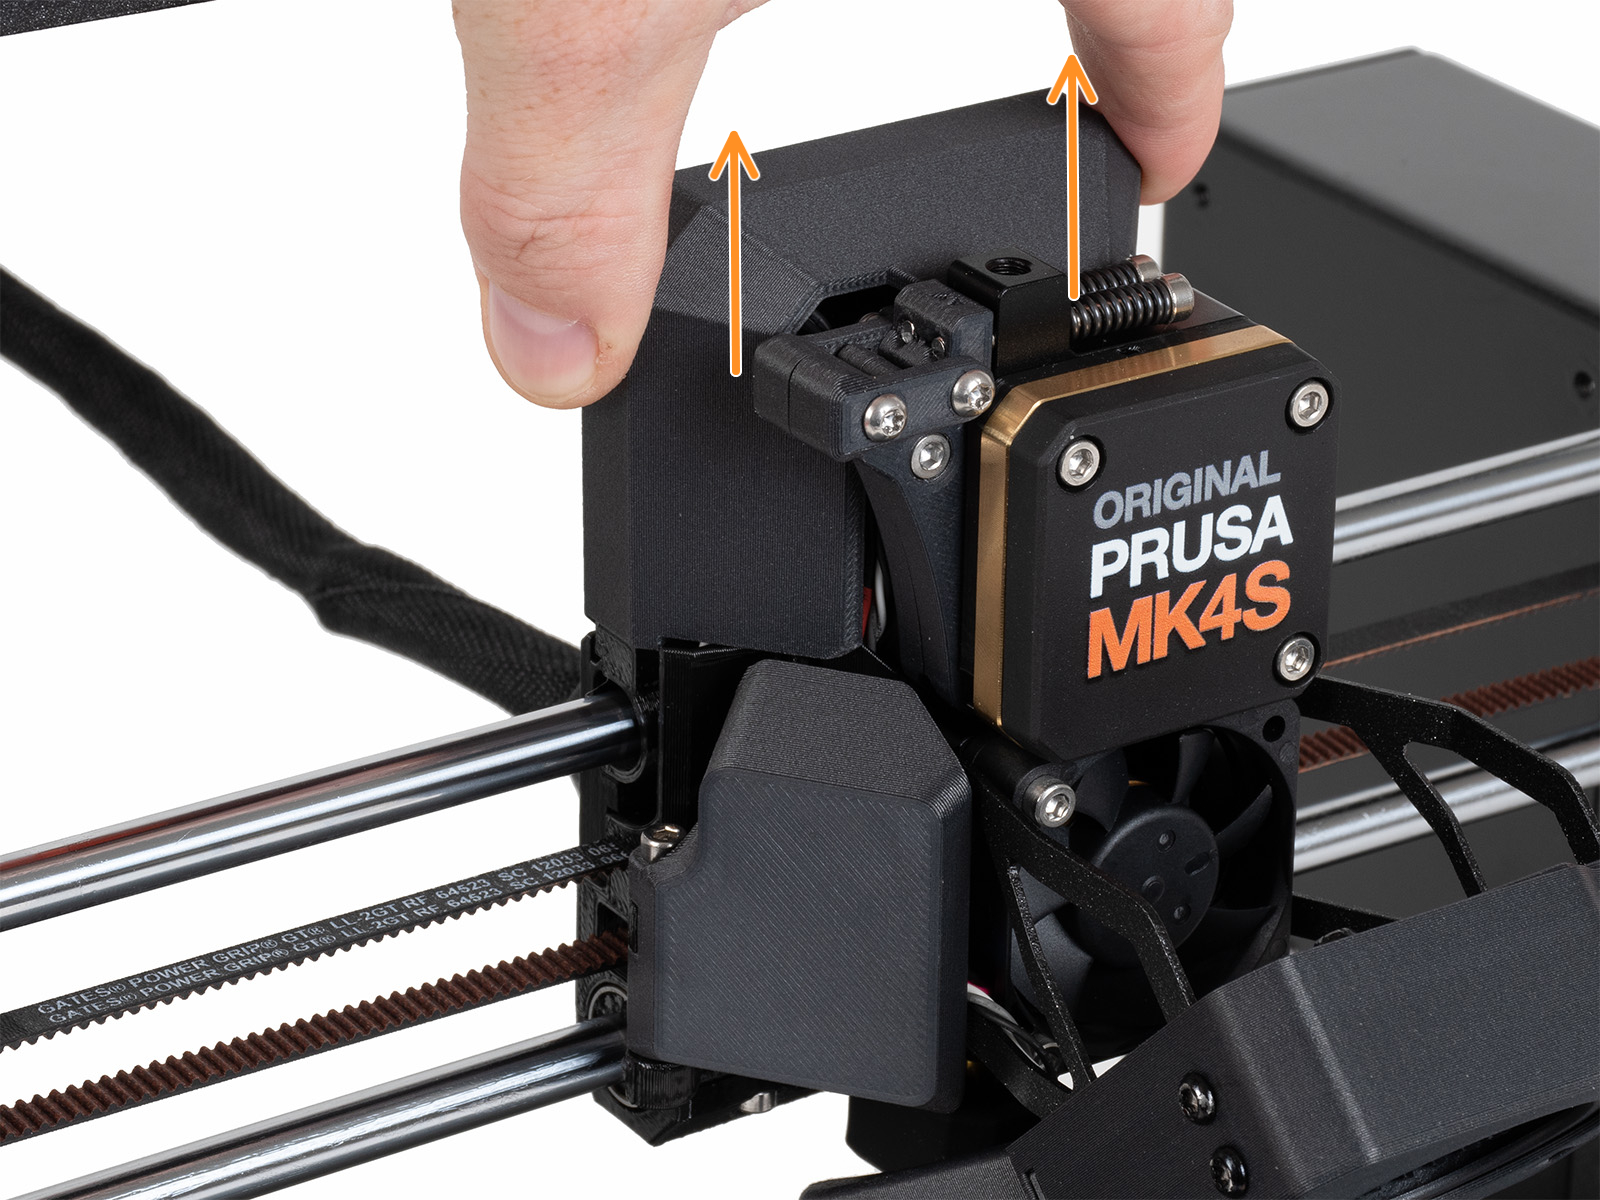
Ensure that the hotend thermistor is fully inserted in the heater block, and not loose. If needed, use these guides as a reference on how to access the hotend, and in addition to these, remove the silicone sock if installed, to have access to the set screws that hold the thermistor and heater in place.
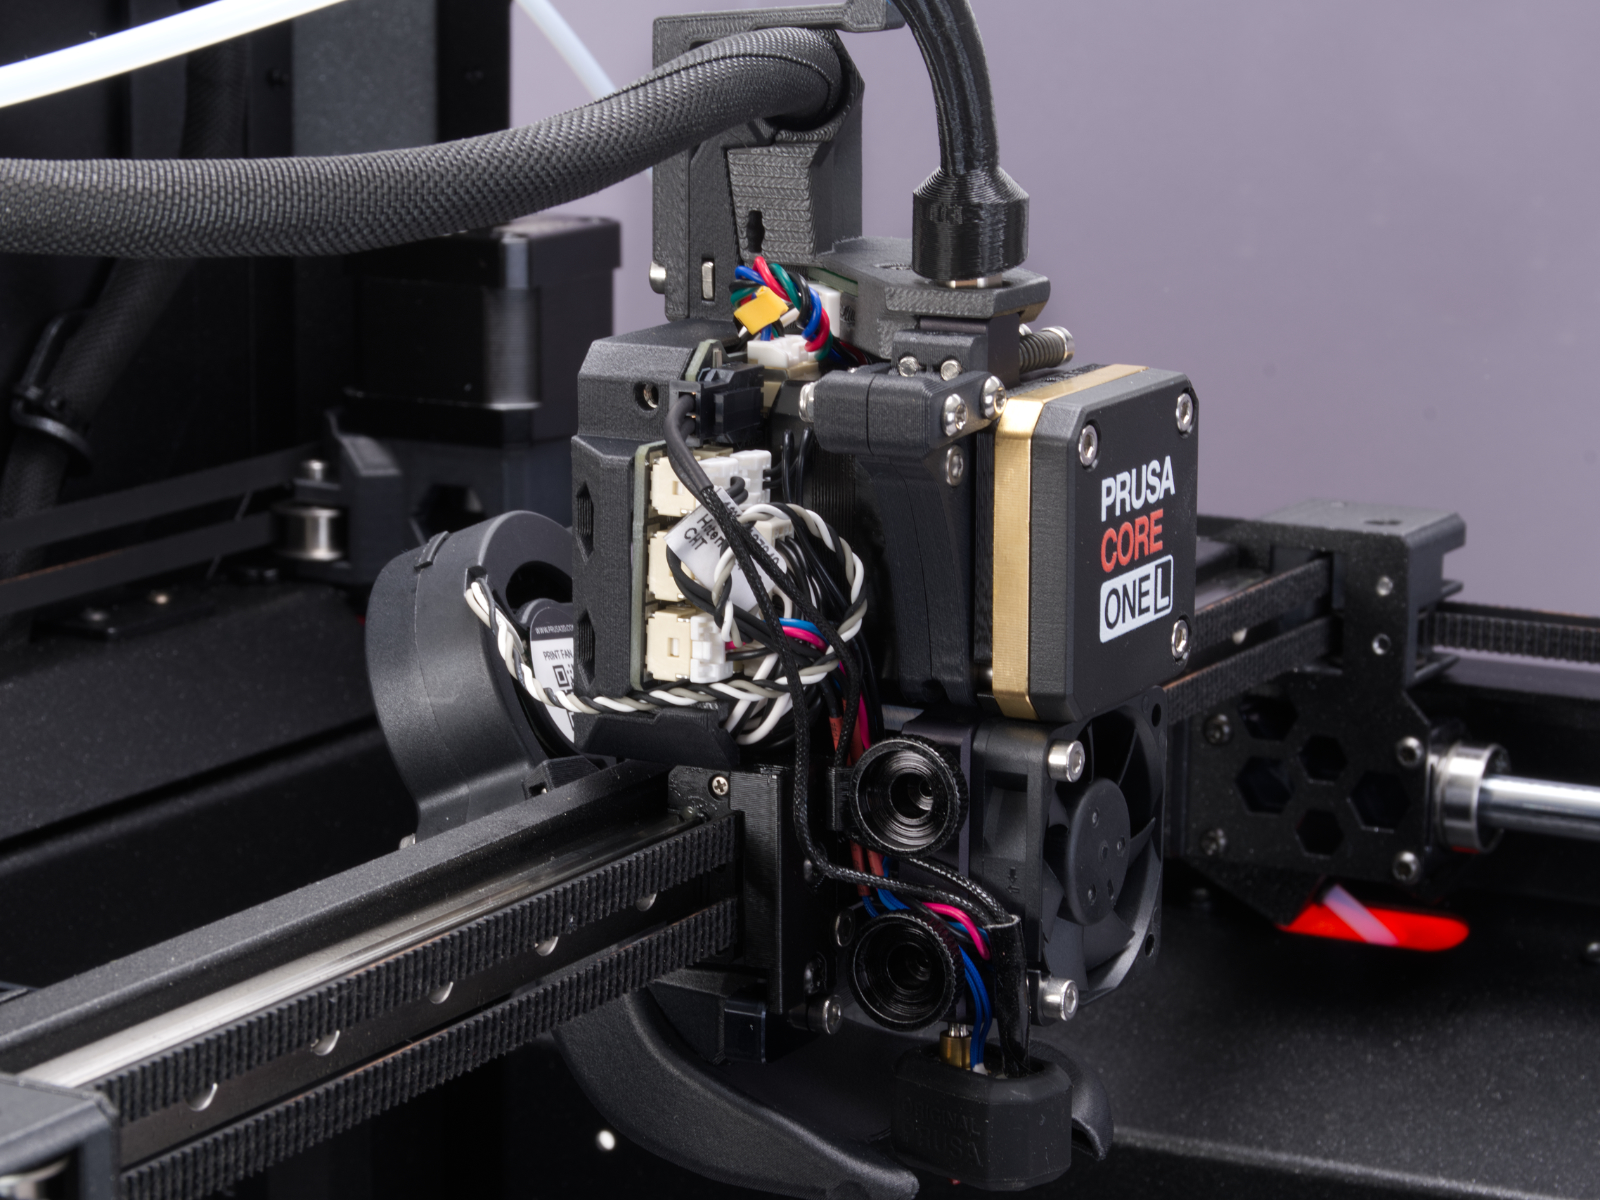
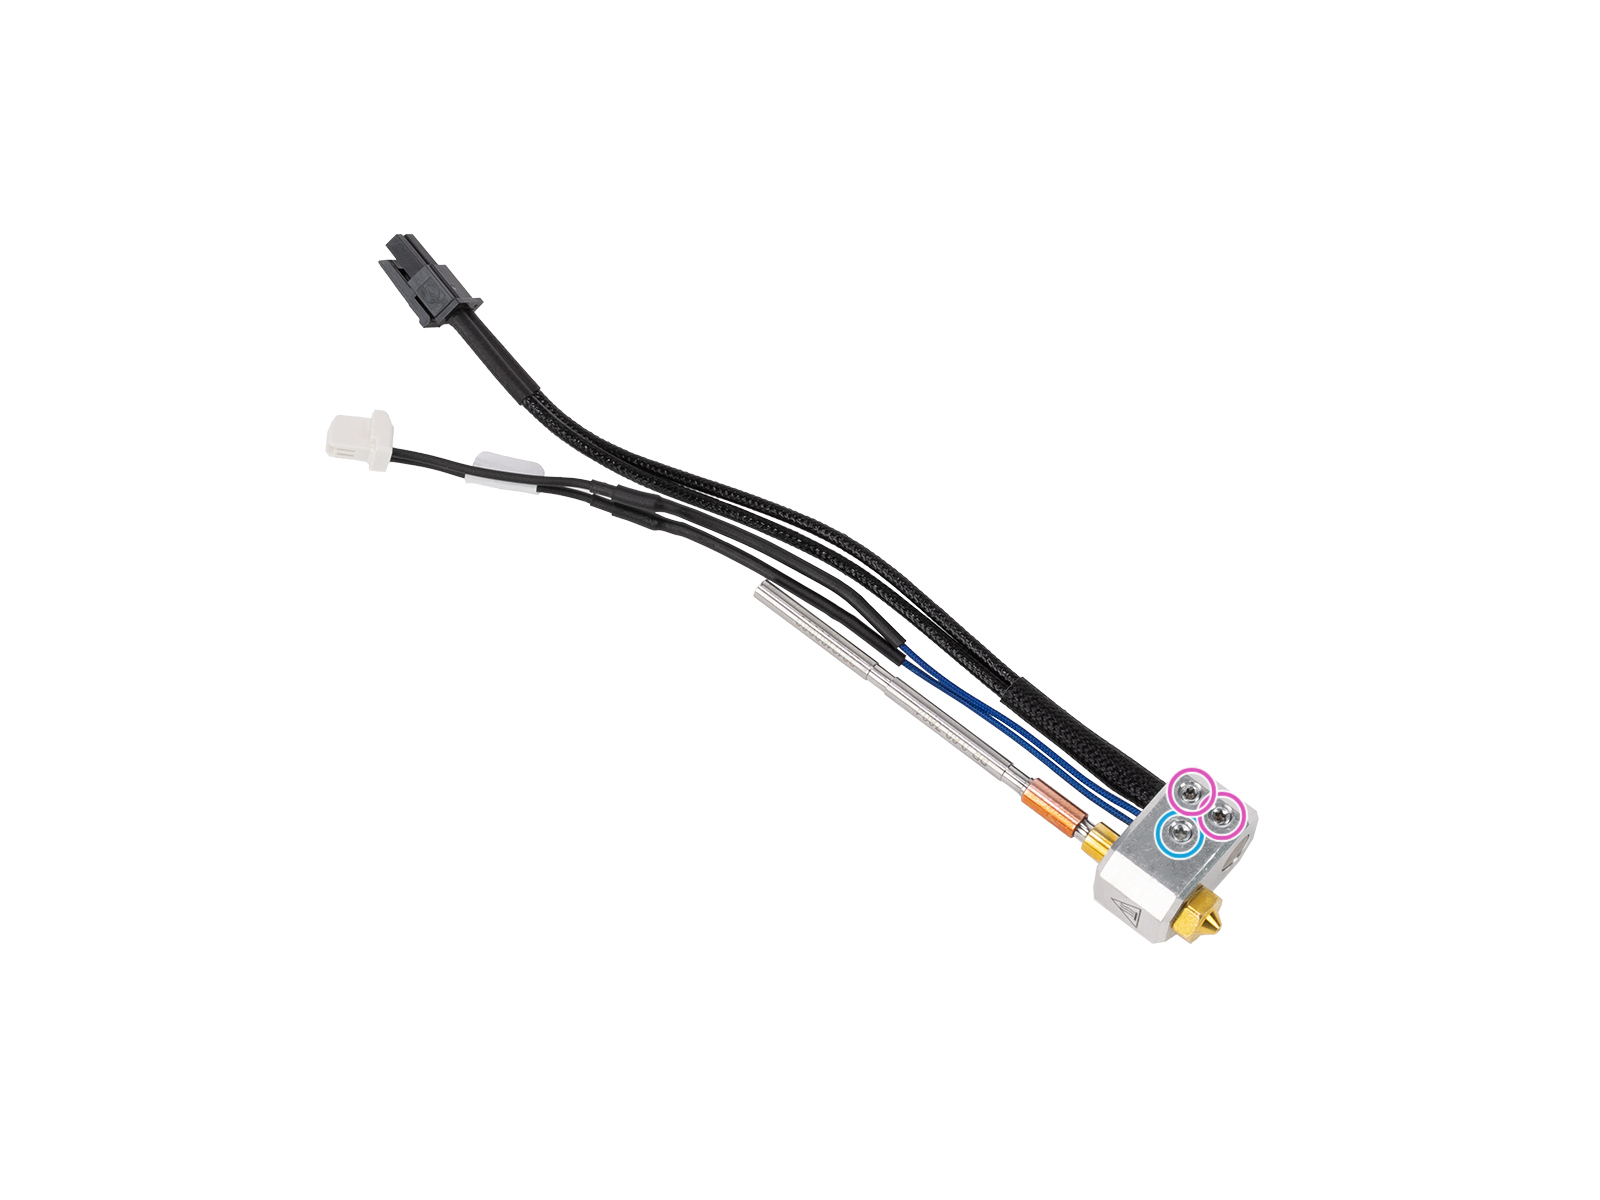 Nextruder hotend with view of its heater block, with the set screws holding the thermistor and the heater in evidence.
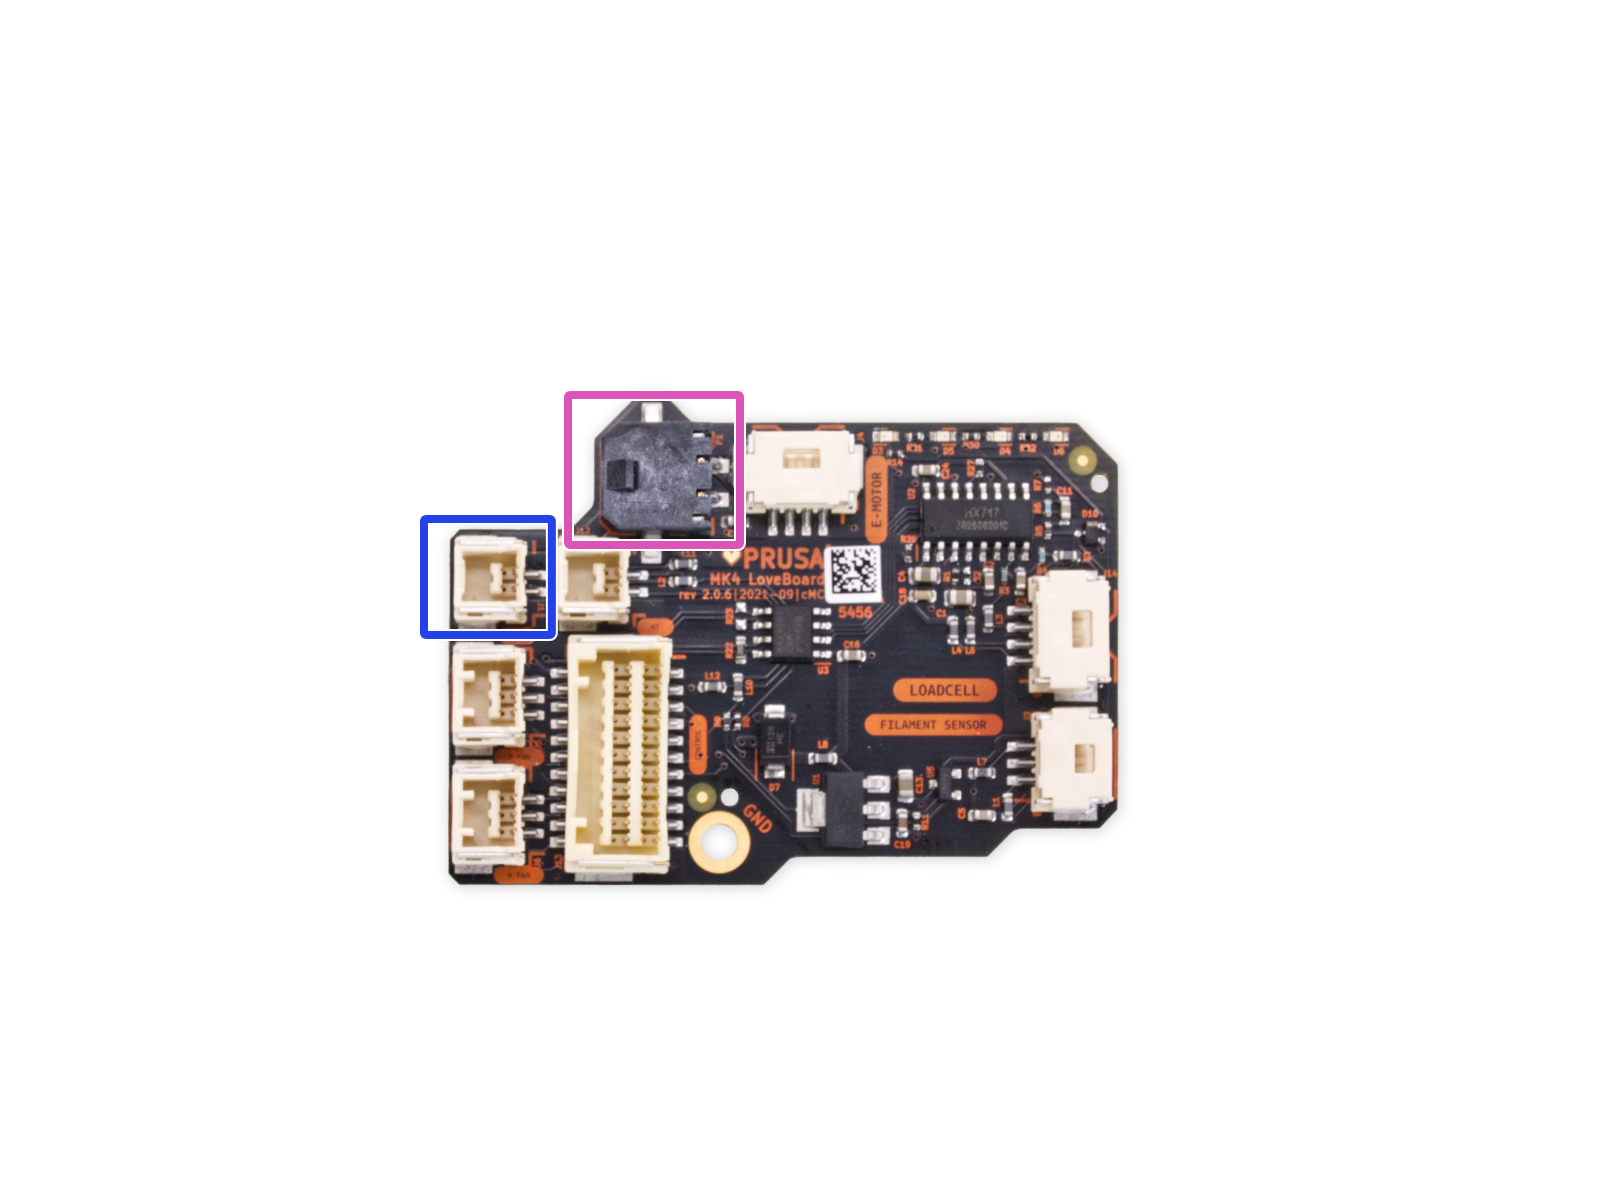
Access the LoveBoard and check the heater and thermistor cables. Make sure that they are connected correctly and that there is no damage along their length.
 |  |
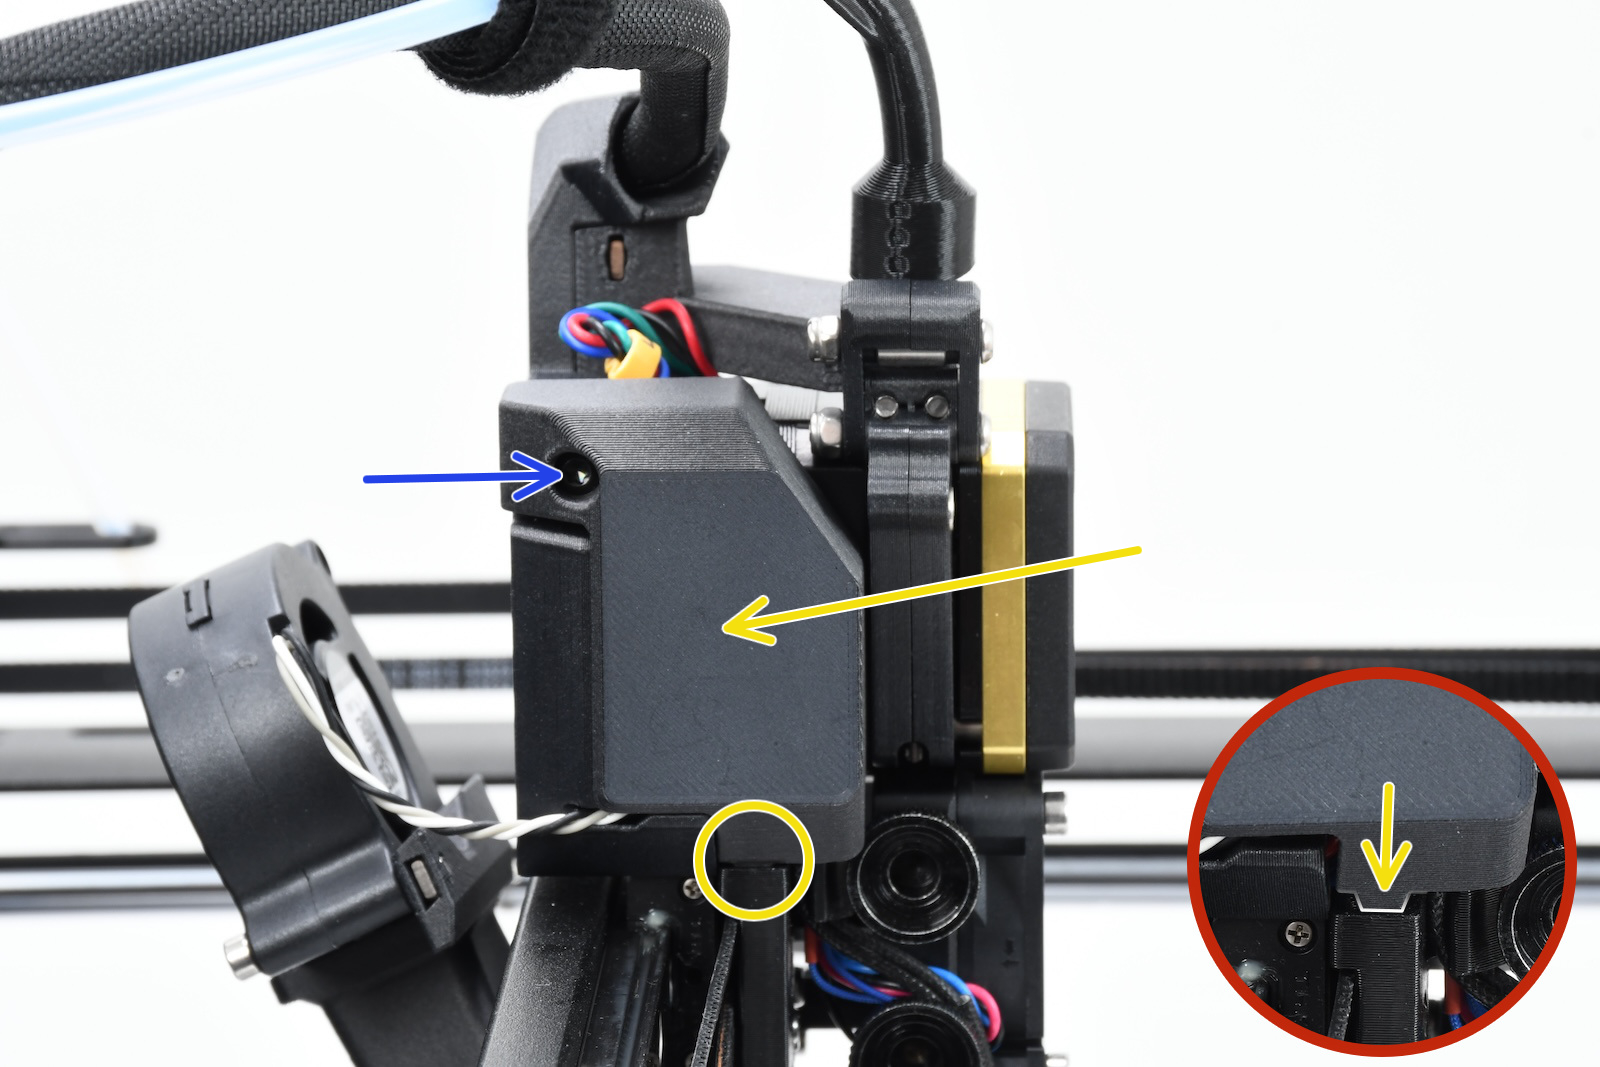
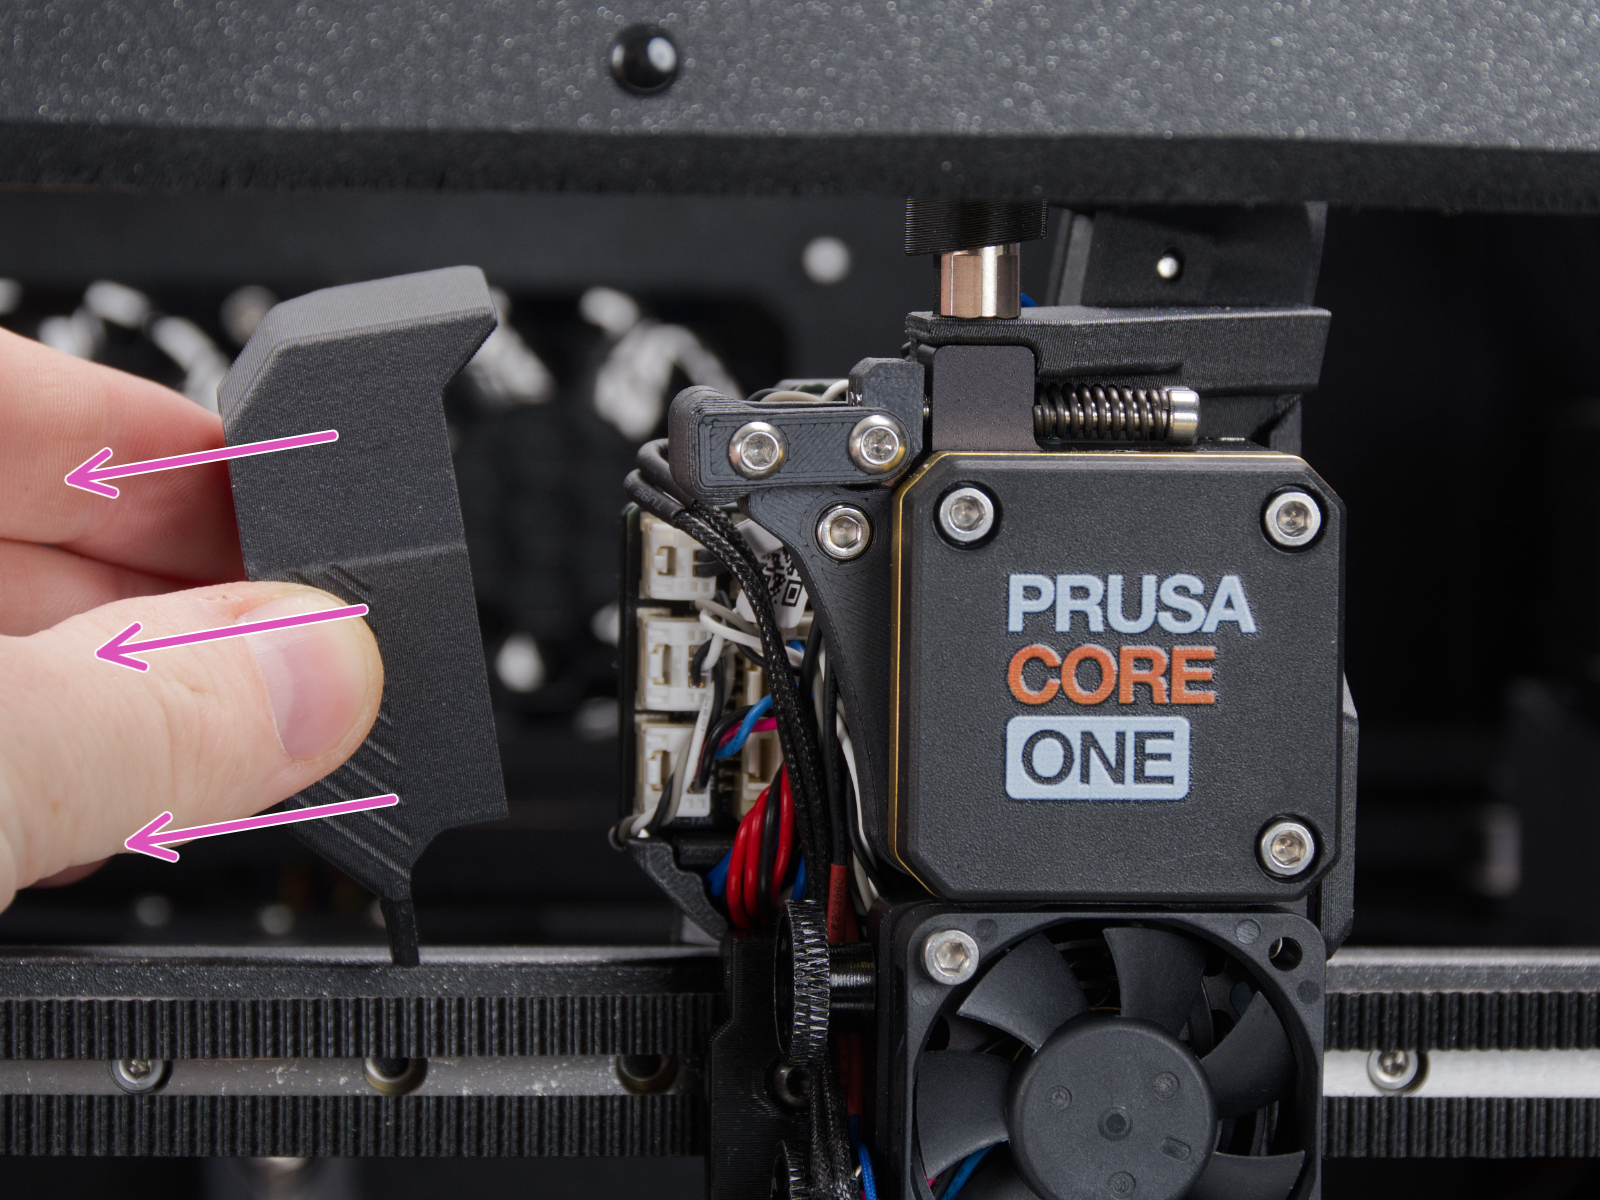
How to access the LoveBoard left side - CORE One
Using a T10 Torx key, loosen and remove one M3x6rT bolt. Then, release the side cover.
 |  |
How to access the LoveBoard left side - CORE One L
Using a 2.5mm Allen key, remove the M3x10 screw on top of the cover to release it.
 |  |
How to access the LoveBoard left side - MK4/S, MK3.9/S
Slide the LoveBoard cover upward to remove it from the Nextruder
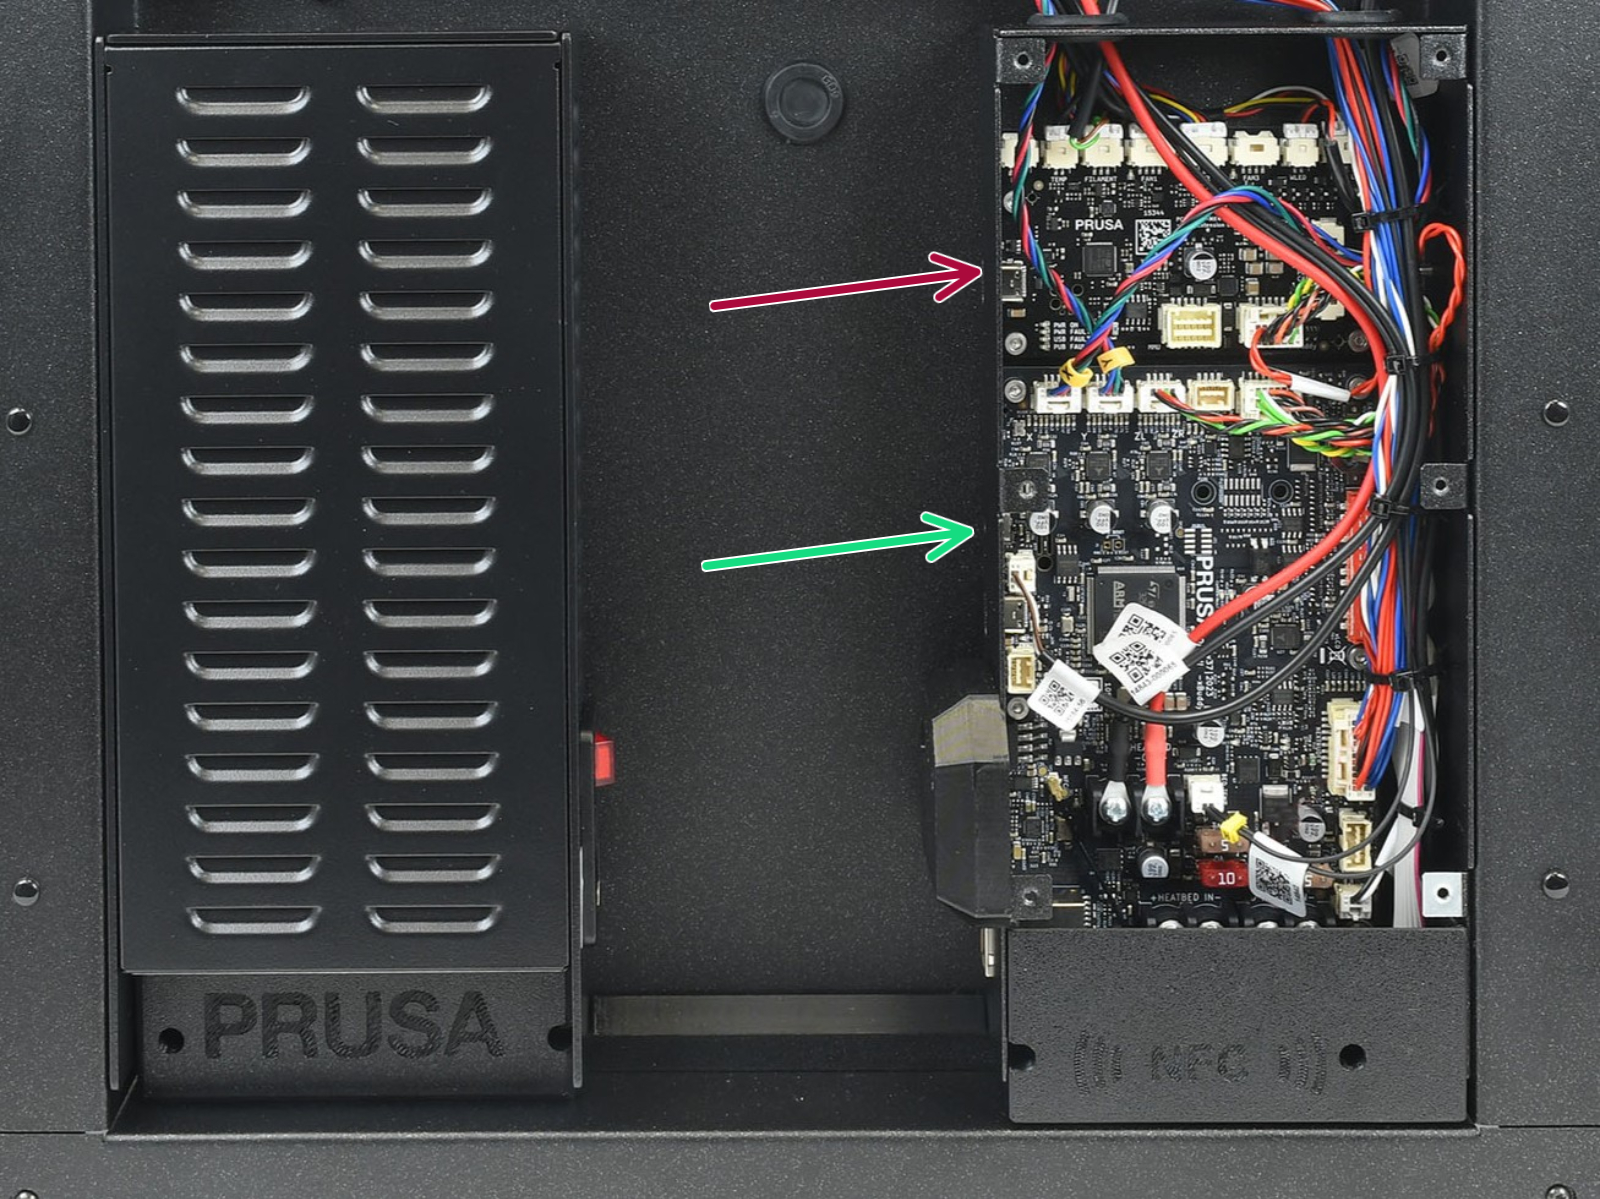
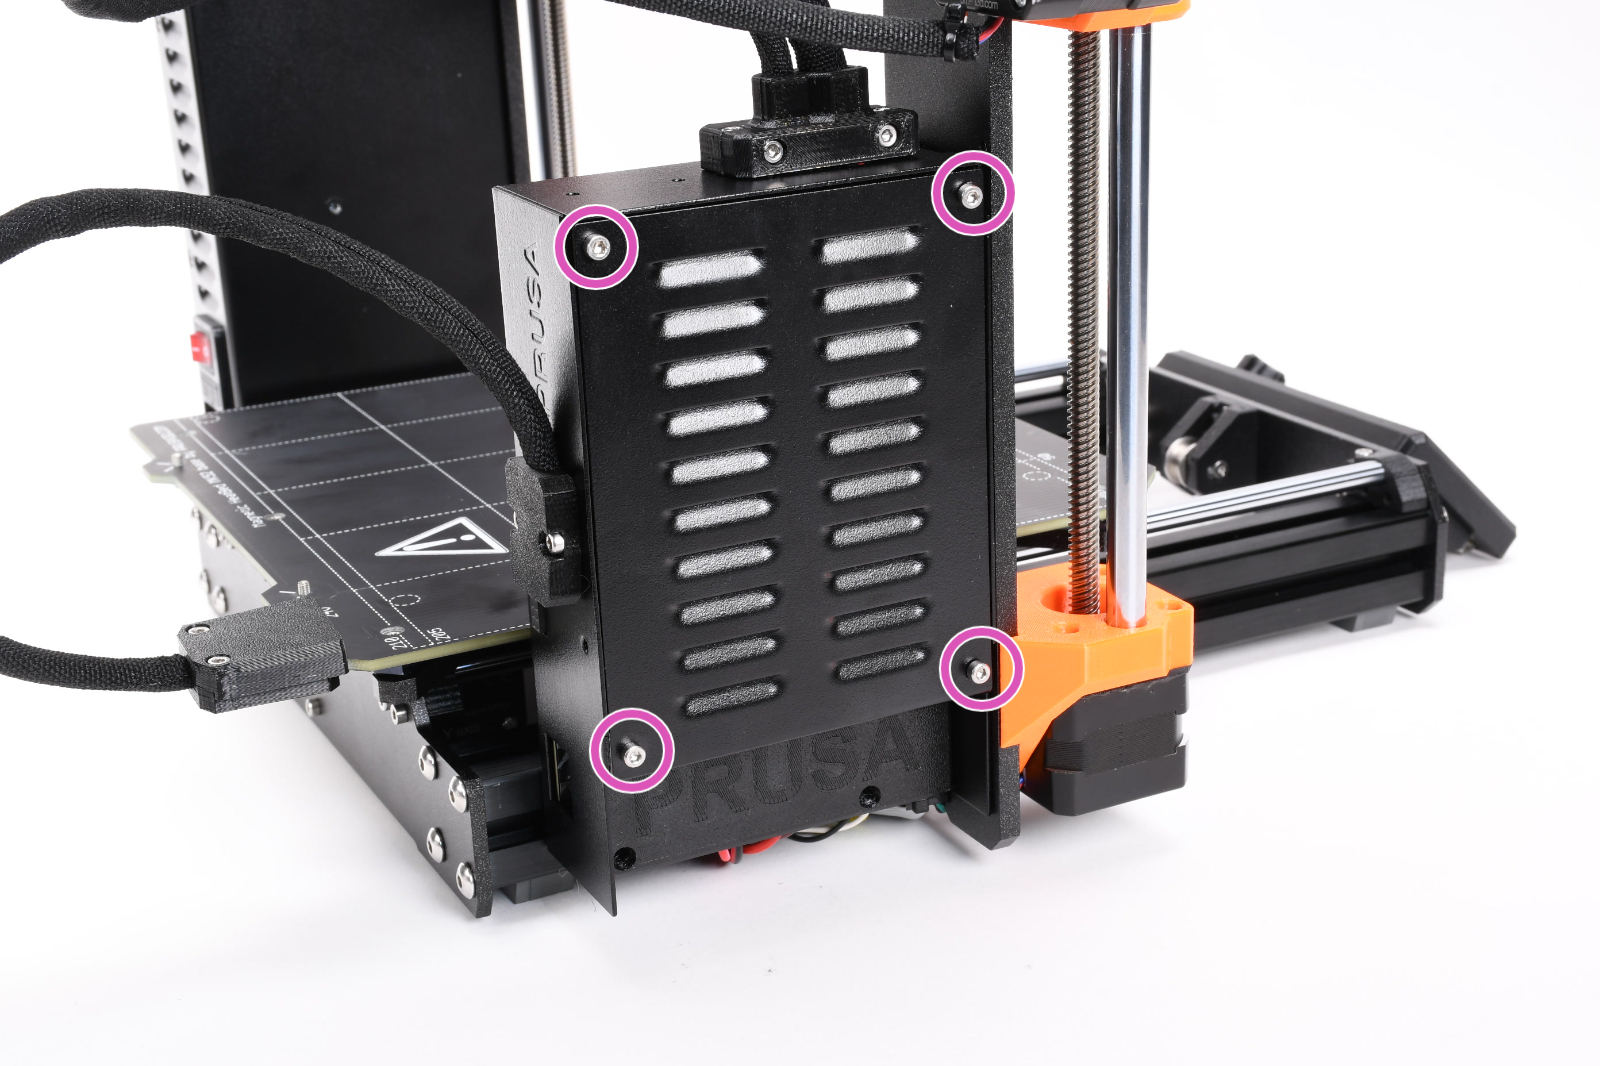
On the xBuddy board, check if the fuse that protects the extruder is not damaged.
Make sure that the Loveboard main cable is correctly connected to the xBuddy board, and not pinched.
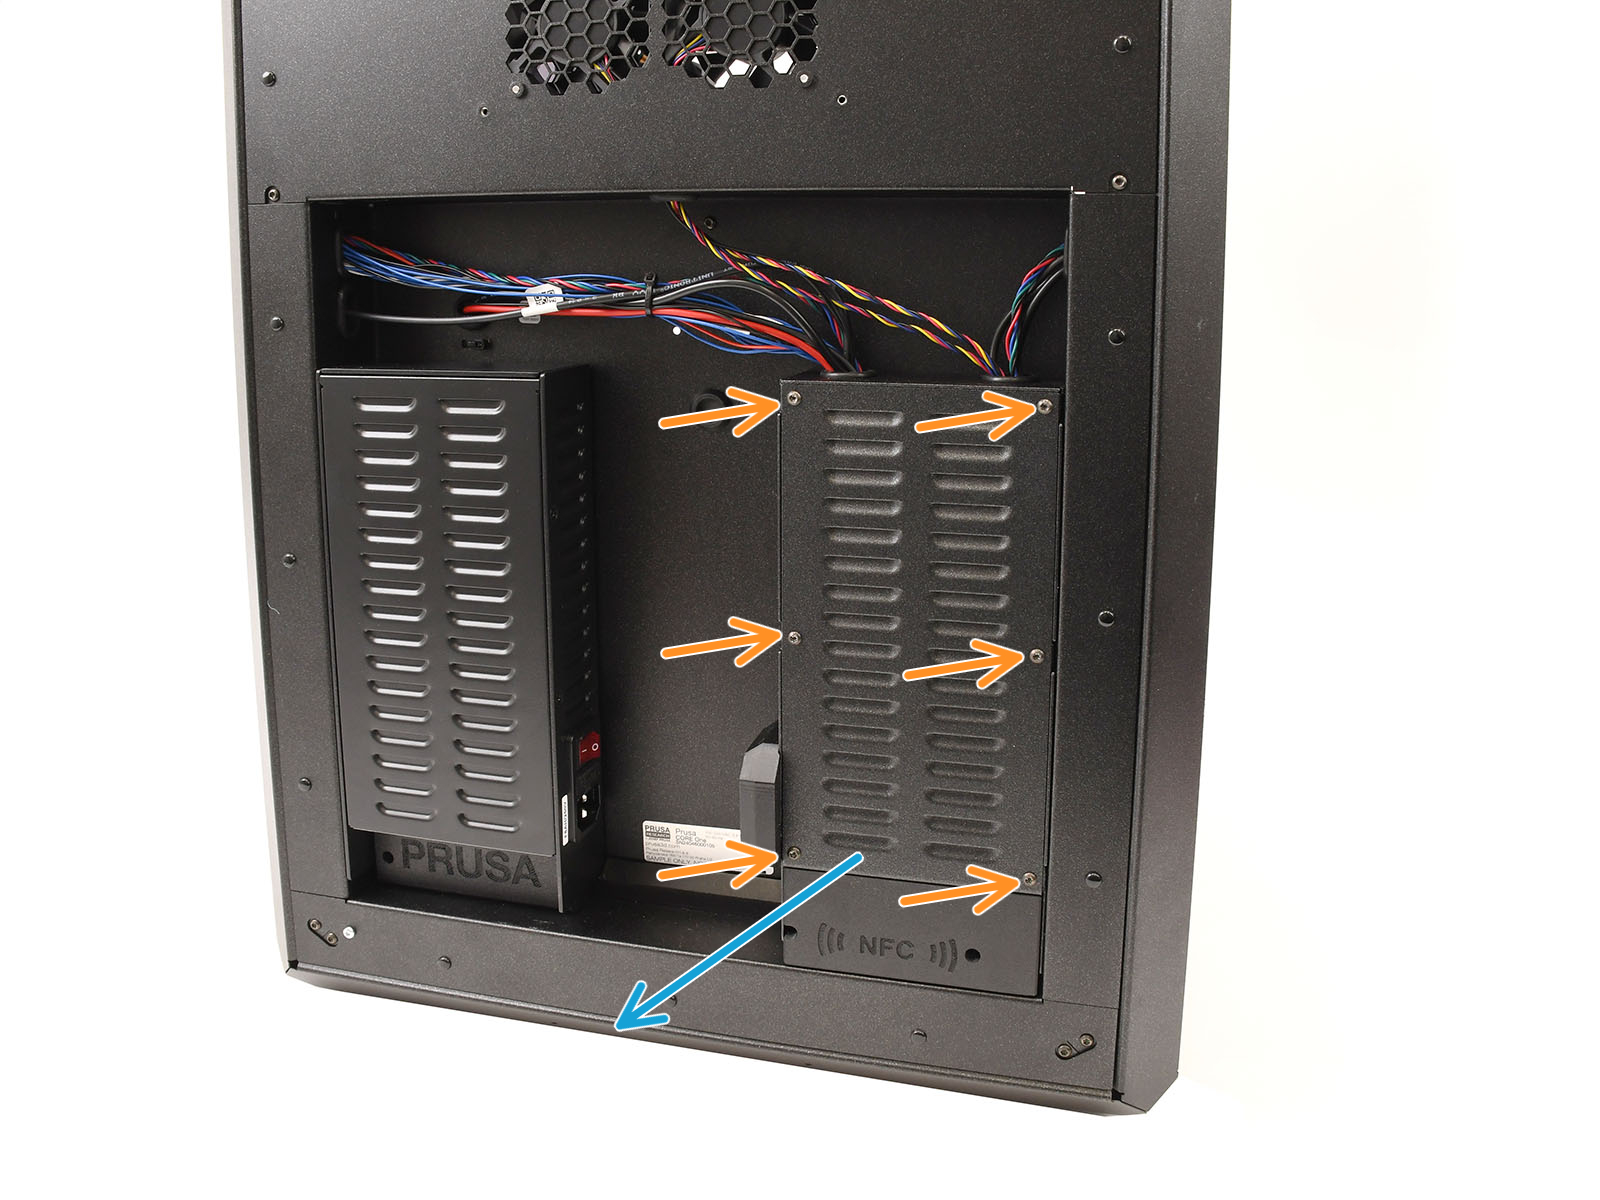
How to access the xBuddy board - CORE One
Locate the xBuddy board case. Looking at the printer from its rear, it is the rightmost case.
Using a T10 Torx key, remove six M3x4bT bolts to release the xBuddy box cover.
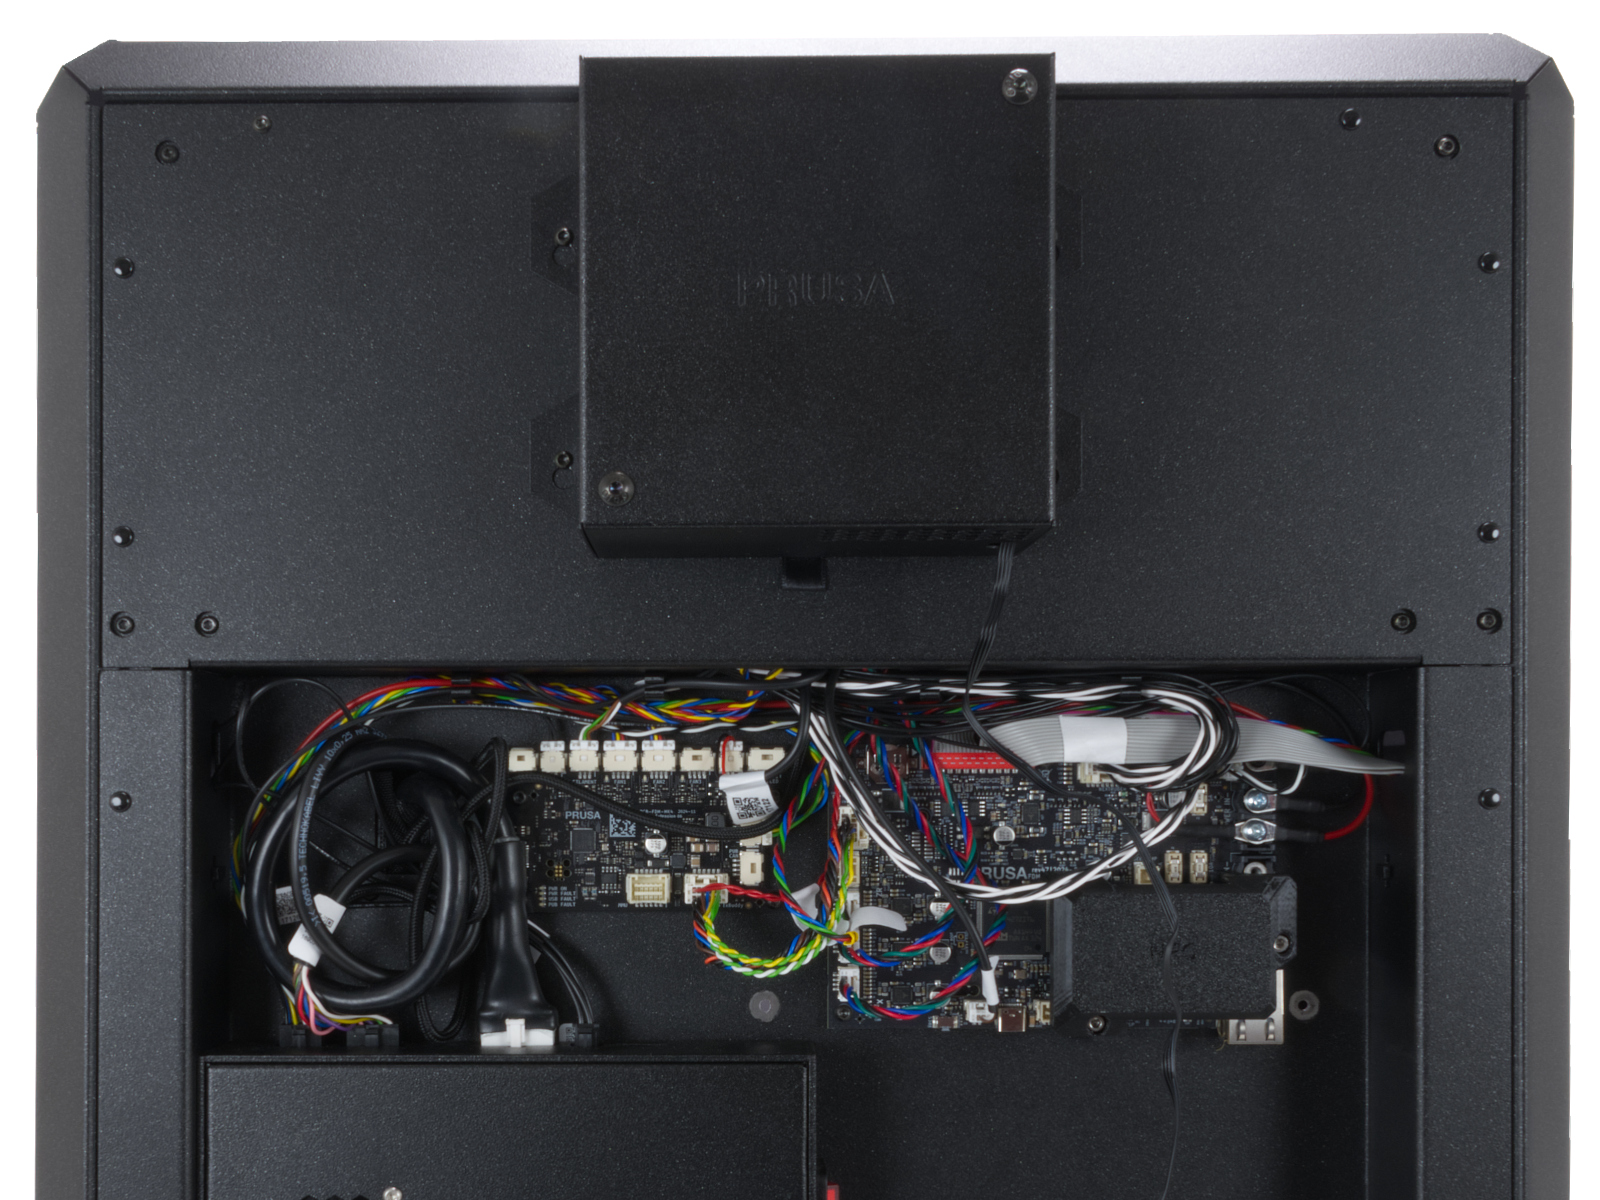
The bottom larger board is the xBuddy board, while the top smaller board is the xBuddy extension board.
 |  |
How to access the xBuddy board - CORE One L
Locate the Wi-Fi module on the rear panel of the printer. Using a 2.5 mm Allen key, remove the M3x14 screw. Gently pull the Wi-Fi module straight downward to remove it from the printer.
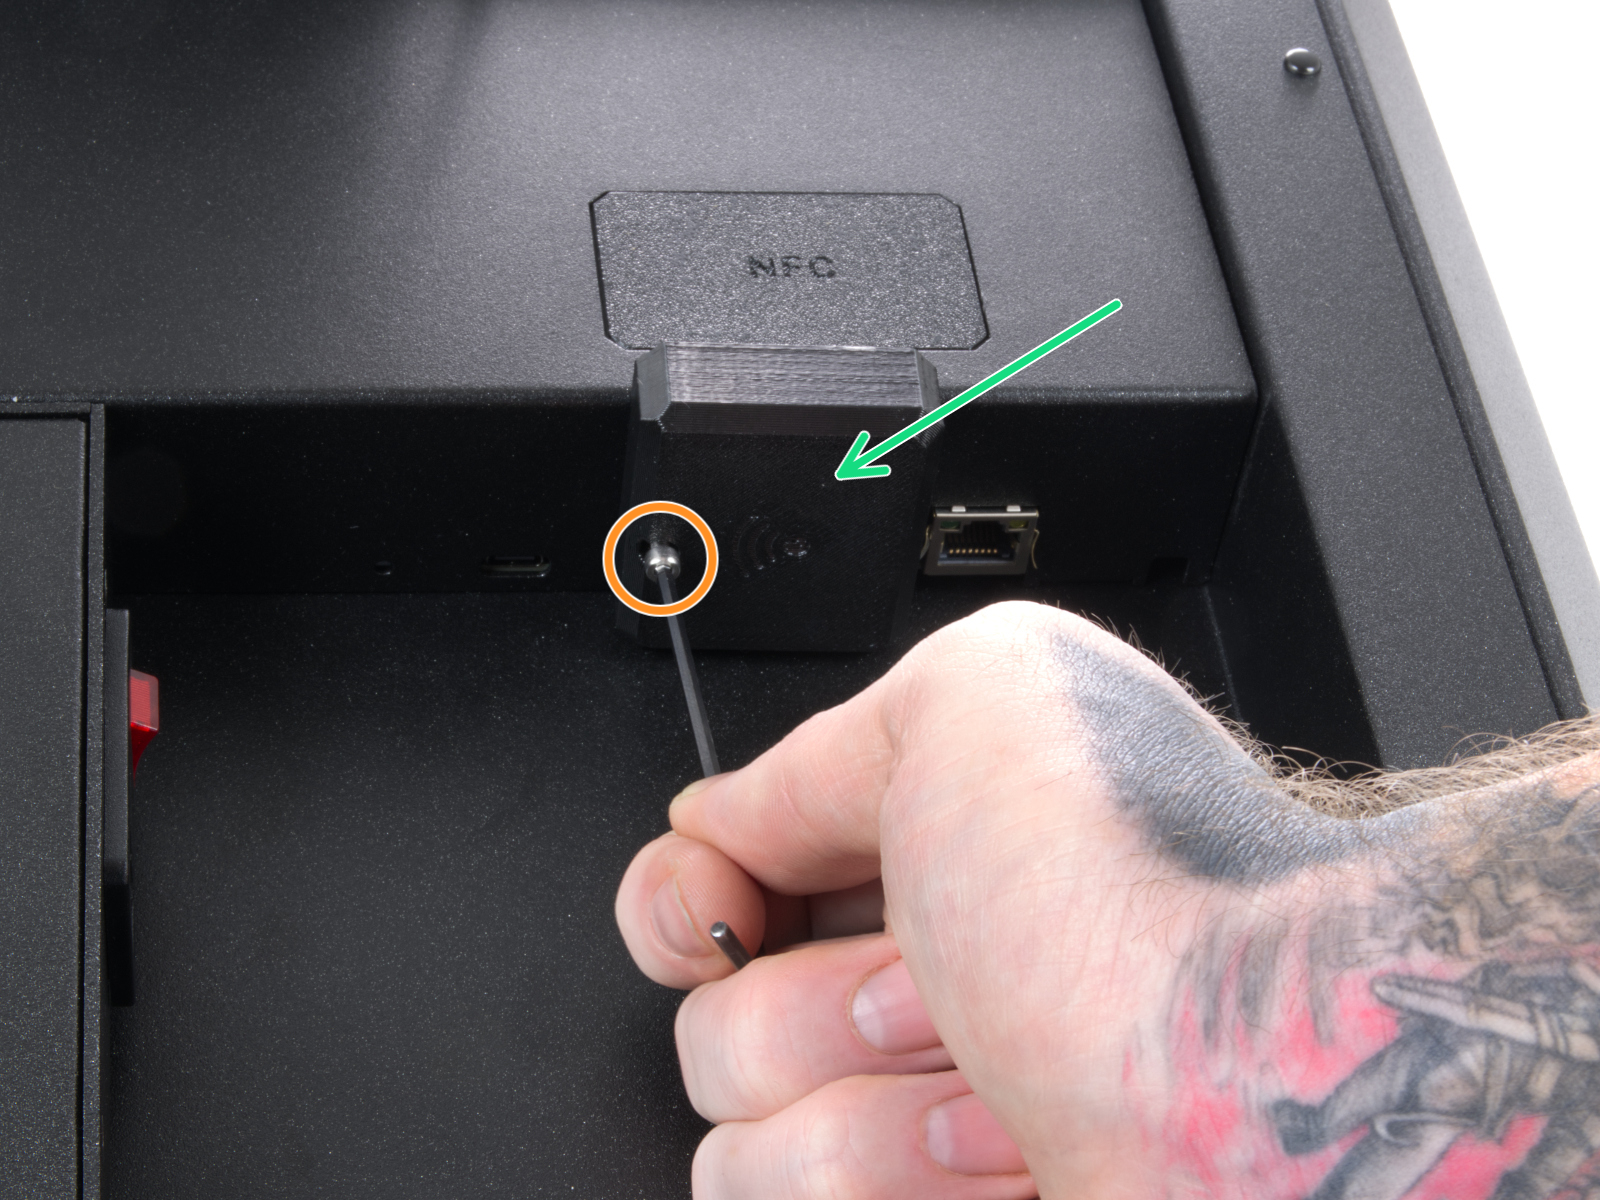 | 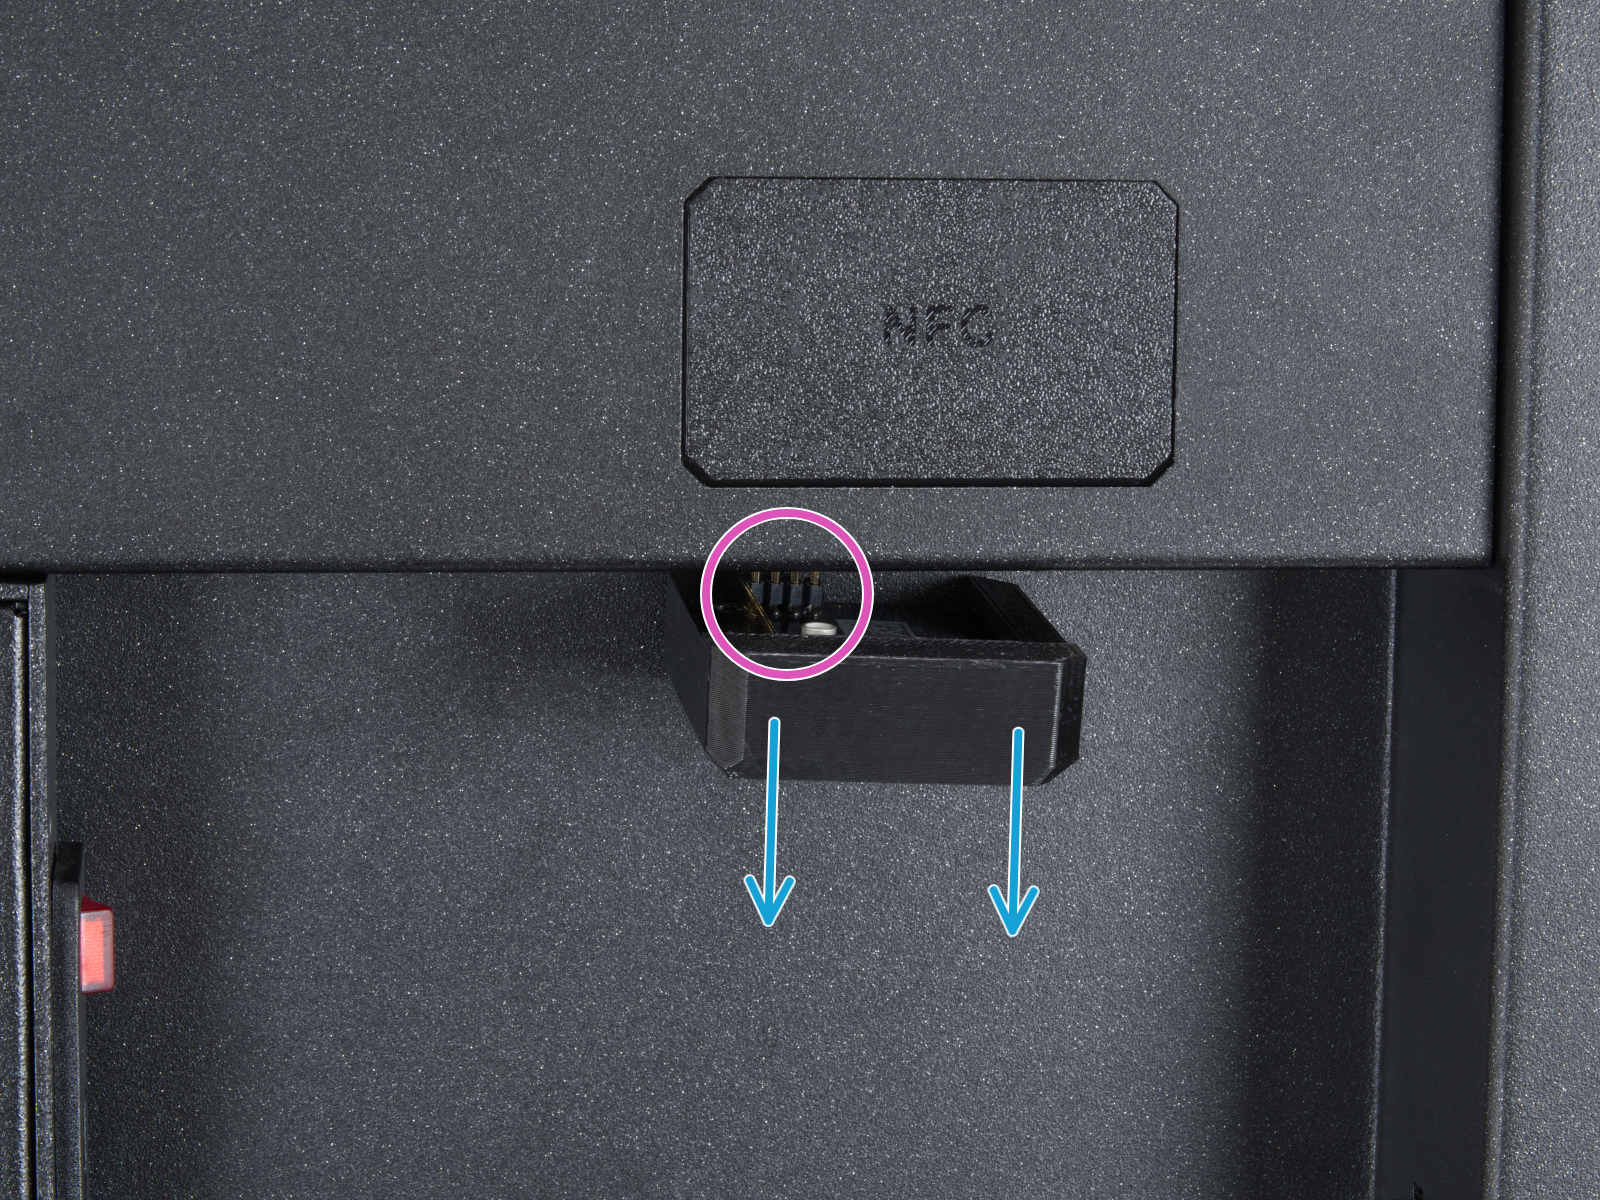 |
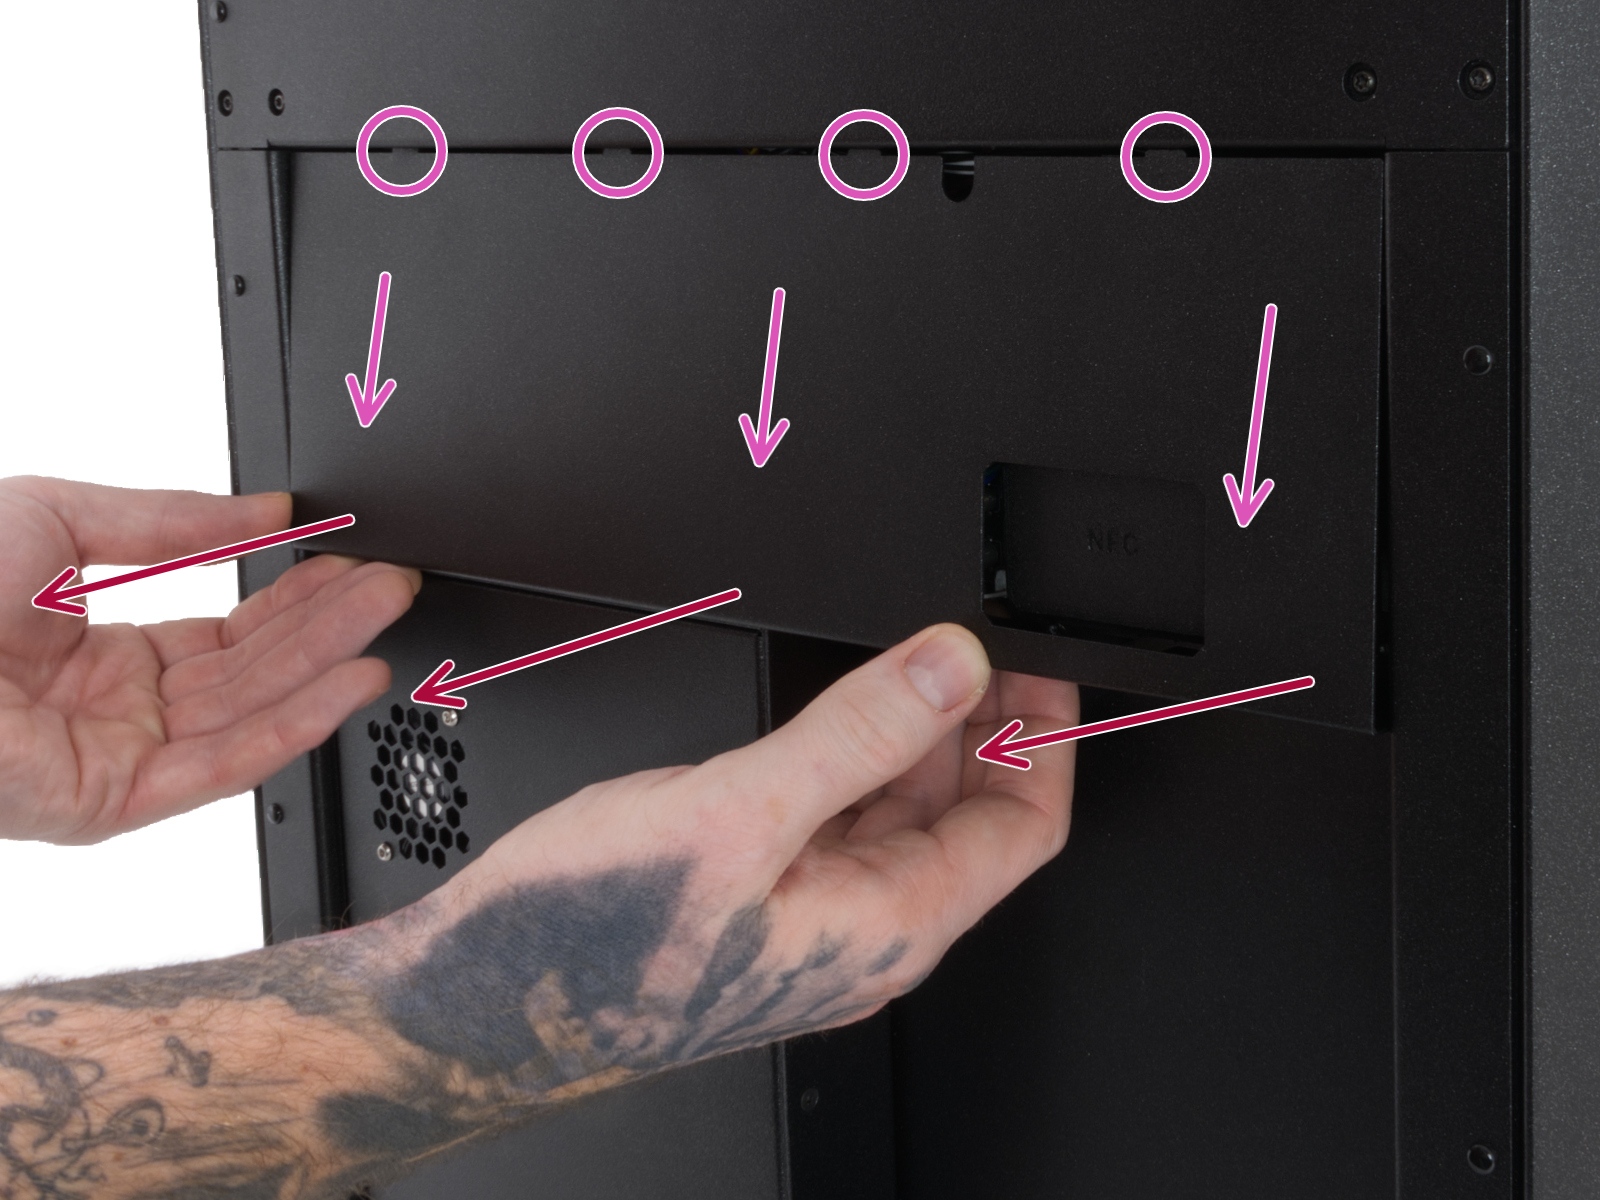
From the inside of the printer, locate on the rear side the highlighted M3x4bT bolts.

Using a T10 Torx key, remove two M3x4rT bolts to release the rear xBuddy box cover. Lift the cover to expose the xBuddy and xBuddy extension boards.
 |  |
How to access the xBuddy board - MK4/S, MK3.9/S
Access the xBuddy board by loosening four M3x6 bolts.
Multimeter check
If you have a multimeter available, use this guide to check the resistance on the hotend heater and the hotend thermistor.
8 comments
I had to remove the silicone sock to pass the calibration test, but kept running in to this error while printing. I put the silicone sock back on after passing the calibration tests without it, and it works perfectly.
It makes sense if you think about it. The heater and thermistor need to know that they are heating the hot end correctly for calibration without the sock.
But then the sock is needed after calibration for actual printing to maintain the heat in the hot end with the new fan upgrade for the MK4S to extrude filament at the same time. The sock is like an offset for the new upgraded fan to cool the filament while still allowing the hot end to extrude. I just wish the instructions were a little more clear.
I can't believe Prusa doesn't add this to their instructions that they include with the upgrade kit.
I think I have determined what the issue is in my case. (I dont run the silicon sock, slicer 2.9.0, fw 6.1.3+7898)
The problem occur when the printer is printing a solid layer on top of last infill layer (tested at 10% and 15% in my test case). I think the slicer/printer determines that this is considered printing "bridges".
In the prusa print profile for Prusament PETG there is a hidden setting that is only shown if you select expert mode. Go to Filaments - Cooling. There is a setting there that forces the fan speed to 40% when printing bridges. Which is to much in some cases like mine.
In my case I had only a couple of layers of infill. Changing to solid layer printing removed the issue for me for this print.
I need to experiment a bit more regarding Bridges fan speed setting before having an idea for what would be and suitable value here to solve the issue for a larger variety of print cases.
I have rebuilt my MK4 to MK4S, and when doing the tests after the Hotend heater test didn't pass. I tried a lot of different things with no success. And finally one of the heater cable broke.
But the superb Prusa support sent a new heater and thermistor free of charge!
This solved the test-problem. But now when I have started to print I've received this error.
Reducing the fan speed to 68% seems to solve the problem for me as well. But a bit annoying.
(I'm still running without the sock)
/Per
Next test of this new printer: printing of course. I updated prusaslicer to 2.8.1, downloaded any configuration updates. Went thru the config wizard and picked MK4S with HF0.4 nozzle.
Every print I started (generated via the new configuration in PrusaSlicer) would failed with this Hotbed runaway error in exactly the same fashion (multiple prints... note this was PLA): The bed layer would print perfectly at 230C without any variation of temp (note that the big new fan is off during the bed layer). When it began the next layer, the new fan would kick in, the temp would get told to go down to 225C (in this particular case) but the temp would actually dive down to about 212-215 and then slowly start creeping down lower and lower until this error occured. I tried this over and over and exactly the same thing on any print. I even changed the profile in slicer to the old MK4 just to try it. Same thing exactly.
So, i decided to install the silicon sock again. This required, me removing the nozzle/wires, putting on the sock, re-inserting the nozzle and hooking the heating wires all back up.
I now have no problems. The temp is perfectly stable.
So either:
1. The sock is actually required in order to maintain temp better with the new fan/shroud??
Or (more likely I would guess)
2. I had some cables pinched or crimped or something with the nozzle not quite installed correctly and removing the nozzle and re-installing it fix things.
Anyway, just wanted to share as that was a several hour support chat.
After restarting, and knowing to look for a temp drop, I saw this exactly. So I dropped my fan speed a bit, and let it heat all the way back up. Then put the fan back to normal speeds (70%) with a successful completion.
I'll have to poke around in my settings to see if I can max the fan speed out at 65% or so to see if that helps.
I do not have the sock on yet, but I will also give that shot to see if that helps at all.
Putting the silicon sock back on solved the issue.