If there is no object to be seen on the metal platform as it raises from the resin tank, it usually means that the first layer didn’t adhere properly to the platform. Let’s find the reason why it happened.
What does it look like
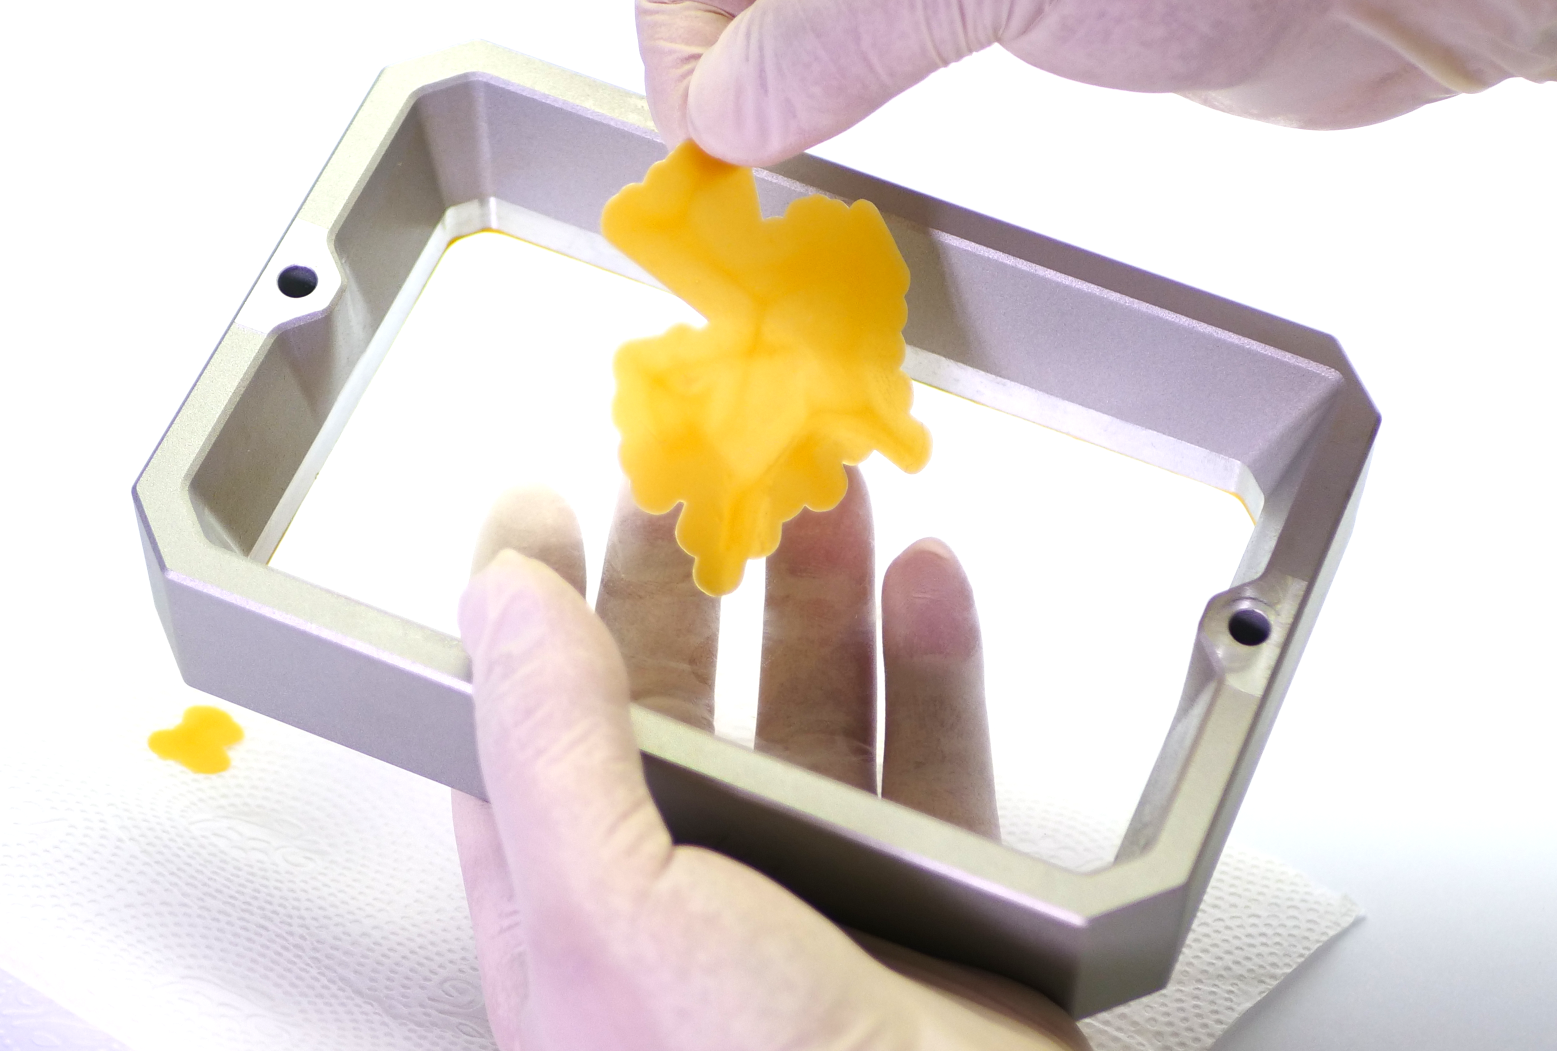
All or some of the objects you wanted to print are not on the printing platform. After you stop the print, unscrew and remove the resin tank and pour the resin out, you will see a blot or a flat blob of solidified resin stuck to the FEP foil.
How to fix it
There is a number of reasons why the first layer does not stick to the printing platform. Generally, they can be classified either as assembly/hardware related or as calibration/settings related reasons.
Calibration and settings
The printer is not calibrated correctly
Even if nothing changed since the last calibration of the printer - you didn’t replace any parts, and you didn’t move the printer to a new location, a re-calibration may be required. Please refer to the Calibration chapter for step-by-step instructions. Make sure not to skip any step!
Incorrect slicing settings
Re-slice your model using default settings and try printing the object again. Always use PrusaSlicer, where we have already prepared profiles for the most used resins. We have tested over a hundred of various resins, and we’re continually testing new ones.
Make sure that you are using the recommended exposure times for the resin of your choice. The exposure times for initial layers should be much longer (e.g., 45 seconds) that the regular layers to ensure a strong connection to the printing platform.
Object orientation / insufficient supports
Incorrect object orientation can be another source of adhesion problems. After a layer is solidified, the printer has to detach it from the bottom of the tank - if there is just single support holding a large part of the object, it may not withstand the peel force, causing it to detach.
Always position the model so that the largest flat part is in touch with the platform. When using supports, make sure there are enough of them. You can also use the pad to give the supports an extra surface. Keep in mind you can always adjust the Support points density and that you can manually add support points to the problematic areas of the design.

Resin has been mixed with IPA
The resin has been mixed with IPA (e.g., while cleaning the printing platform) and its properties have changed, so it cannot solidify. Clean and dry the resin tank properly, use a new batch of resin and try again.
Hardware and assembly
The printing platform is not secured properly
After inserting the platform back to the printer, make sure that you didn’t forget to tighten the black printed knob at the top of the tower. A freely moving printing platform cannot reach an optimal position and the first layer won’t stick.
The bottom of the tank is dirty
Every time before pouring the resin into the tank, make sure that the bottom of the tank (the FEP film) is completely clear. A cloudy, dirty or damaged FEP film will have a negative impact on the printing quality. It may even block UV light and stop the resin from solidifying properly.

Loose Torx screw(s)
The FEP film is tightened to the resin tank frame by twenty-two M4x8rt Torx screws. At the end of the assembly, all of these screws must be tightened into the frame. None of them should be protruding. The screws facing down, the frame must sit on a flat surface without any rocking.
A faulty print display or UV LED panel
If the first layer didn’t adhere to the printing platform and it’s not attached to the bottom of the tank either, it usually means that the first layer wasn’t created at all. A possible cause is a faulty print display or a faulty or disconnected UV LED panel. Unscrew the bottom cover off the SL1 and check whether the cable is connected on both sides.
2 comments
My PRUSA user ID: [email protected]
I have successfully constructed several different pieces.
I made some smaller discs with a flat back that the supports attached to, and the disc had a 3D six pointed star on the front.
I was able to make 3 of these at a time at 1-1/2 inch each.
I wanted to make a 3 inch disc with the same star design, and it came out ok, but the disc was so thin. I wanted to increase the depth of my disc, so I reprinted the star disc slightly thicker. This is when all my problems started. Since then there has been a steady decline; It started with just being disproportionate, and now after ½ dz. failed attempts has steadily declined to Not Printing at all.
I have been using TOUGH PRUSA ORANGE PRUSAMENT RESIN the entire time.
I have gone through all the troubleshooting suggestions on the PRUSA site, and have tried many videos for troubleshooting as well.
Please inform me how I can proceed.
Thank you,
Joe,
Hi! Did you start with stock Slicer settings? Is the pad on? What program was the model made with? Wny changes before the issue ocured?
If it is a PrusaSlicer-related issue, would you mind sharing the project and a desription of the issue on https://github.com/prusa3d/PrusaSlicer/issues ?