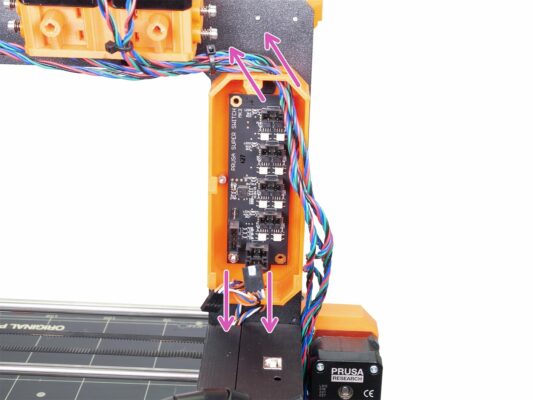
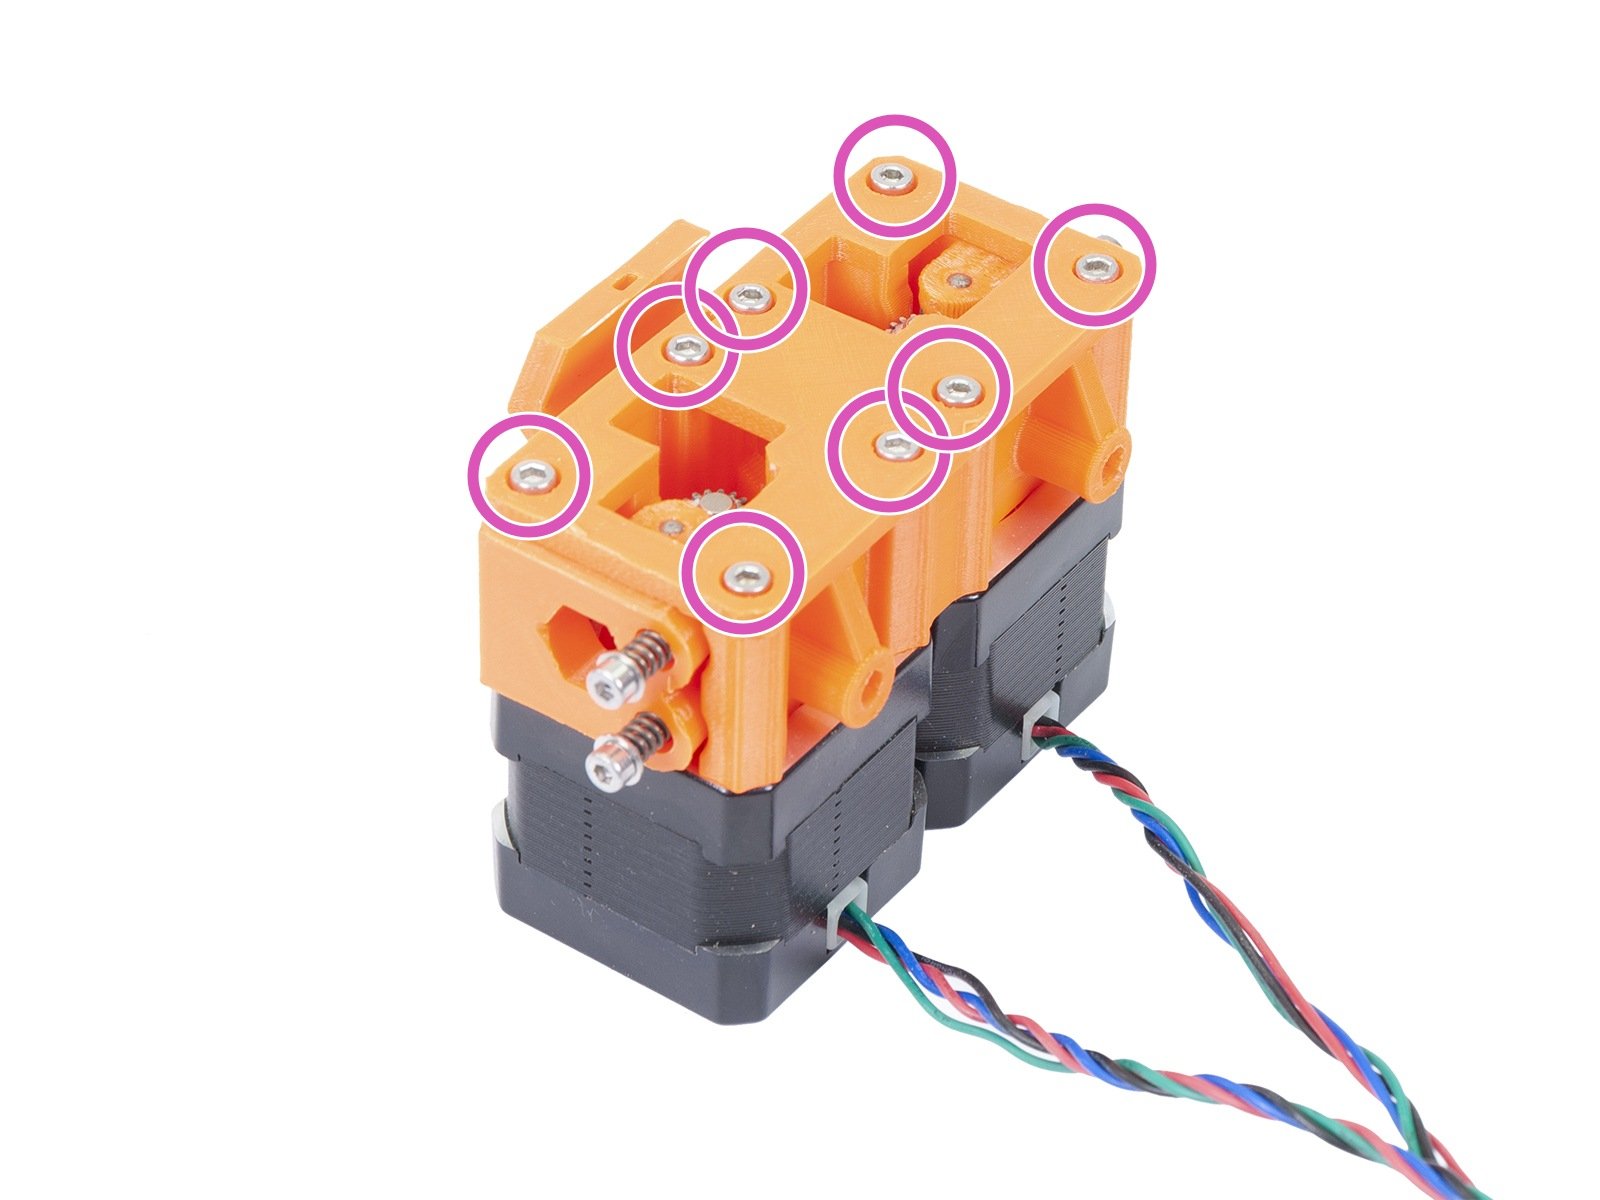
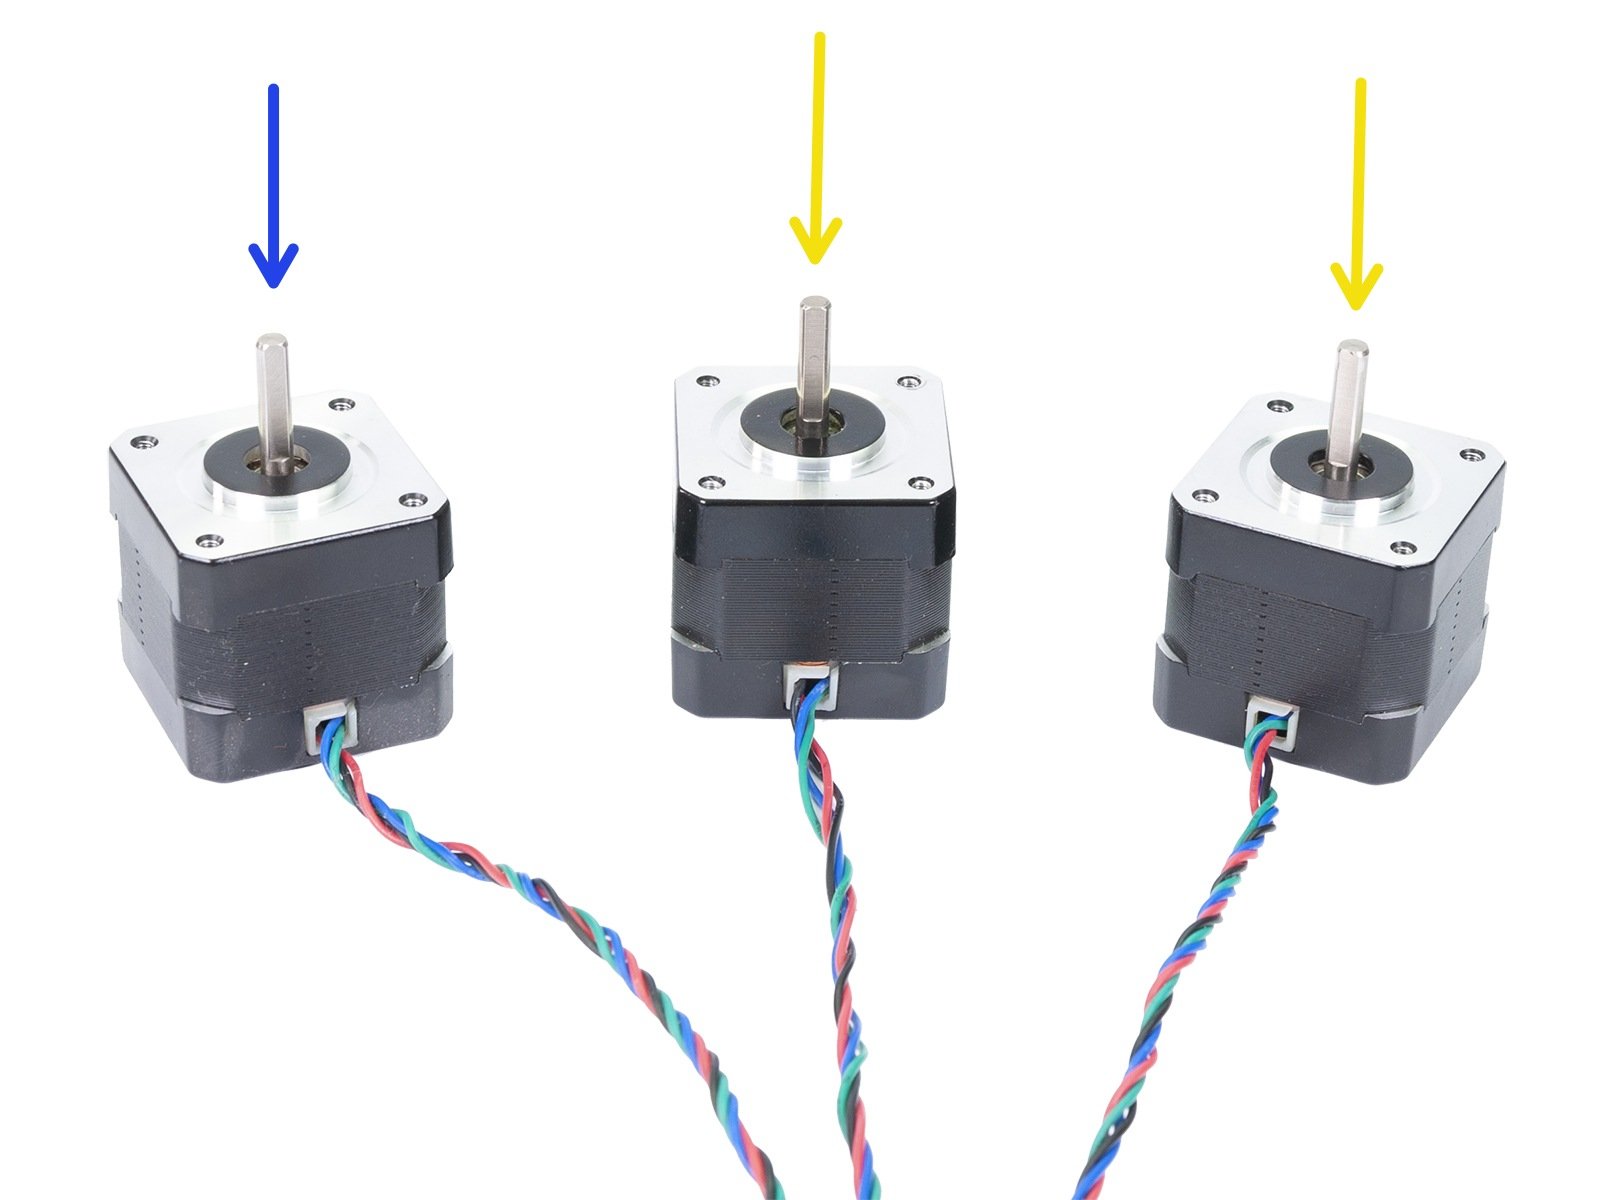
JA
  • English
  • Čeština
  • Español
  • Italiano
  • Deutsch
  • Polski
  • Français
Login

2. MMU1の分解

2. MMU1の分解
Relevant for:
Last updated 5 months ago
2. MMU1の分解
 Difficulty
Moderate
 Steps
7
 Available languages
ENCSPLESDEITFR
プリンタの準備
プリンタの準備
ホットエンドや、フレーム上のエクストルーダーからフィラメントが取り除かれていることを確認してください。
プリンターが電源コンセントにつながれていないことを確認してください。これを怠ってしまうと、電子部品にダメージを与える可能性があります。
このガイドに必要な工具
このガイドに必要な工具
For the MMU1 disassembly you will need:
Needle-nose pliers (1x)
Allen key 2.5 mm
Allen key 1.5 mm
Tools can be used from the MMU2S upgrade kit, but don't unpack the entire kit, so you won't accidentally mix parts.
ハンダ付け作業は必要ありません。
圧着工具は必要ありません。
MMU1の分解 (パート1)
MMU1の分解 (パート1)
MMU1の分解 (パート1)
MMU1の分解 (パート1)
プリンターが電源コンセントにつながれていないことを再度確認してください。これを怠ってしまうと、電子部品にダメージを与える可能性があります。
プリンターの後部、RAMBo ケースの上部から分解を始めていきましょう。(LCDが奥を向くように回転させます。)
2.5mm 六角レンチを使って、ケースを固定している M3 ネジ を緩めます。カバーを取り外し、内部のケーブルにアクセスできるようにしてください。
ケースは画像のものよりも小さいことがありますが、作業手順は同様です。
注意しながらすべての配線を取り出し、すべてのコネクタを取り外します。
ケースの上下にある穴から、すべての配線を引き出します。コネクターにダメージを与えないよう、注意しながら作業を行ってください。
MMU1 disassembly (part 2)
In case you intend to use this printer for the MMU2S upgrade, please use Allen key to release both M3 screws.
Remove the case with the board completely. Both parts won't be used in the future.
MMU1の分解 (パート3)
MMU1の分解 (パート3)
MMU1の分解 (パート3)
ラジオペンチを使って、結束バンドを切断し、ケーブルをほどきます。配線を切断してしまうことがあるため、慎重に作業を行ってください。
プリンターを 180° 回転させます。
8mm レンチ を使って、それぞれのエクストルーダーに取り付けられている QSMフィッティング と 白いPTFEチューブ を緩めて取り外します。(合計4本)
それぞれのエクストルーダーをフレームに固定している結束バンドを切断し、エクストルーダーを取りはずします。
MMU1 disassembly (part 4)
Take the first extruder and release all eight M3 screws.
Remove the printed part from the motors.
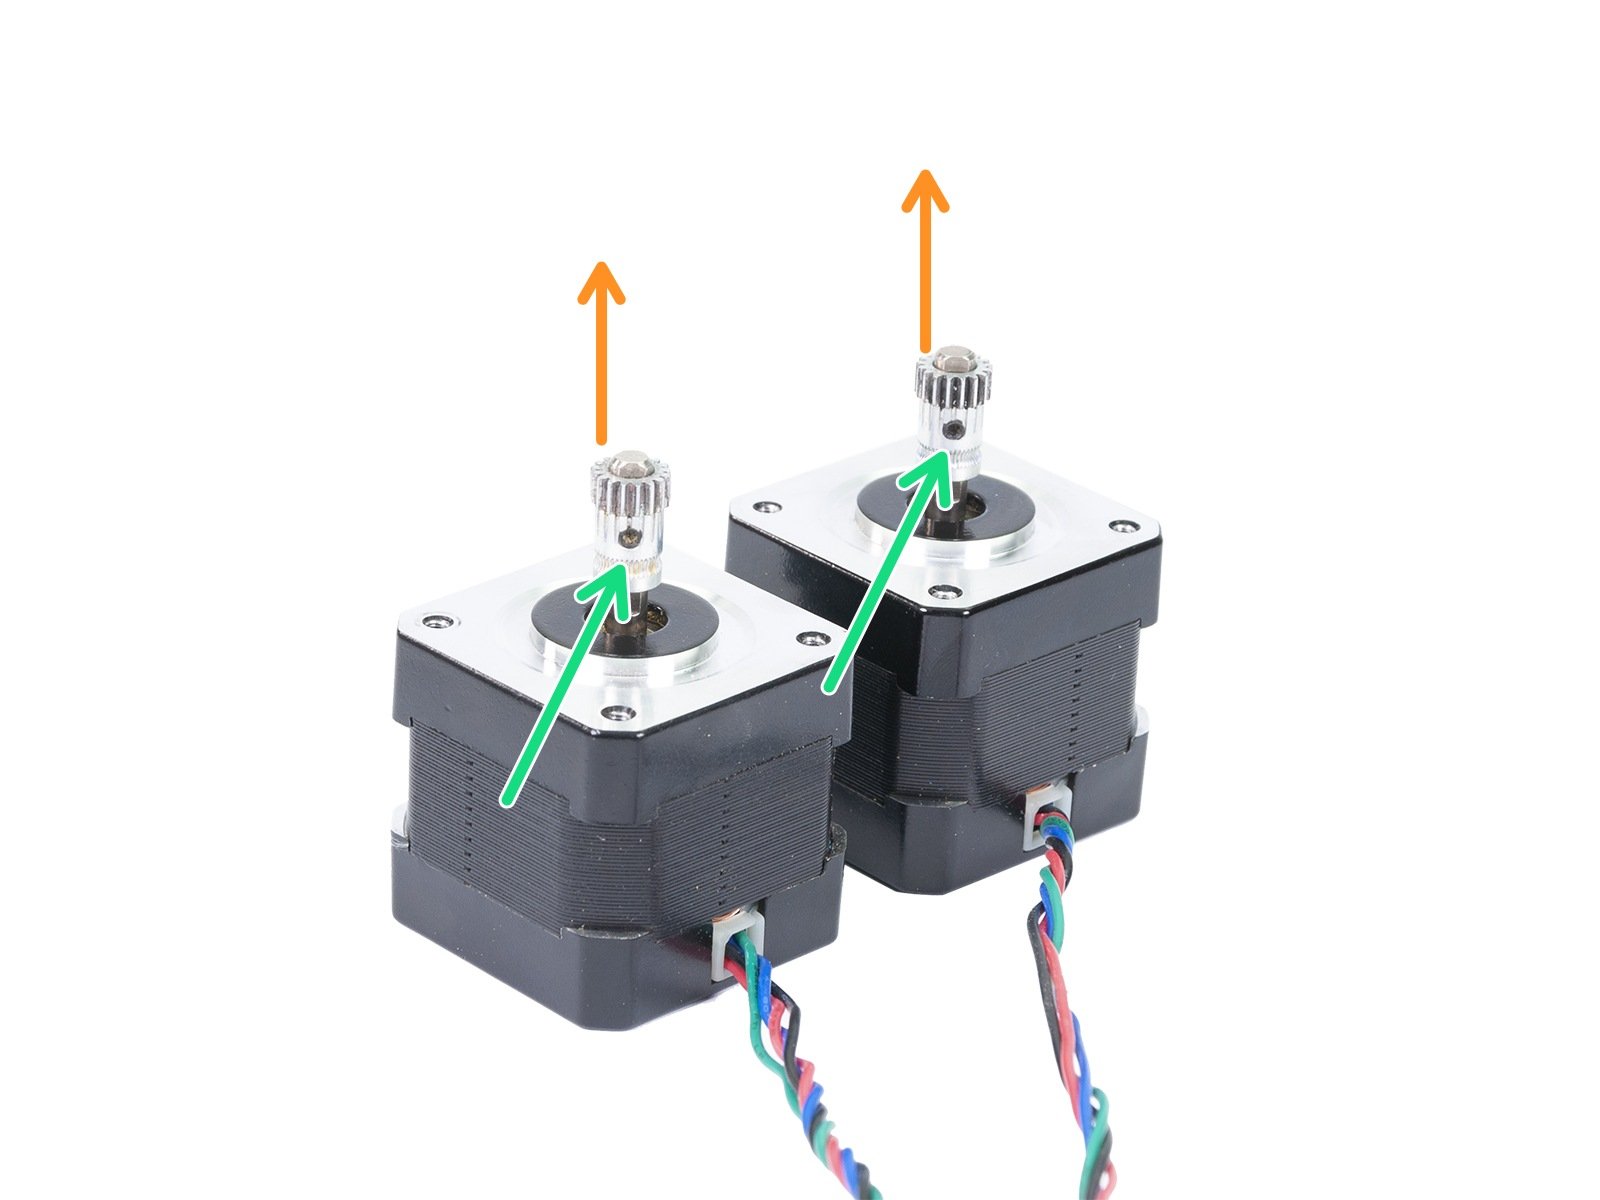
BEFORE YOU PROCEED READ THIS! We are about to release the lock screw on the pulley. Proceed with extreme caution as you can strip the screw!!! If possible apply some grease first.
Very carefully release the lock screws, be careful as you might strip the screw's head or thread.
Remove the pulleys and put them away, so you won't mix them with the new ones from the MMU2S kit.
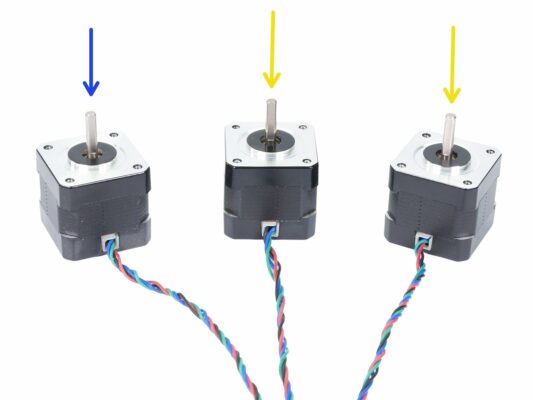
Repeat this procedure for the second extruder. Together you need 3 motors without the pulley.
Use one motor in the MK2.5S assembly for the Extruder.
Use the remaining two motors for the MMU2S unit.
Was this guide helpful?

Comments

Still have questions?

Still have questions?

If you have a question about something that isn't covered here, check out our additional resources.
And if that doesn't do the trick, you can send an inquiry to [email protected] or through the button below.

Contact us