Diese Anleitung beschreibt die Installation der Prusa USS Drybox am Prusa HT90-Drucker. Die Installation umfasst einen Adapter zwischen dem Drucker und dem Drybox-Befestigungspuck.
Diese Anleitung behandelt die Installation des Adapters, die Montage der Drybox, die Verlegung des PTFE-Schlauchs und den Anschluss an das Filament-Einfuhrsystem.
Vorbereitung des PTFE-Schlauchs
Für den HT90 muss der PTFE-Schlauch auf 27 cm zugeschnitten werden.
Achten Sie auf einen sauberen, geraden Schnitt, um Reibung am Filament oder Fehlausrichtungen zu vermeiden.
Einbau am HT90
Beim Einbau der Drybox am HT90 ist ein Adapter zwischen dem Drucker und dem Drybox-Befestigungssystem erforderlich.
Bevor Sie mit der Installation der Drybox beginnen, drucken Sie den Adapter aus (verfügbar auf Printables.com).
Sie benötigen:
- 2,5 mm Innensechskantschlüssel
- 2x M4x8-Schrauben
- 1x M4x10-Schraube
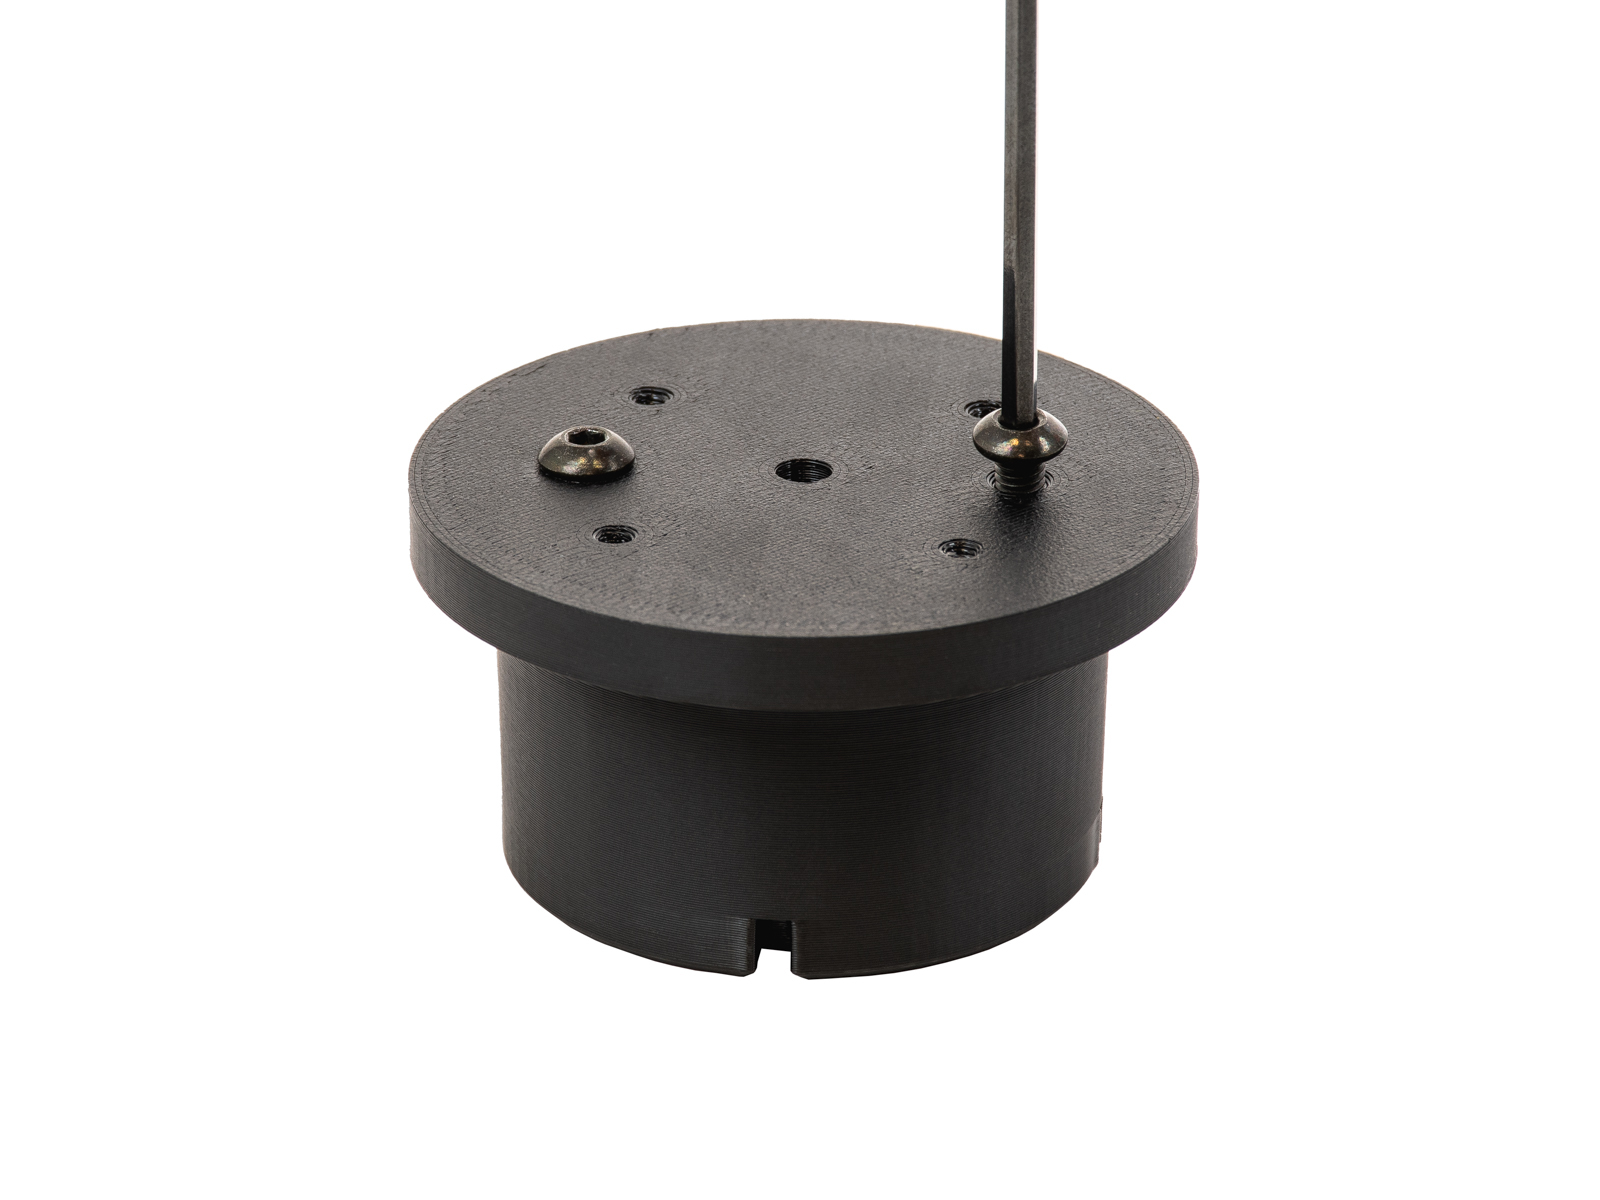
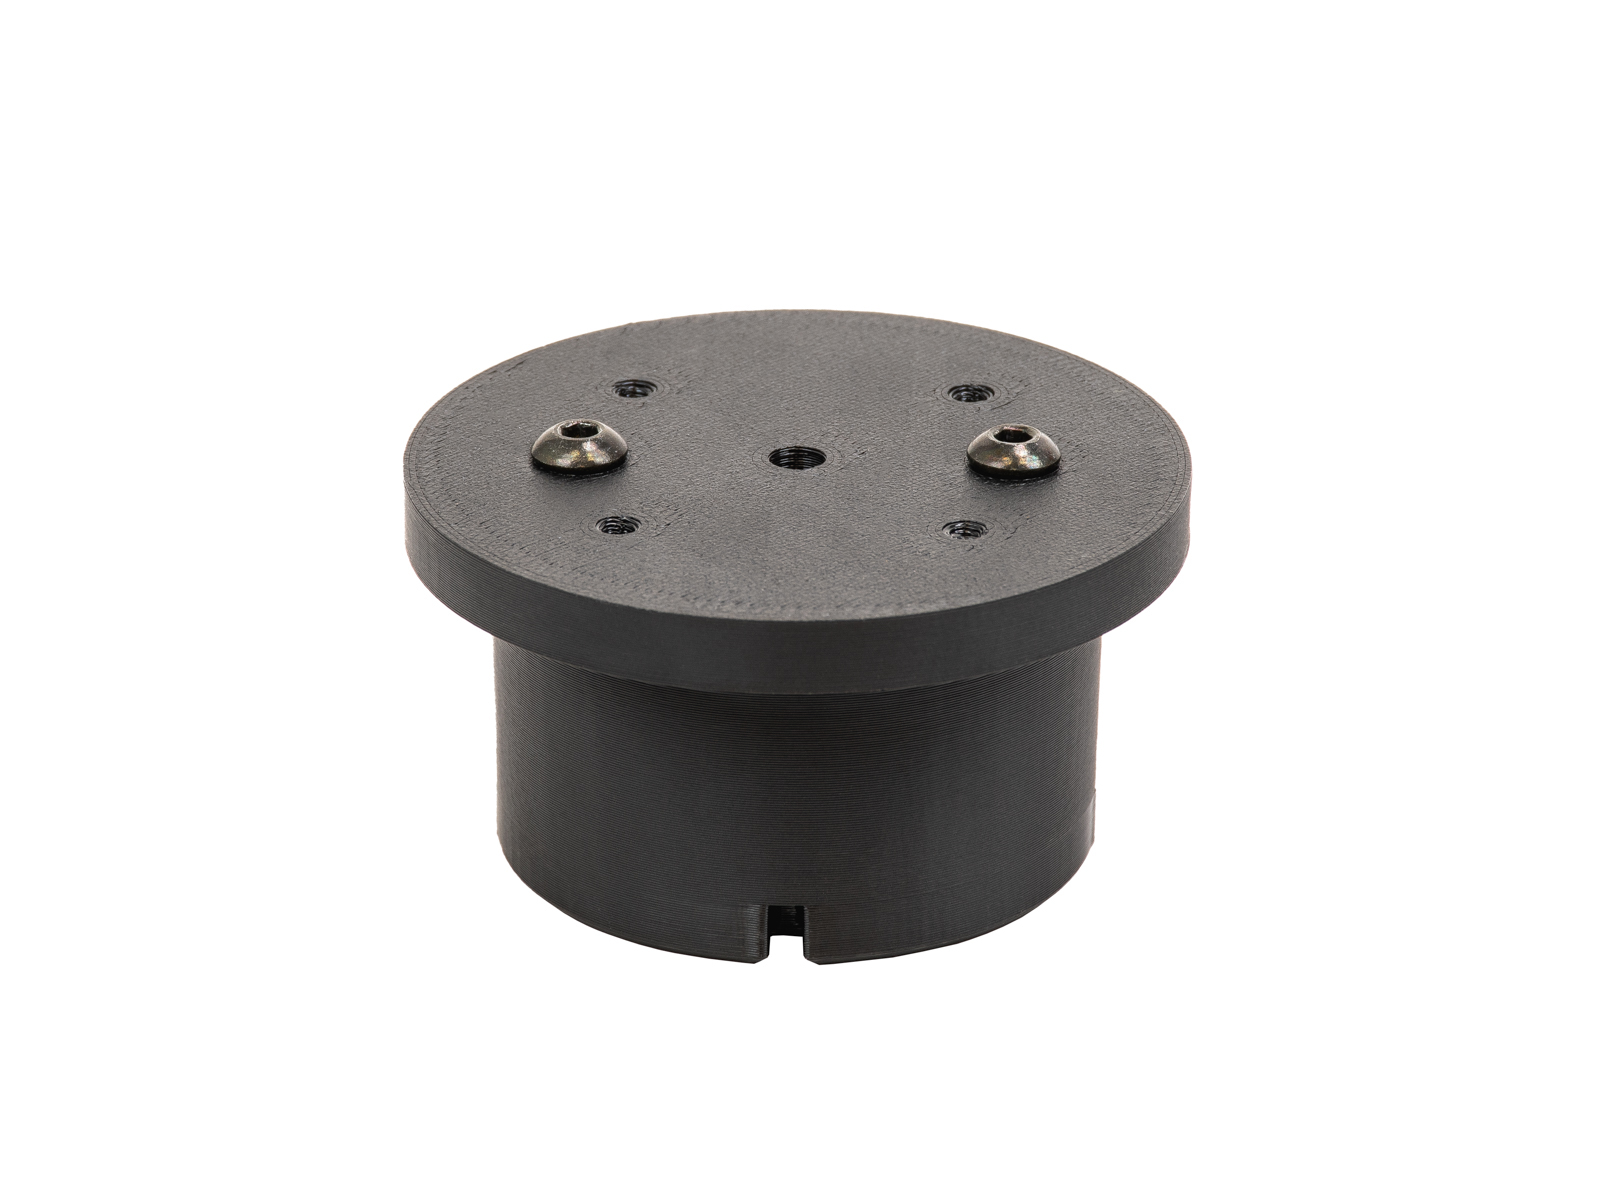
- Bereiten Sie den Puck vor, indem Sie zwei M4x6-Schrauben auf dessen flache Seite setzen.
 |  |
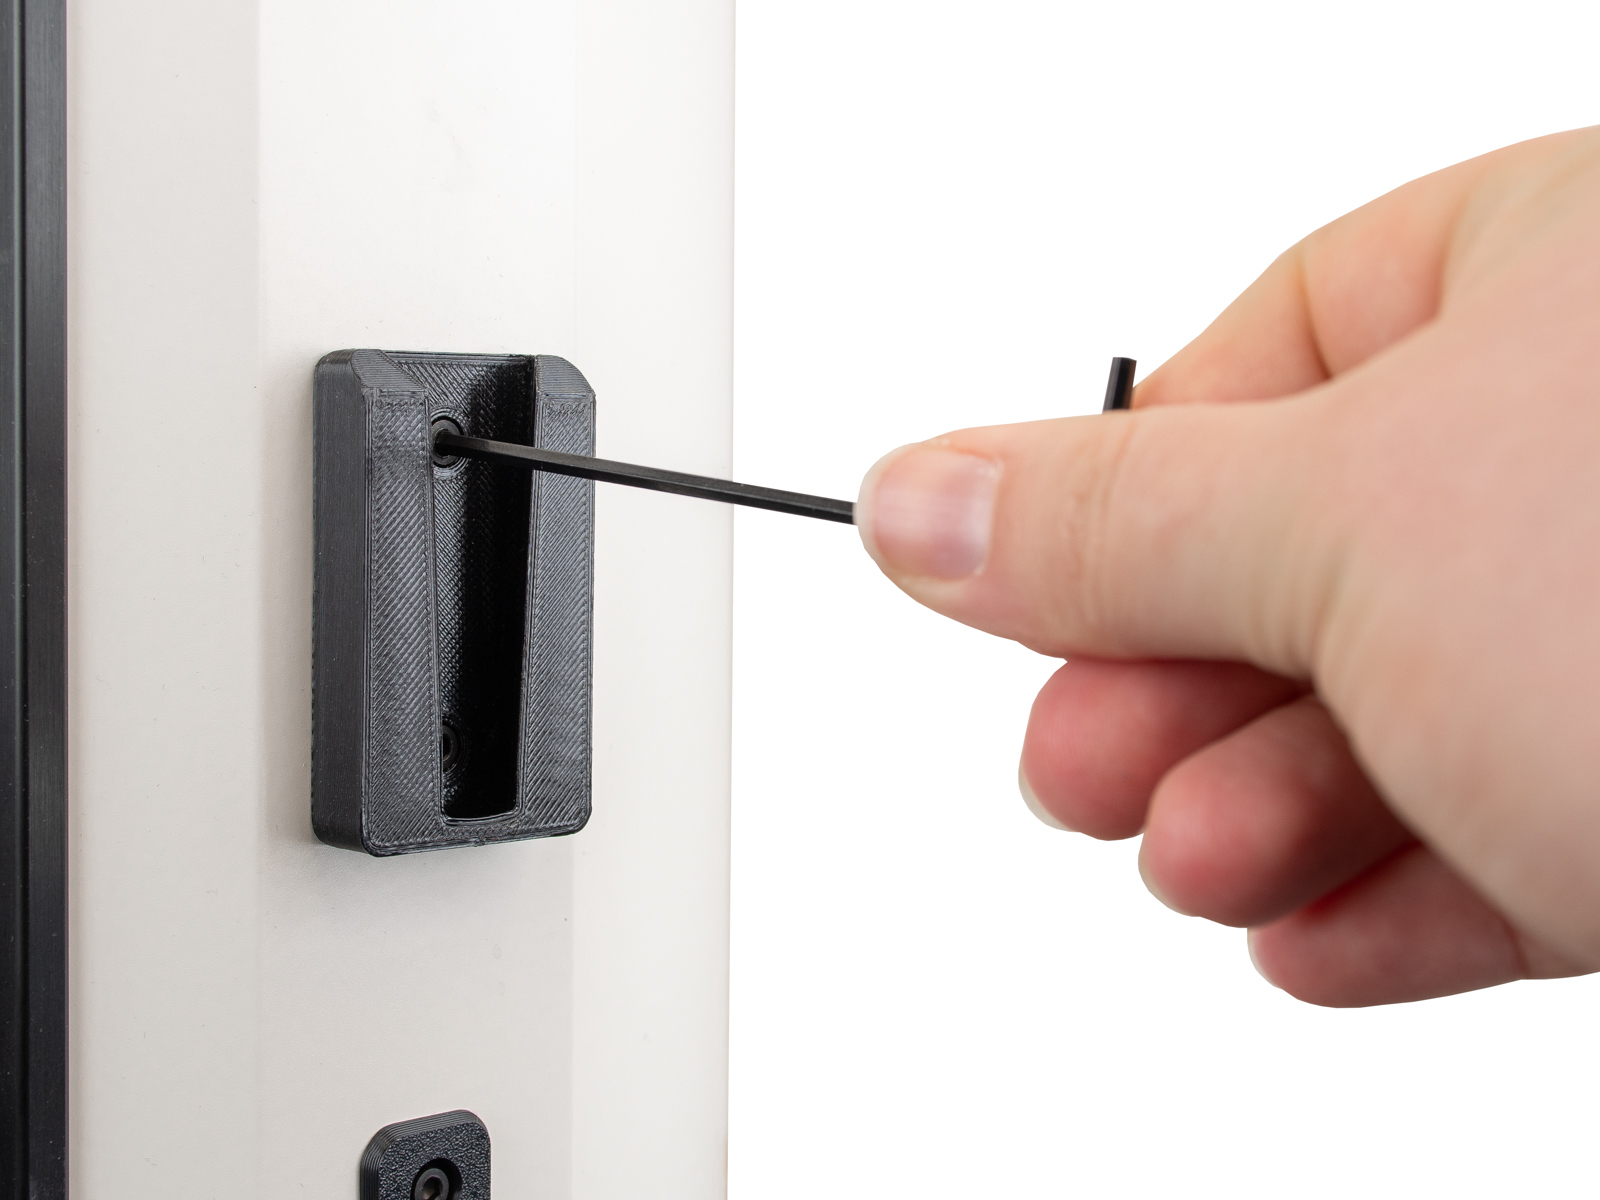
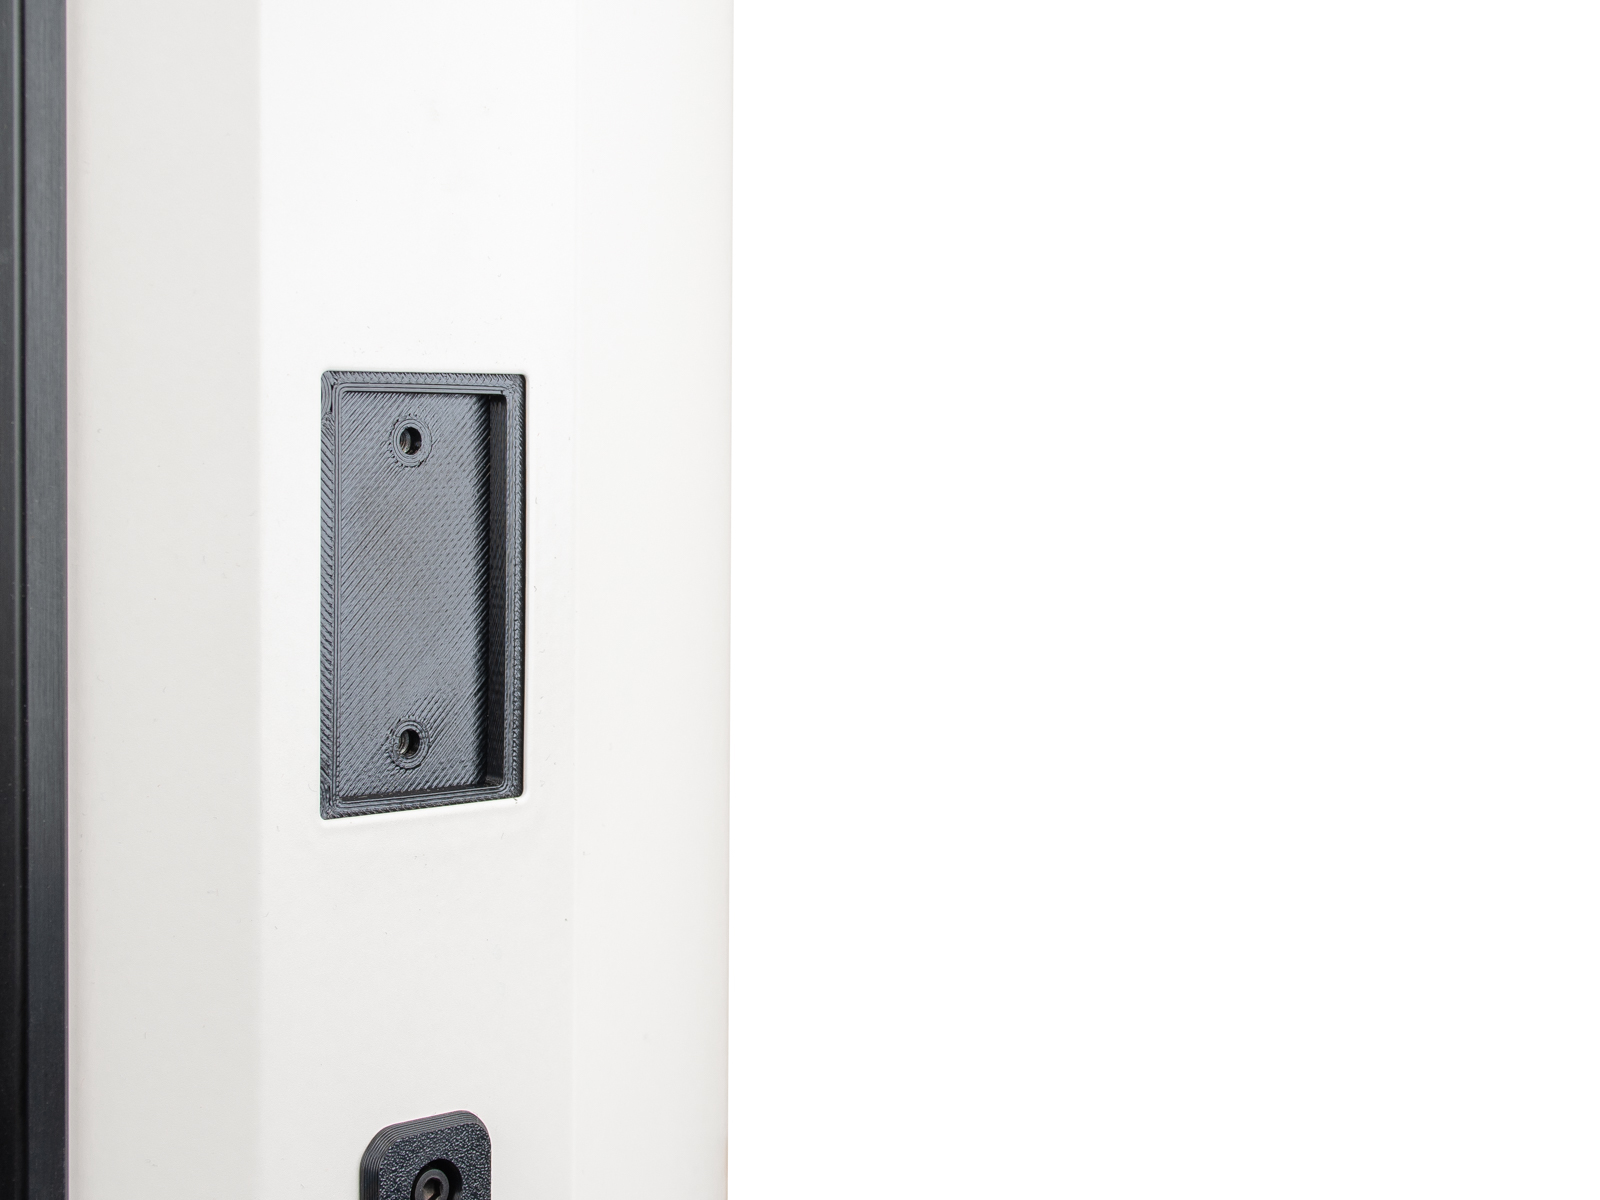
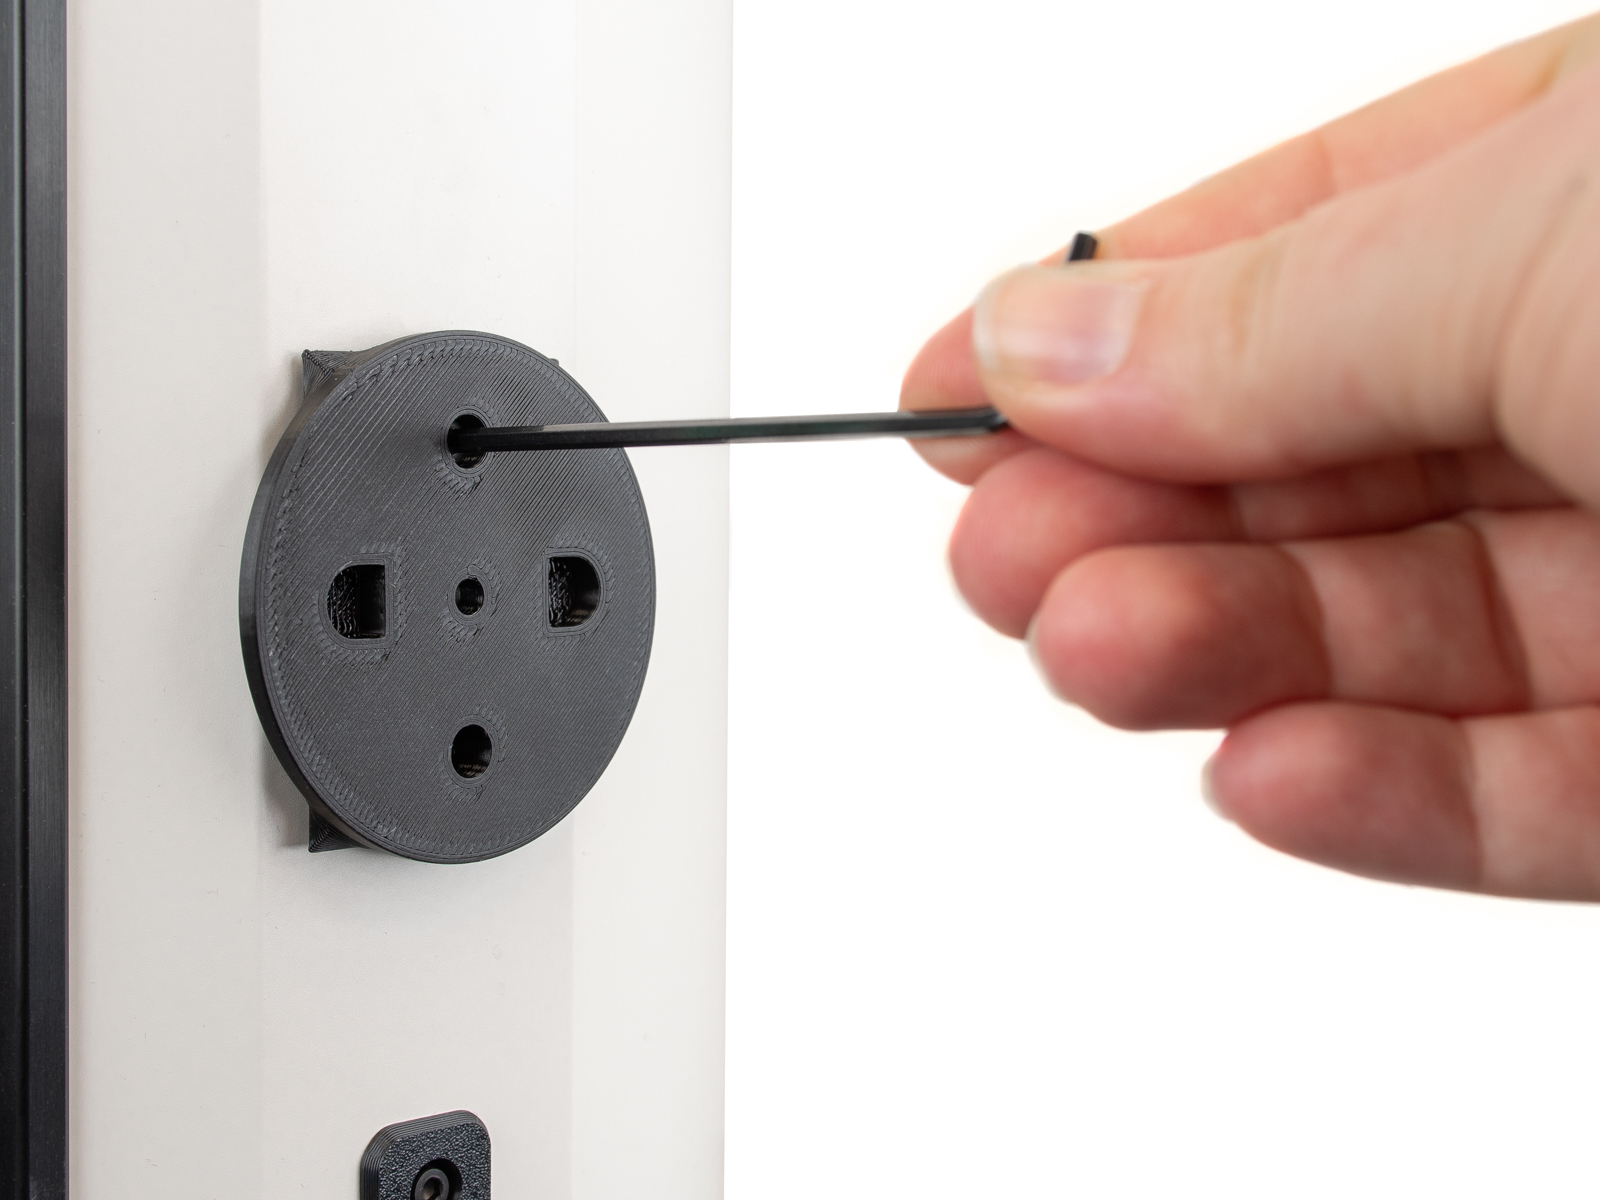
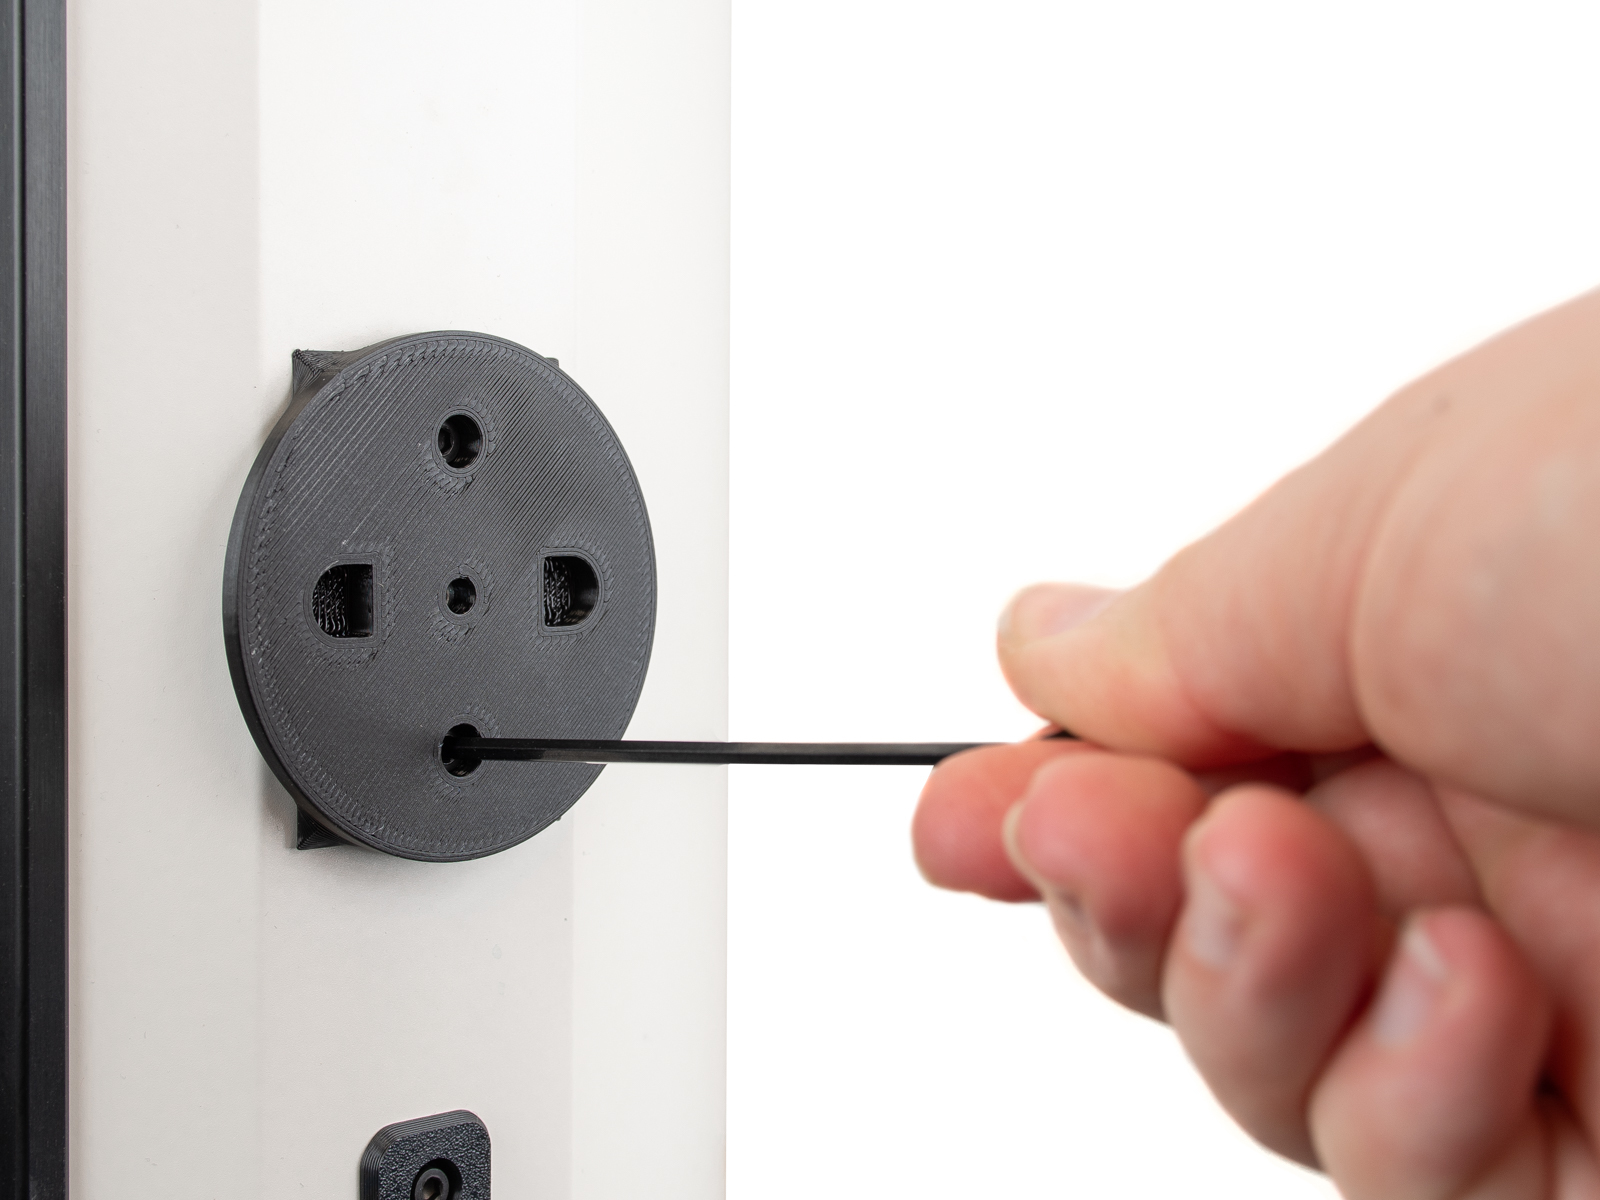
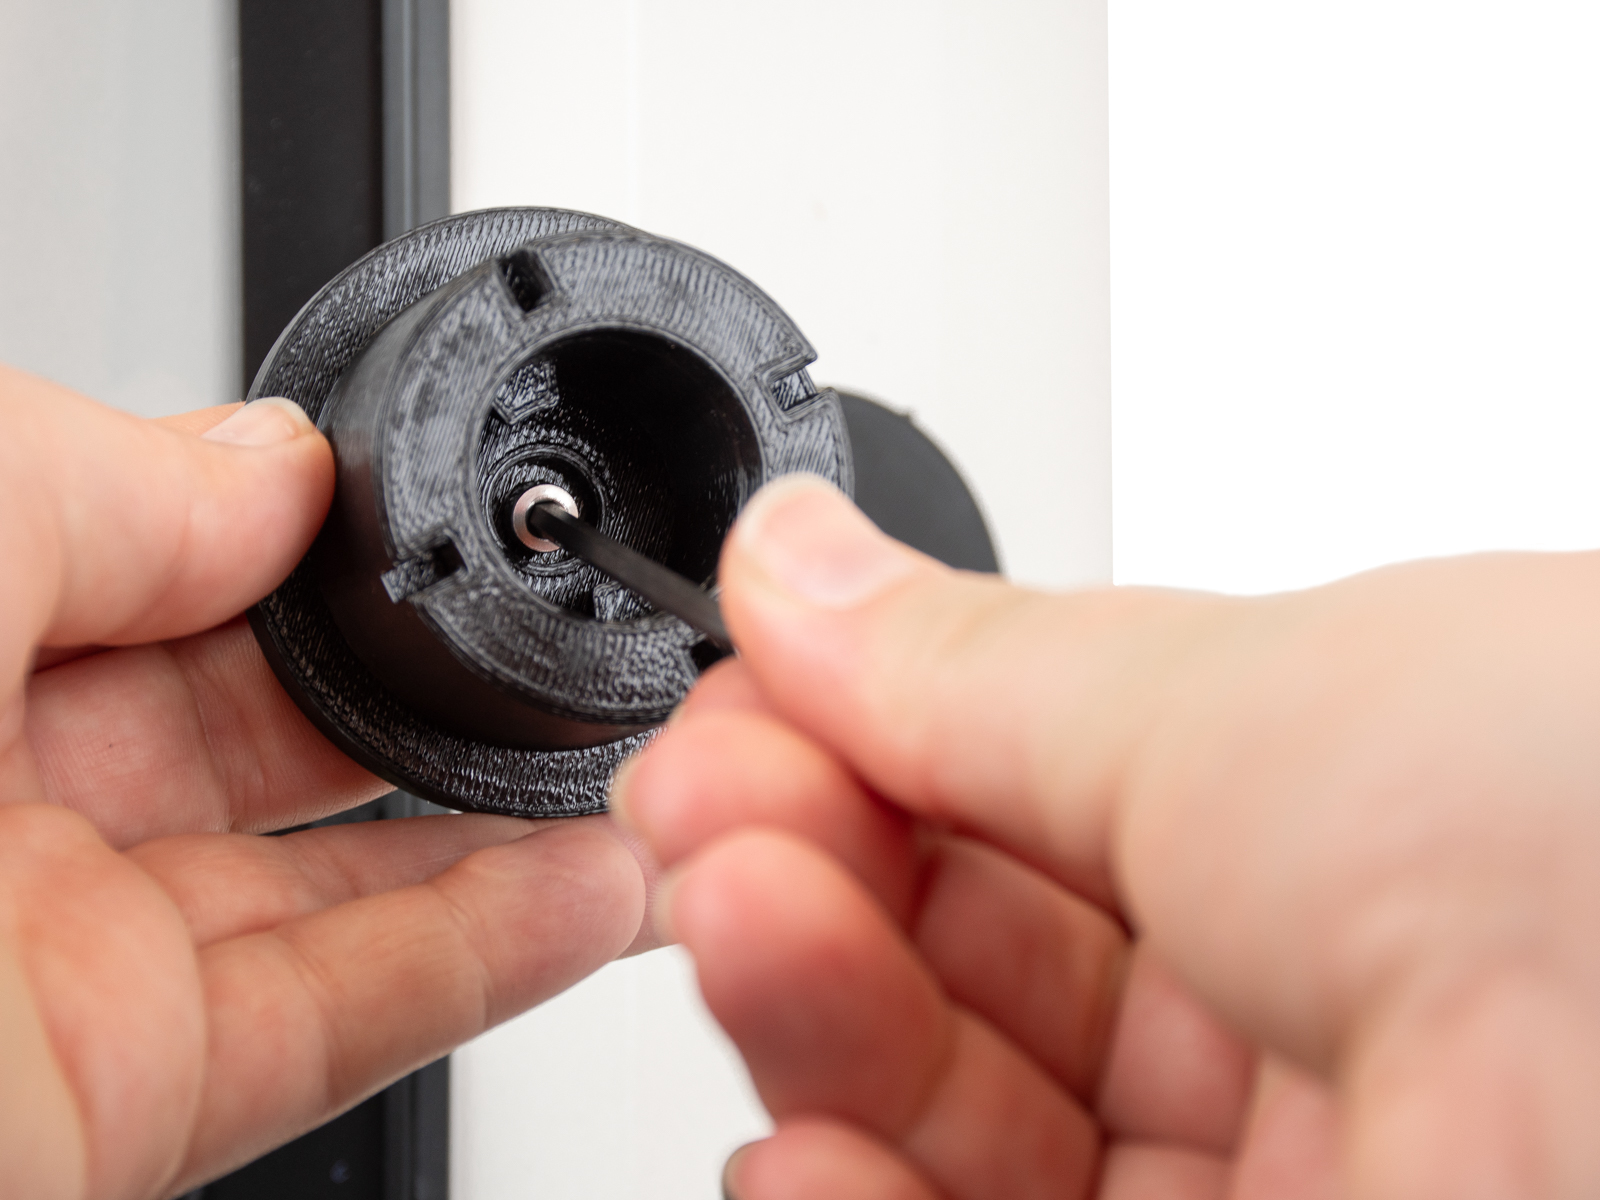
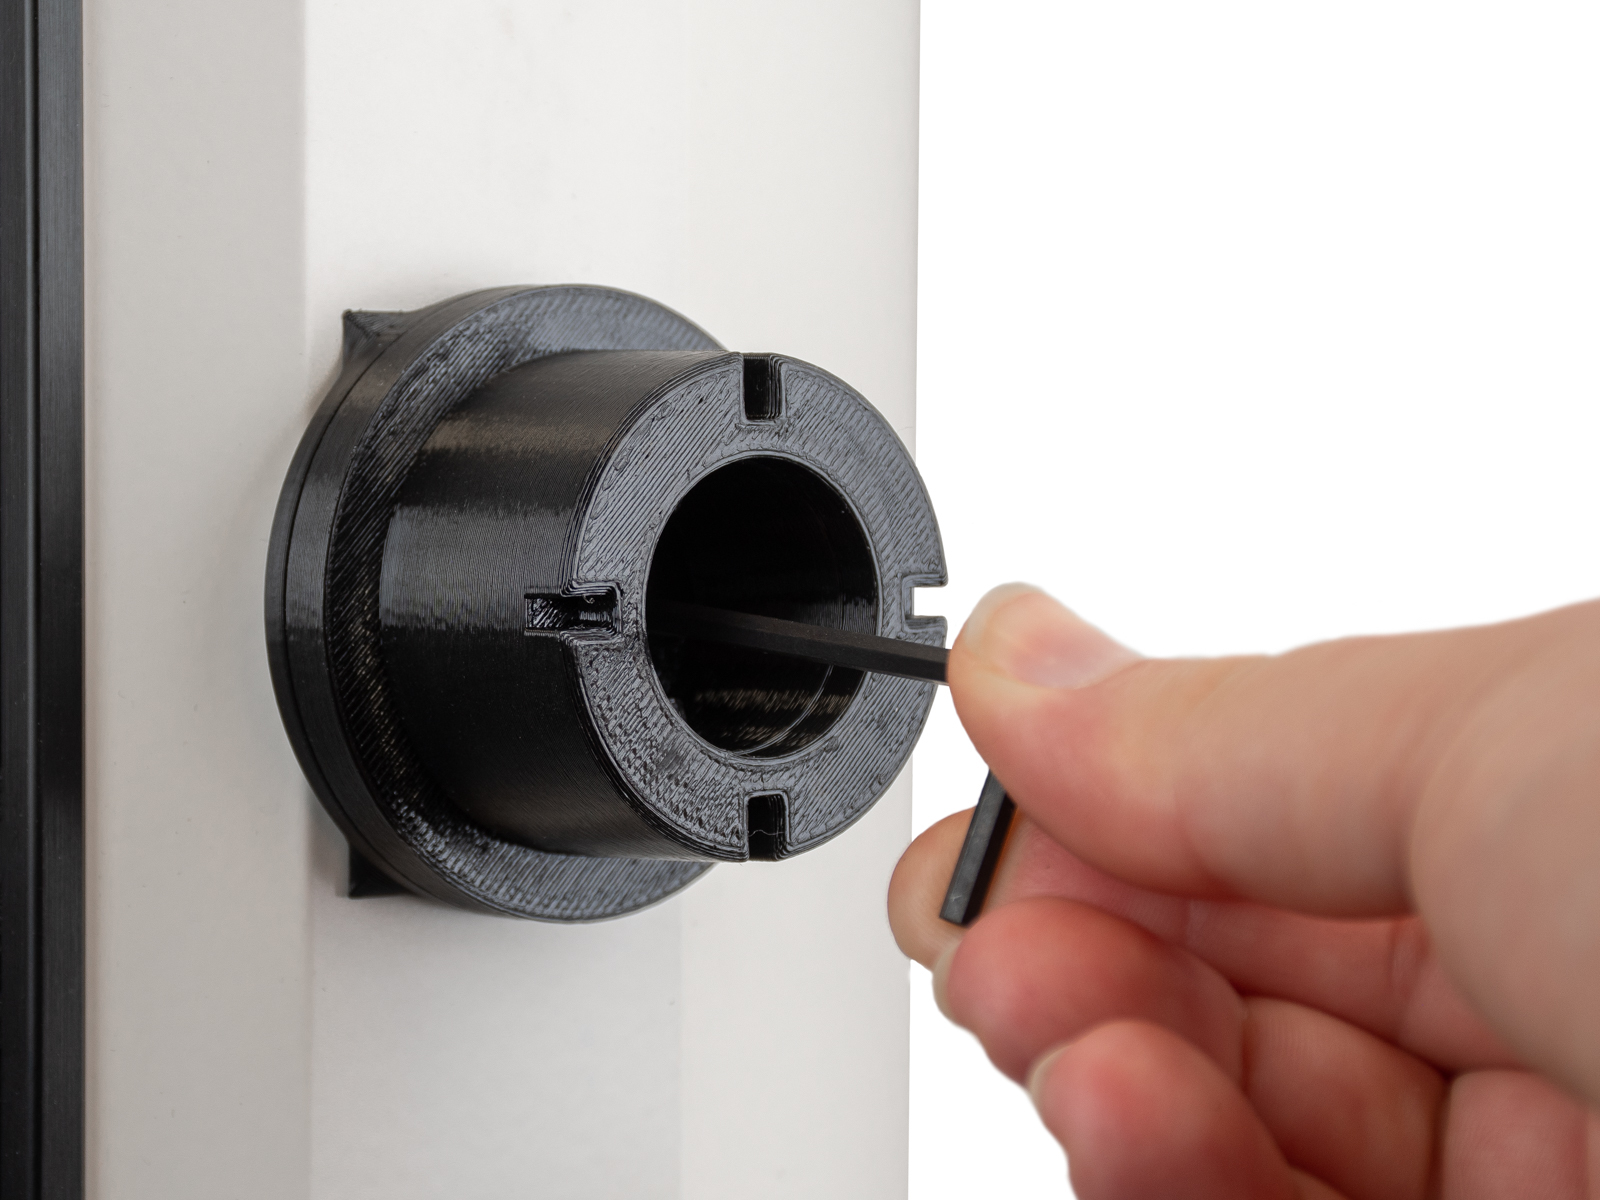
- Entfernen Sie den Spulenhalter, indem Sie die Schraube oben in der Mitte mit einem 3-mm-Innensechskantschlüssel lösen.
 |  |
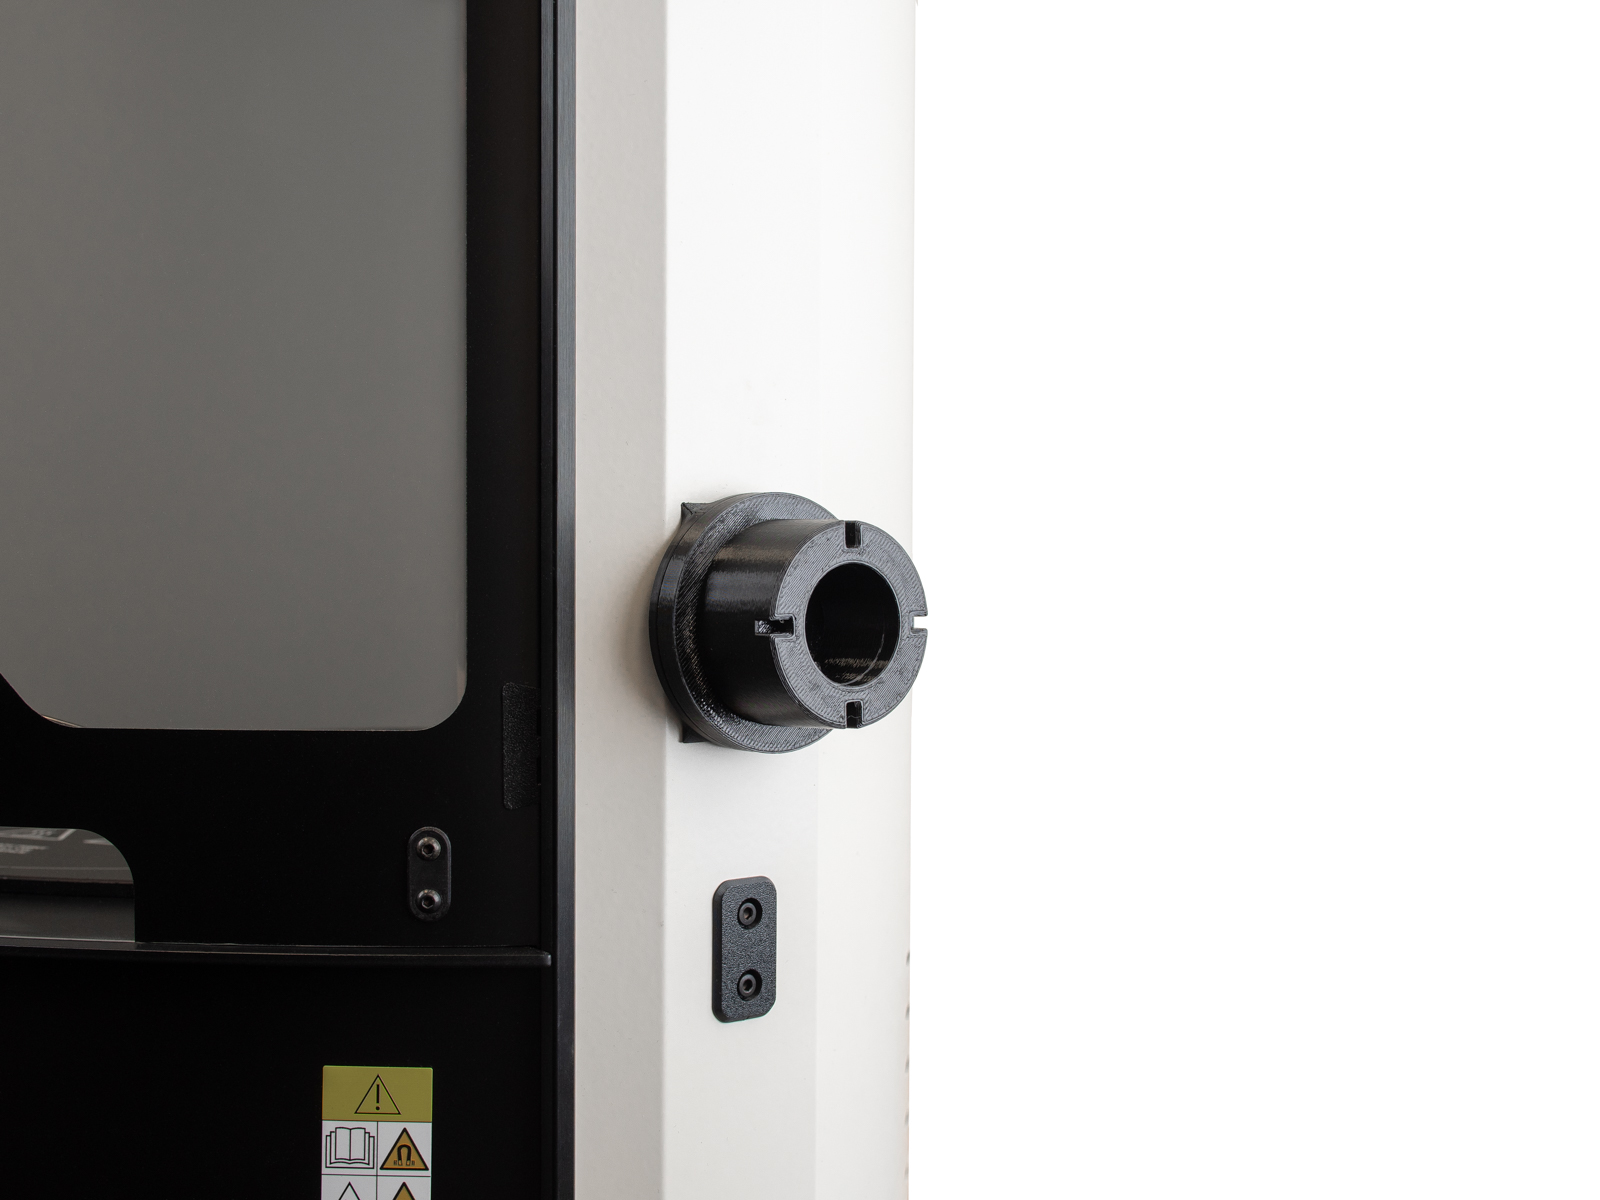
- Befestigen Sie den Adapter mit zwei M4x8-Schrauben am HT90.
 |  |
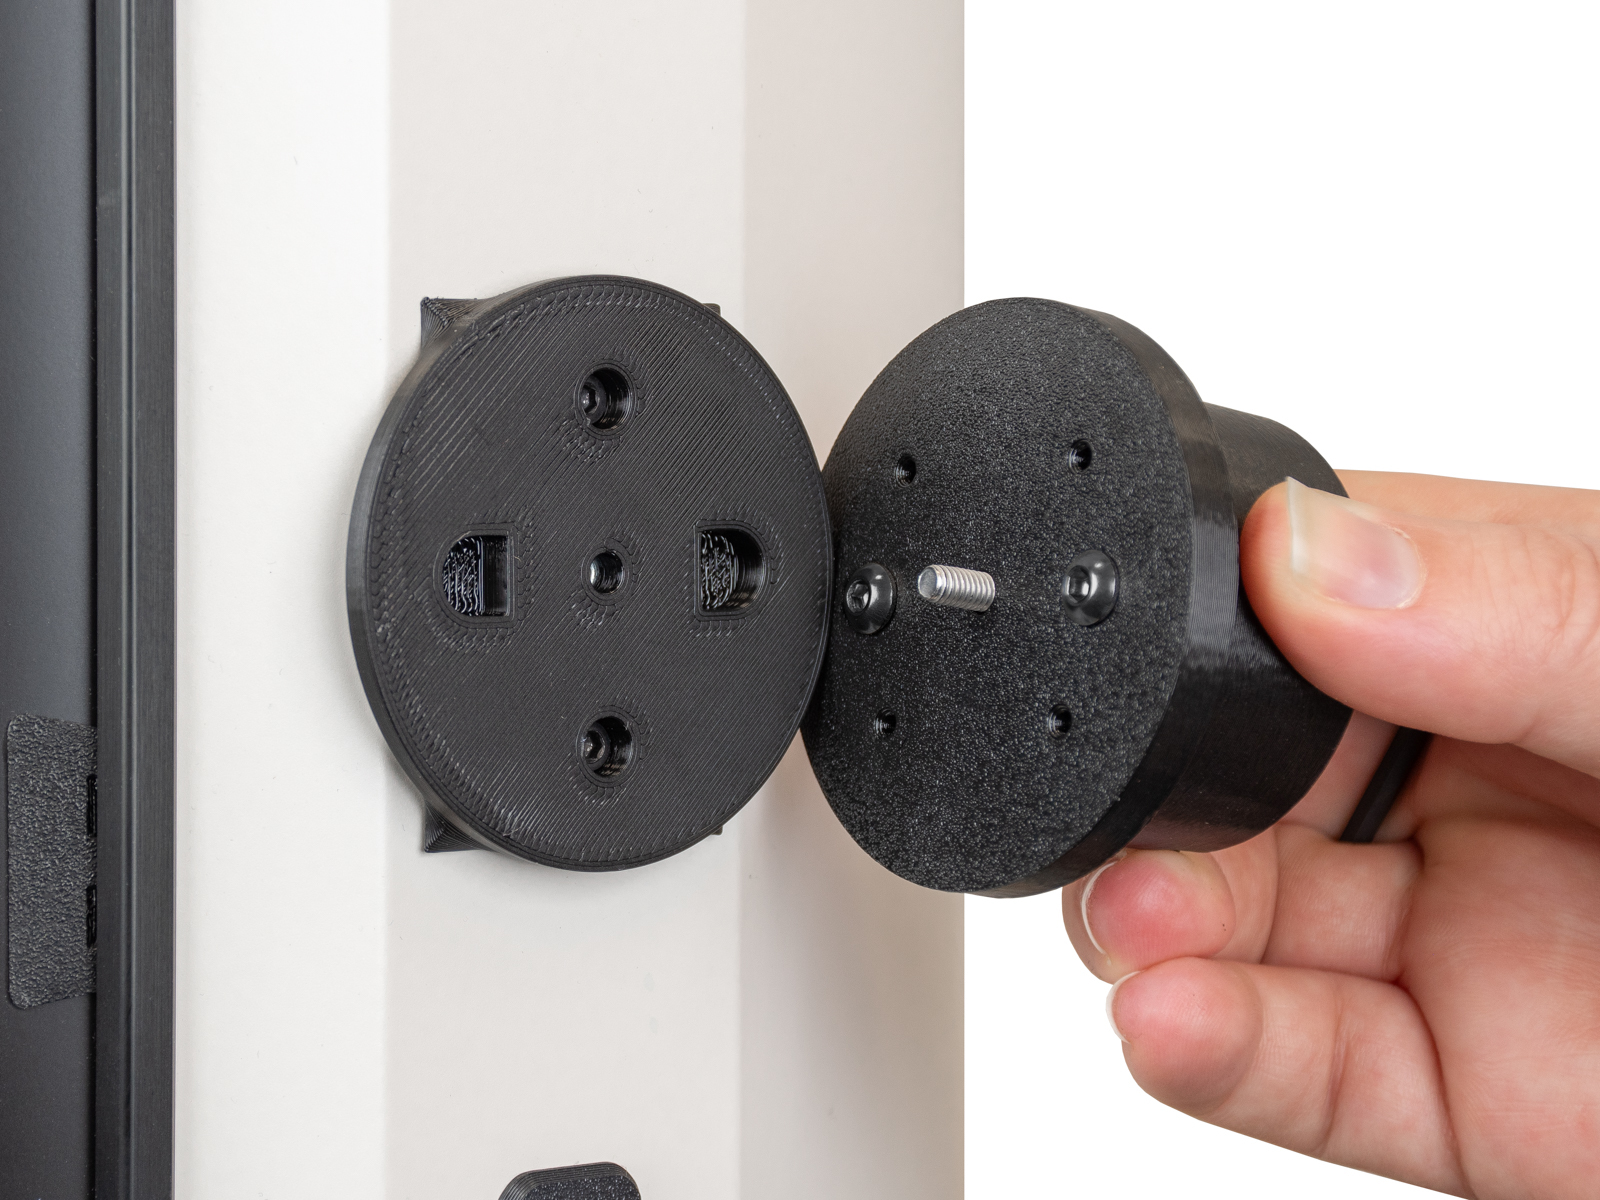
- Befestigen Sie den Puck auf der anderen Seite mit einer M4x10-Schraube am Adapter.
 |  |
 |  |
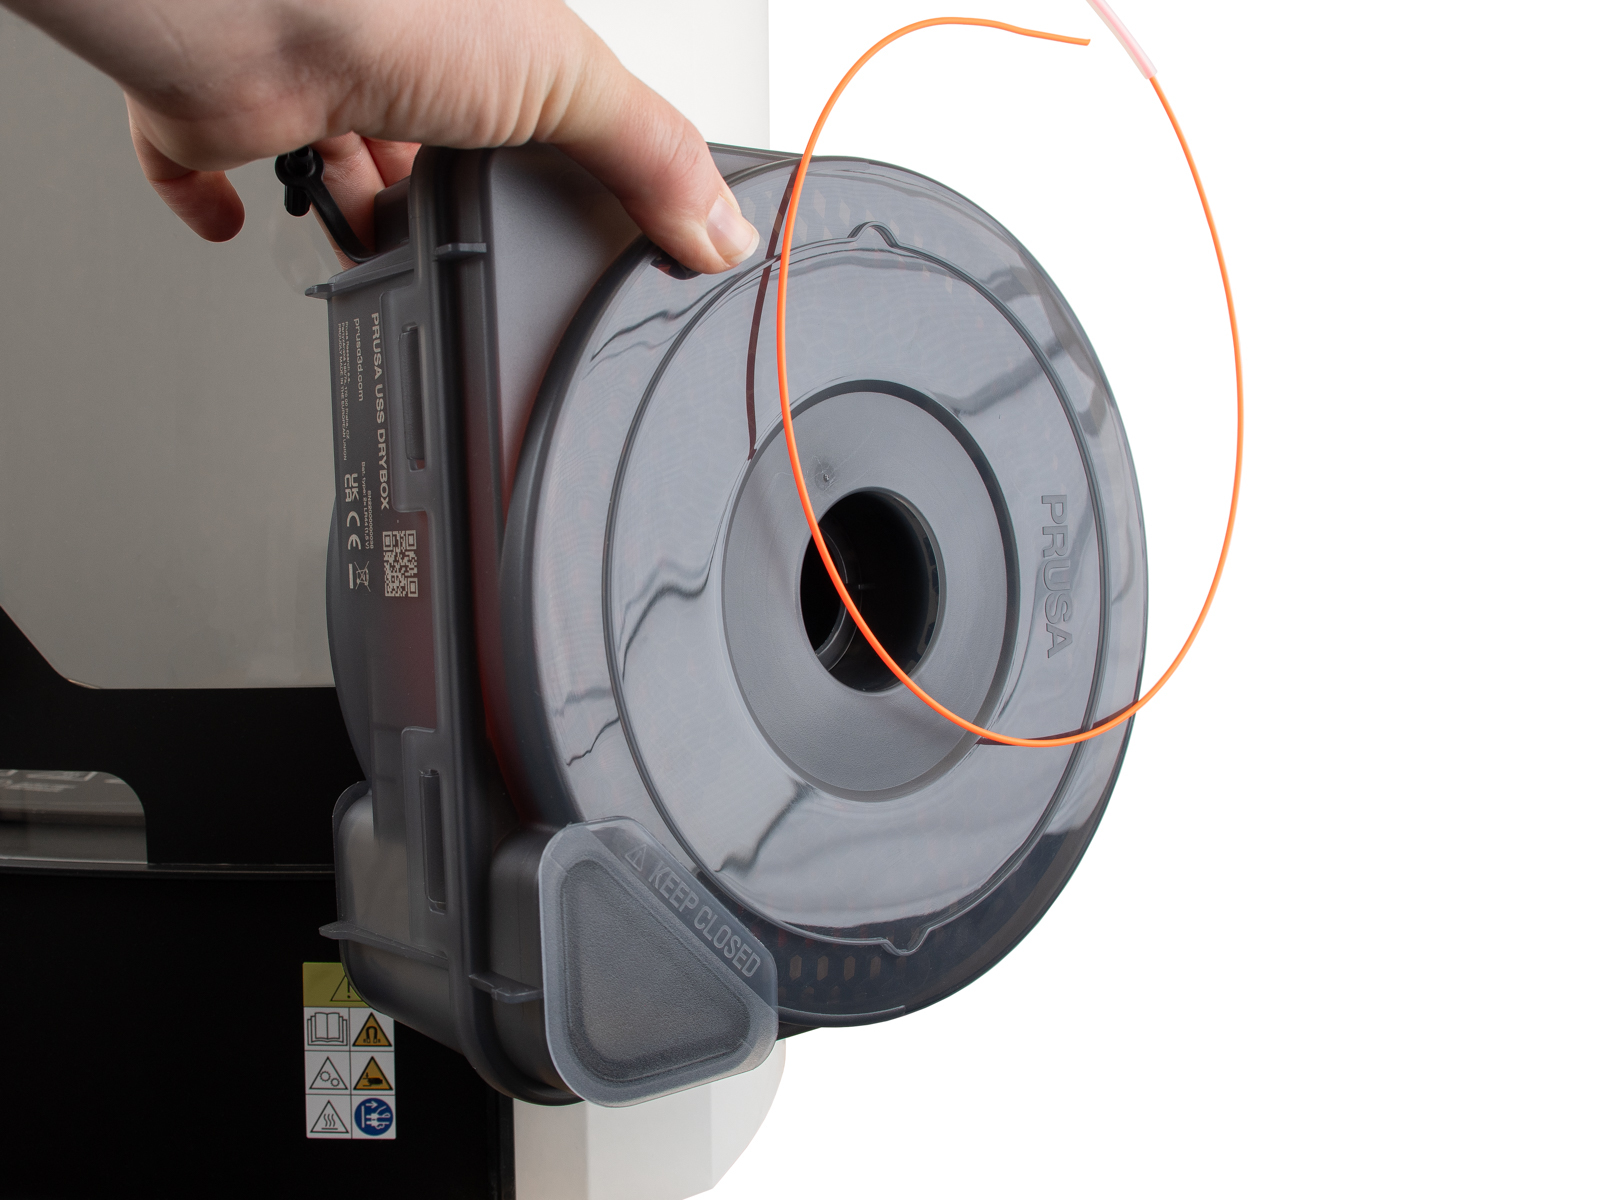
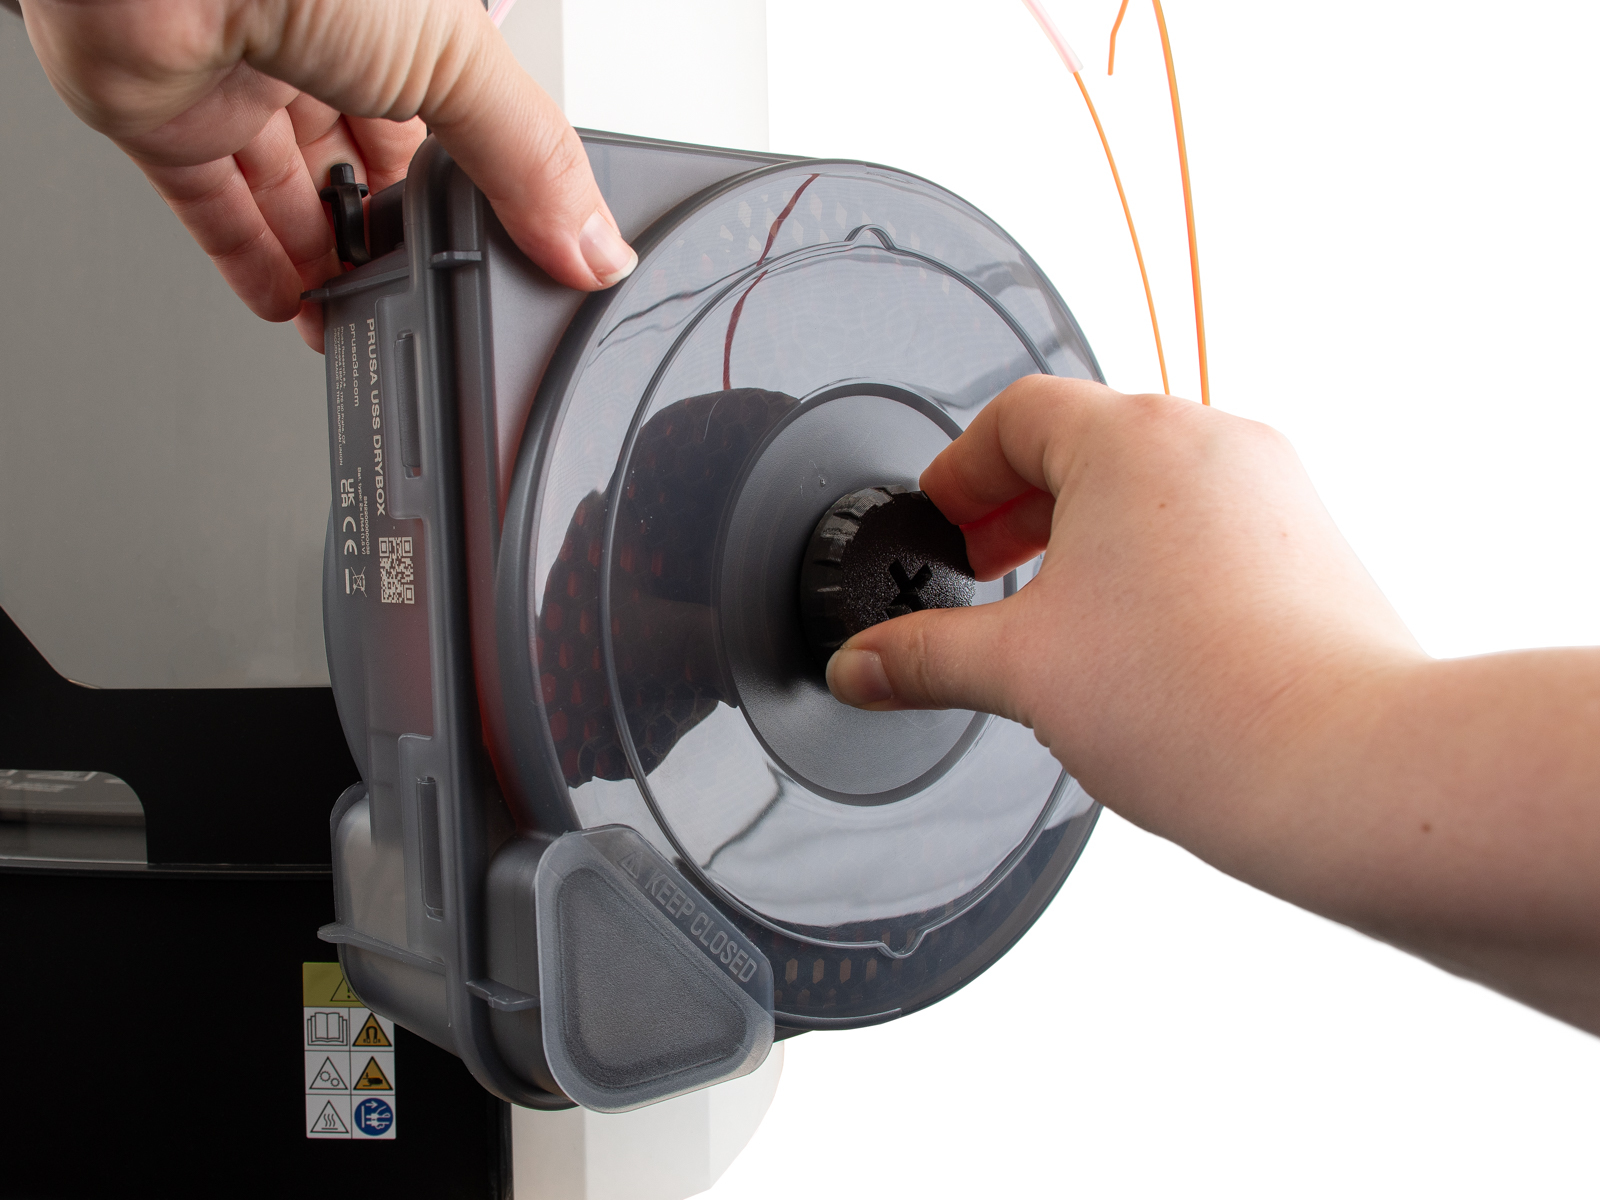
- Setzen Sie die zuvor vorbereitete Prusa USS Drybox auf den Puck und arretieren Sie sie mit dem Spulenhalter.
 |  |
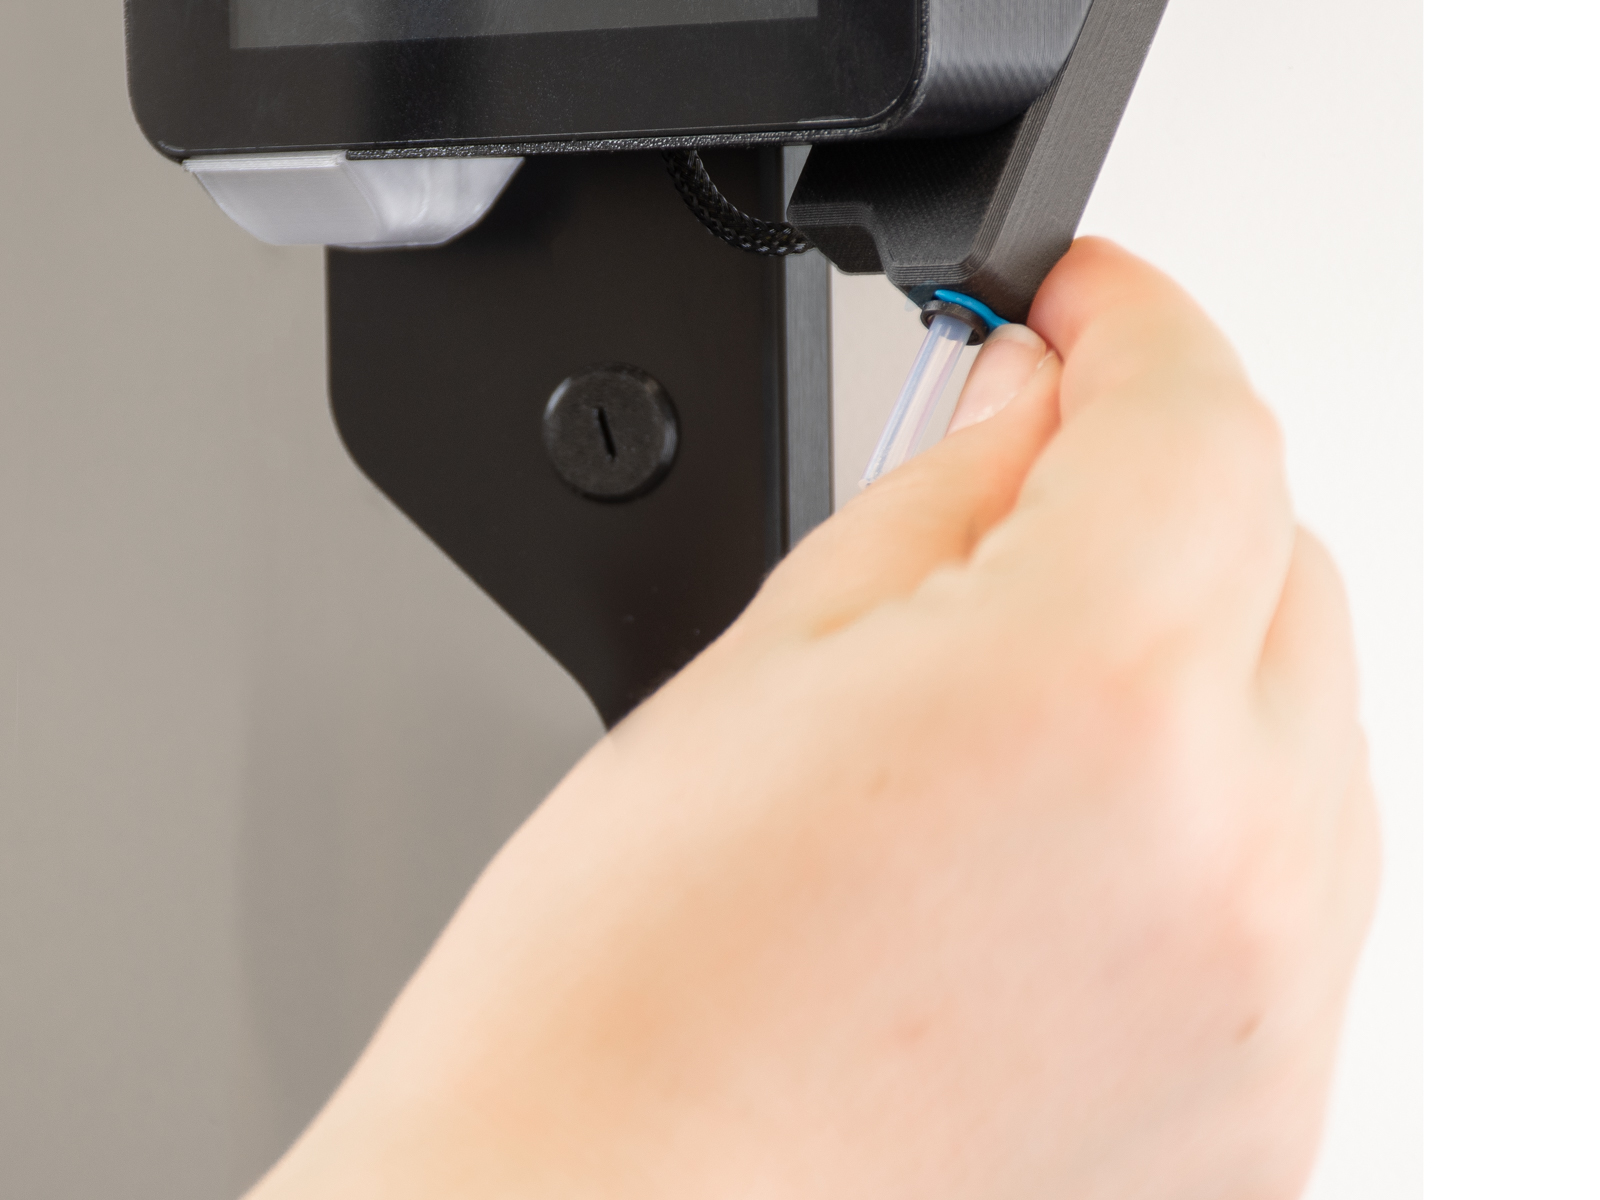
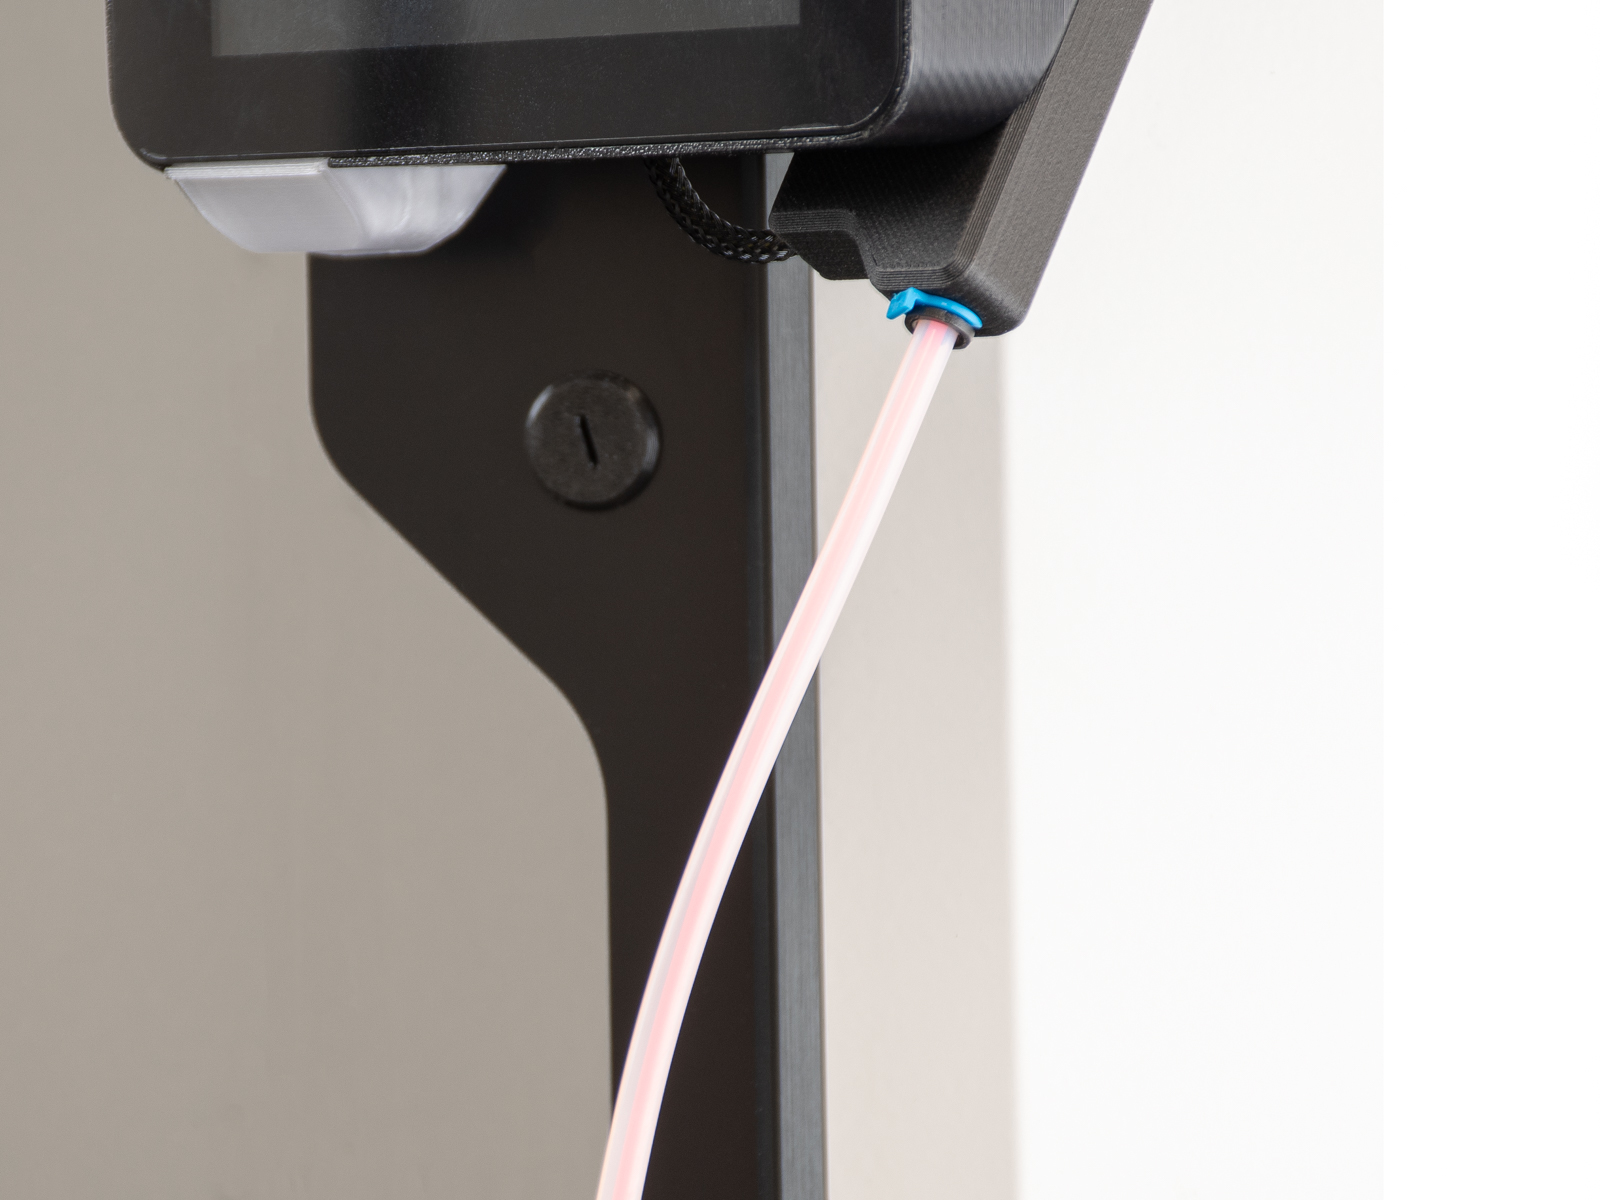
- Drücken Sie auf die Spannzange, um den PTFE-Schlauch aus dem Filament-Einlass zu entfernen. Falls die Spannzange durch einen Clip gesichert ist, ziehen Sie diesen bitte heraus.
 | |
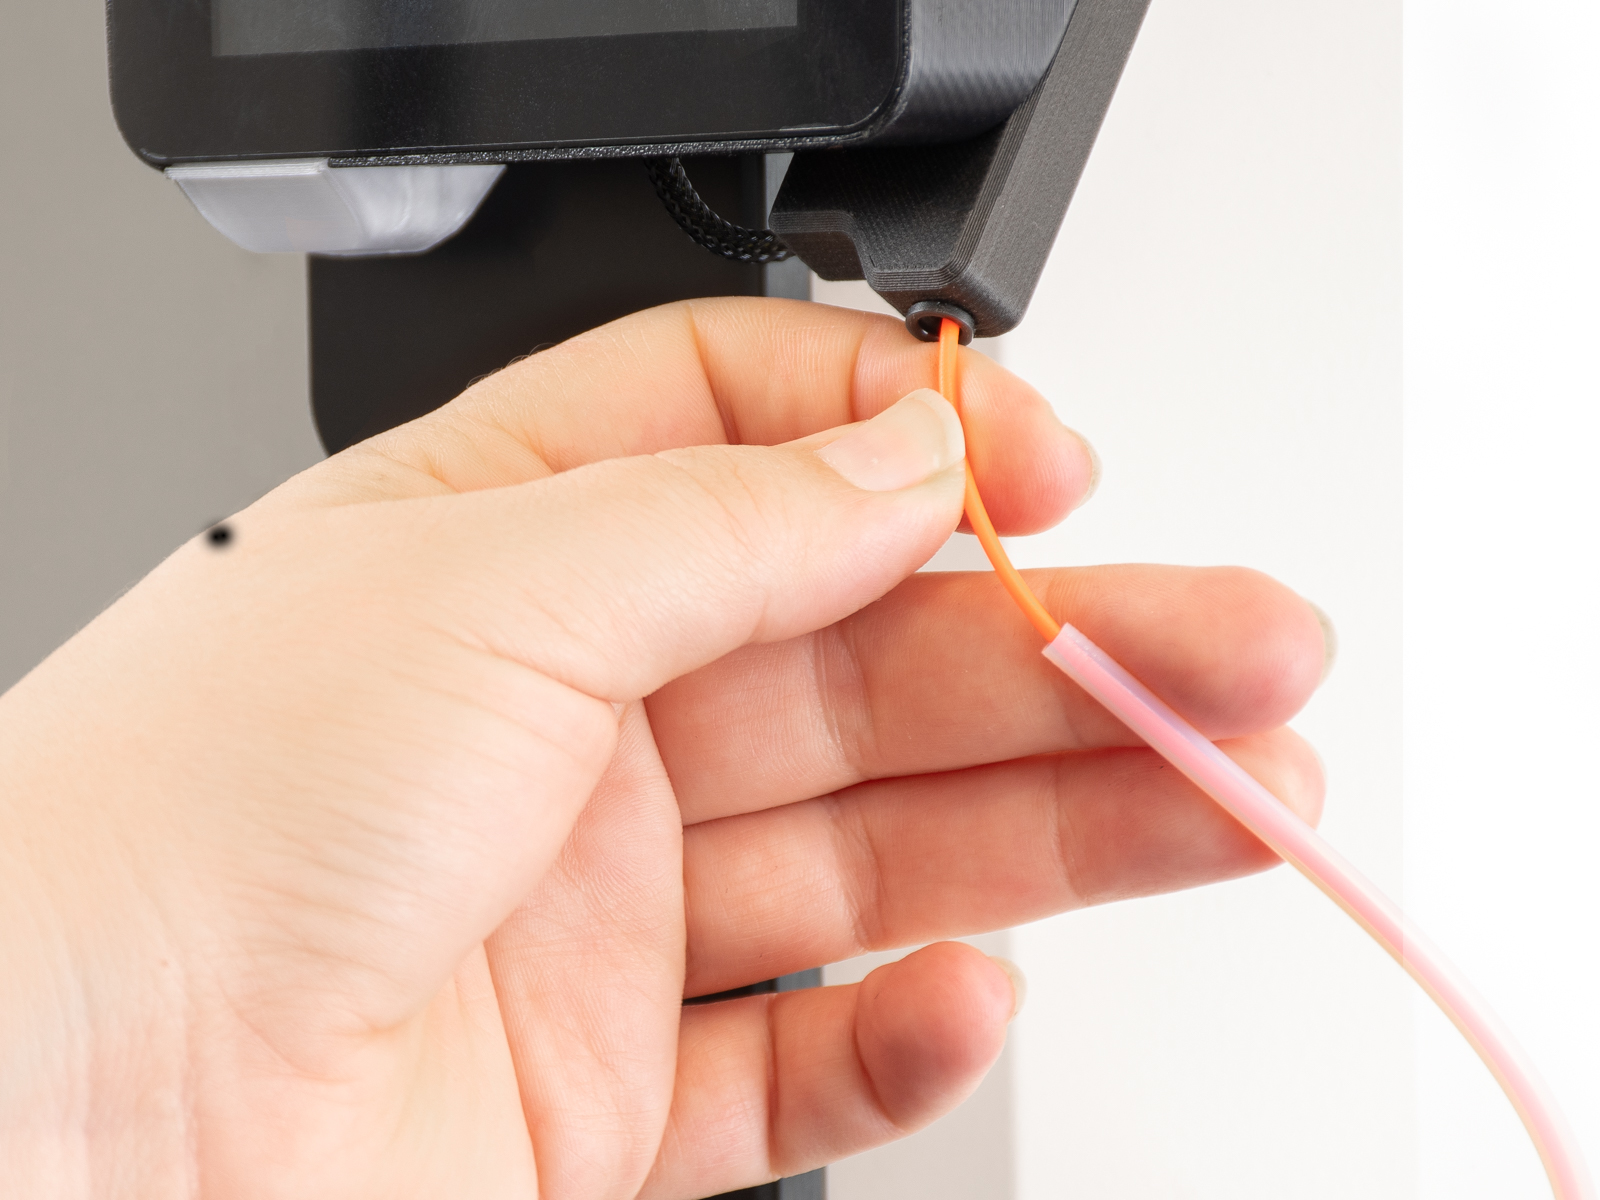
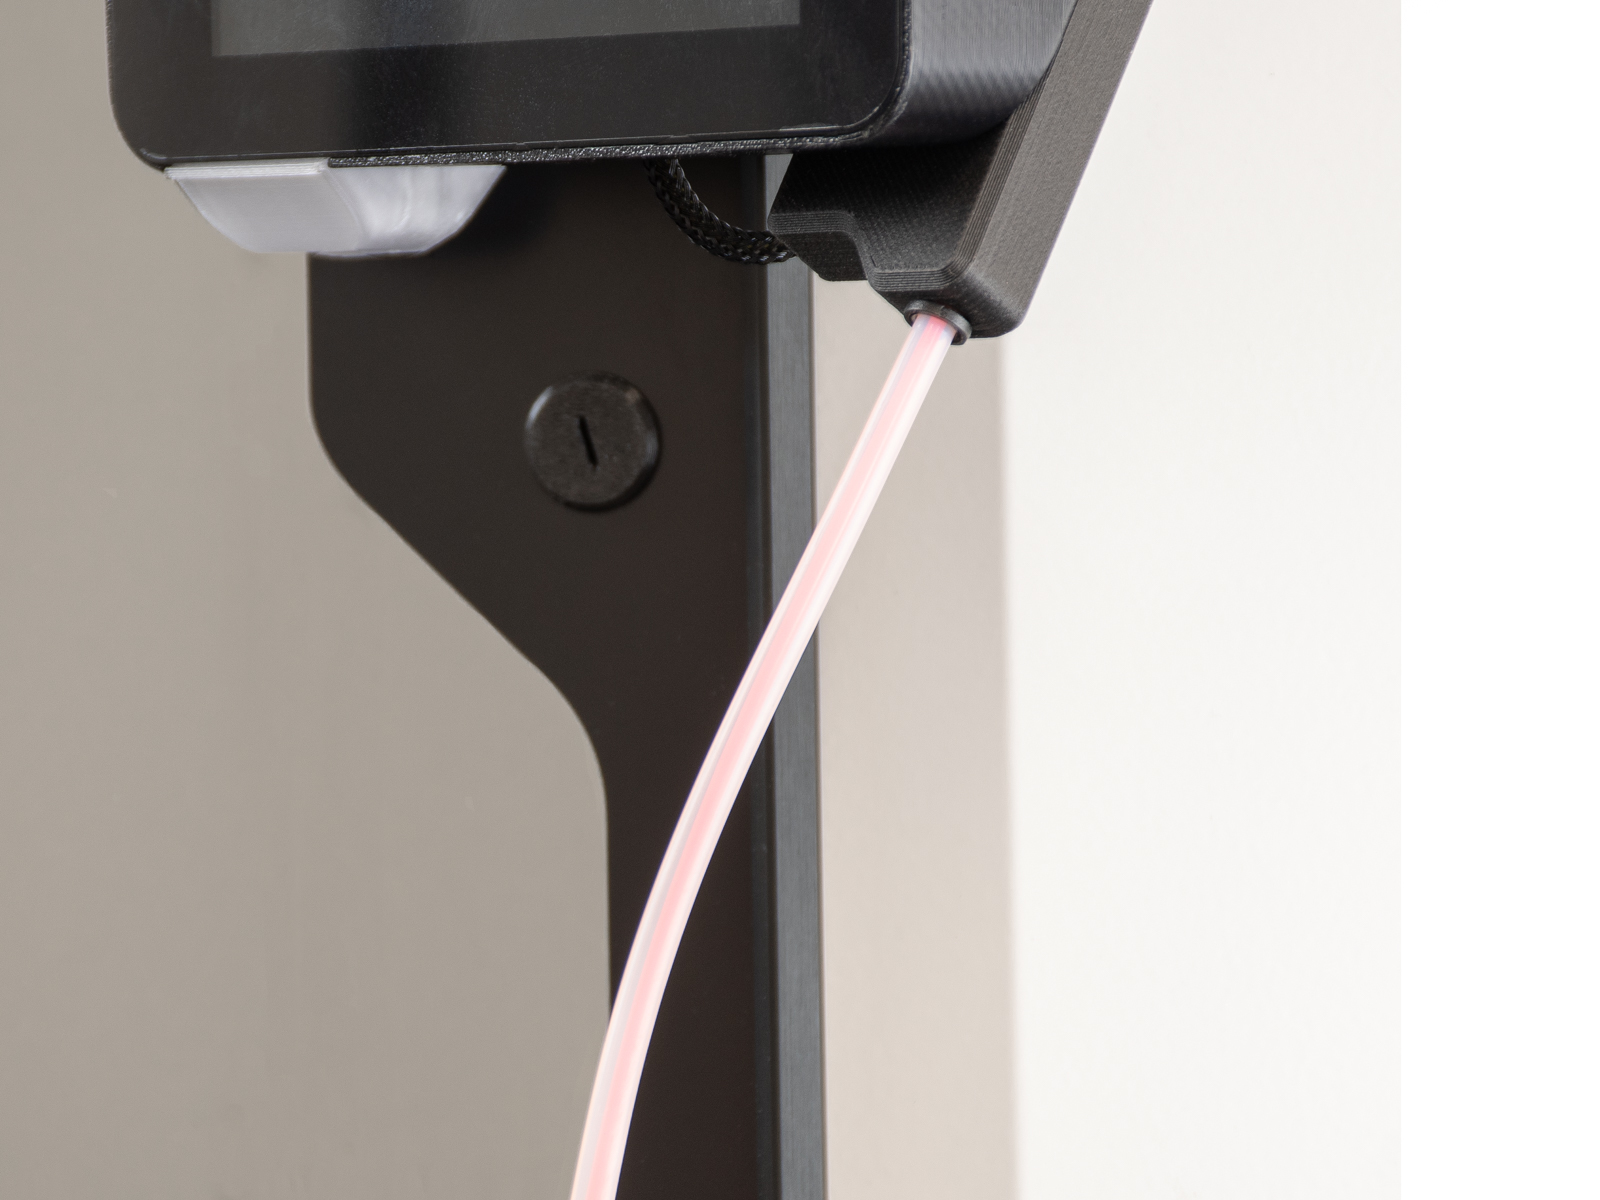
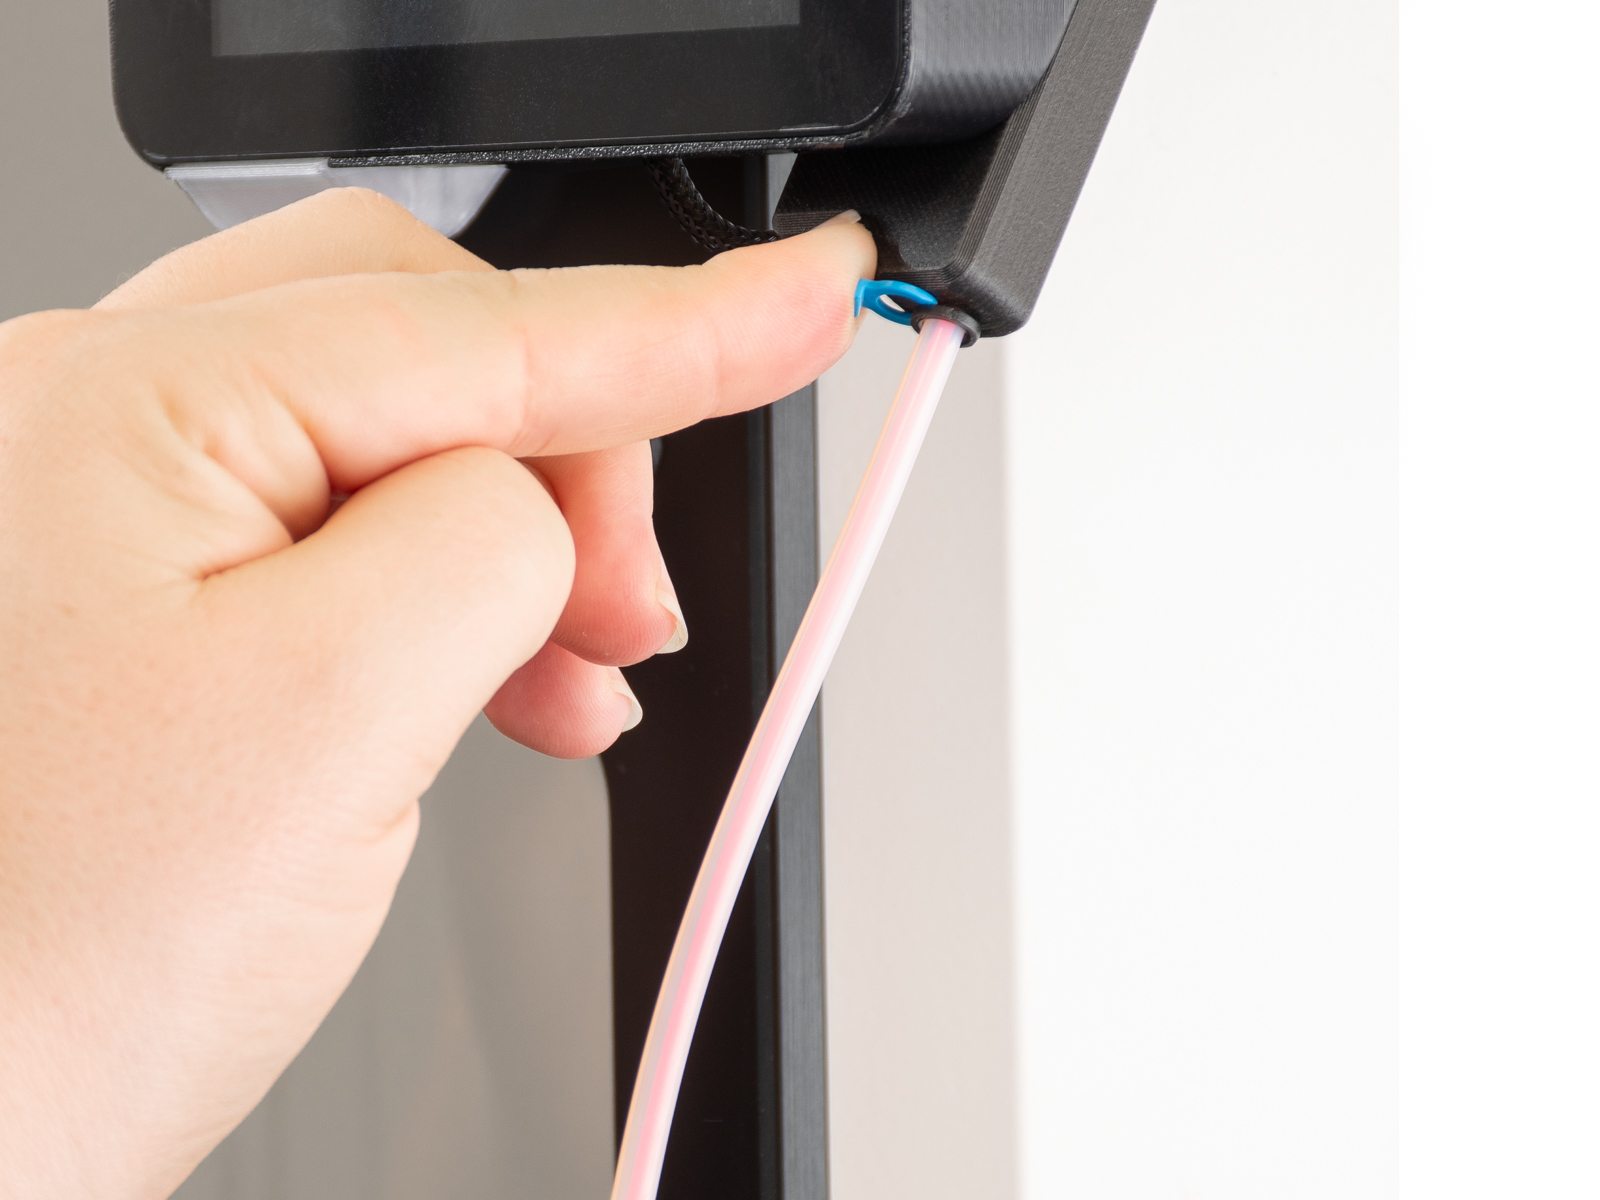
- Legen Sie das Filament ein. Setzen Sie den PTFE-Schlauch der Drybox ein, ziehen Sie die Spannzange fest, um ihn zu arretieren, und bringen Sie die Klammer an.
 |  |
 |  |